
When I bought Fessick, he had 220,000 miles on him. The steering wheel looked like the previous owner never washed his hands. It was black & crusty, with only a small area of gray visible on the lower portion of the wheel.
Also, when he rolled off the assembly line, cars weren’t equipped with solar tinted glass. When I get into the truck after work, it’s about 130 degrees in the cabin
I was able to remove a lot of the crust with some 409 and a microfiber cloth, but it was still pretty foul looking.

I decided that a steering wheel cover was the answer. On my previous truck I had installed a Wheelskins cover and I loved the way it felt in my hands. The thickness of the leather made the wheel feel better in my hand. It was cooler in the summer and warmer in the winter than the stock plastic wheel. It was A LOT less expensive than replacing the entire steering wheel.
For the Excursion, I opted for a two tone. If you go to their website, you can request samples of leather to see what the colors look like in real life. I got samples of charcoal, gray, and dark green. The charcoal leather is a perfect match for the dark gray parts of the dashboard. The gray is a bit darker than the light portions of the dash. I was thinking about .going with the green to try to bring some of the exterior color inside the truck, but turned out I’m too conservative (with color) to make that bold of a move.
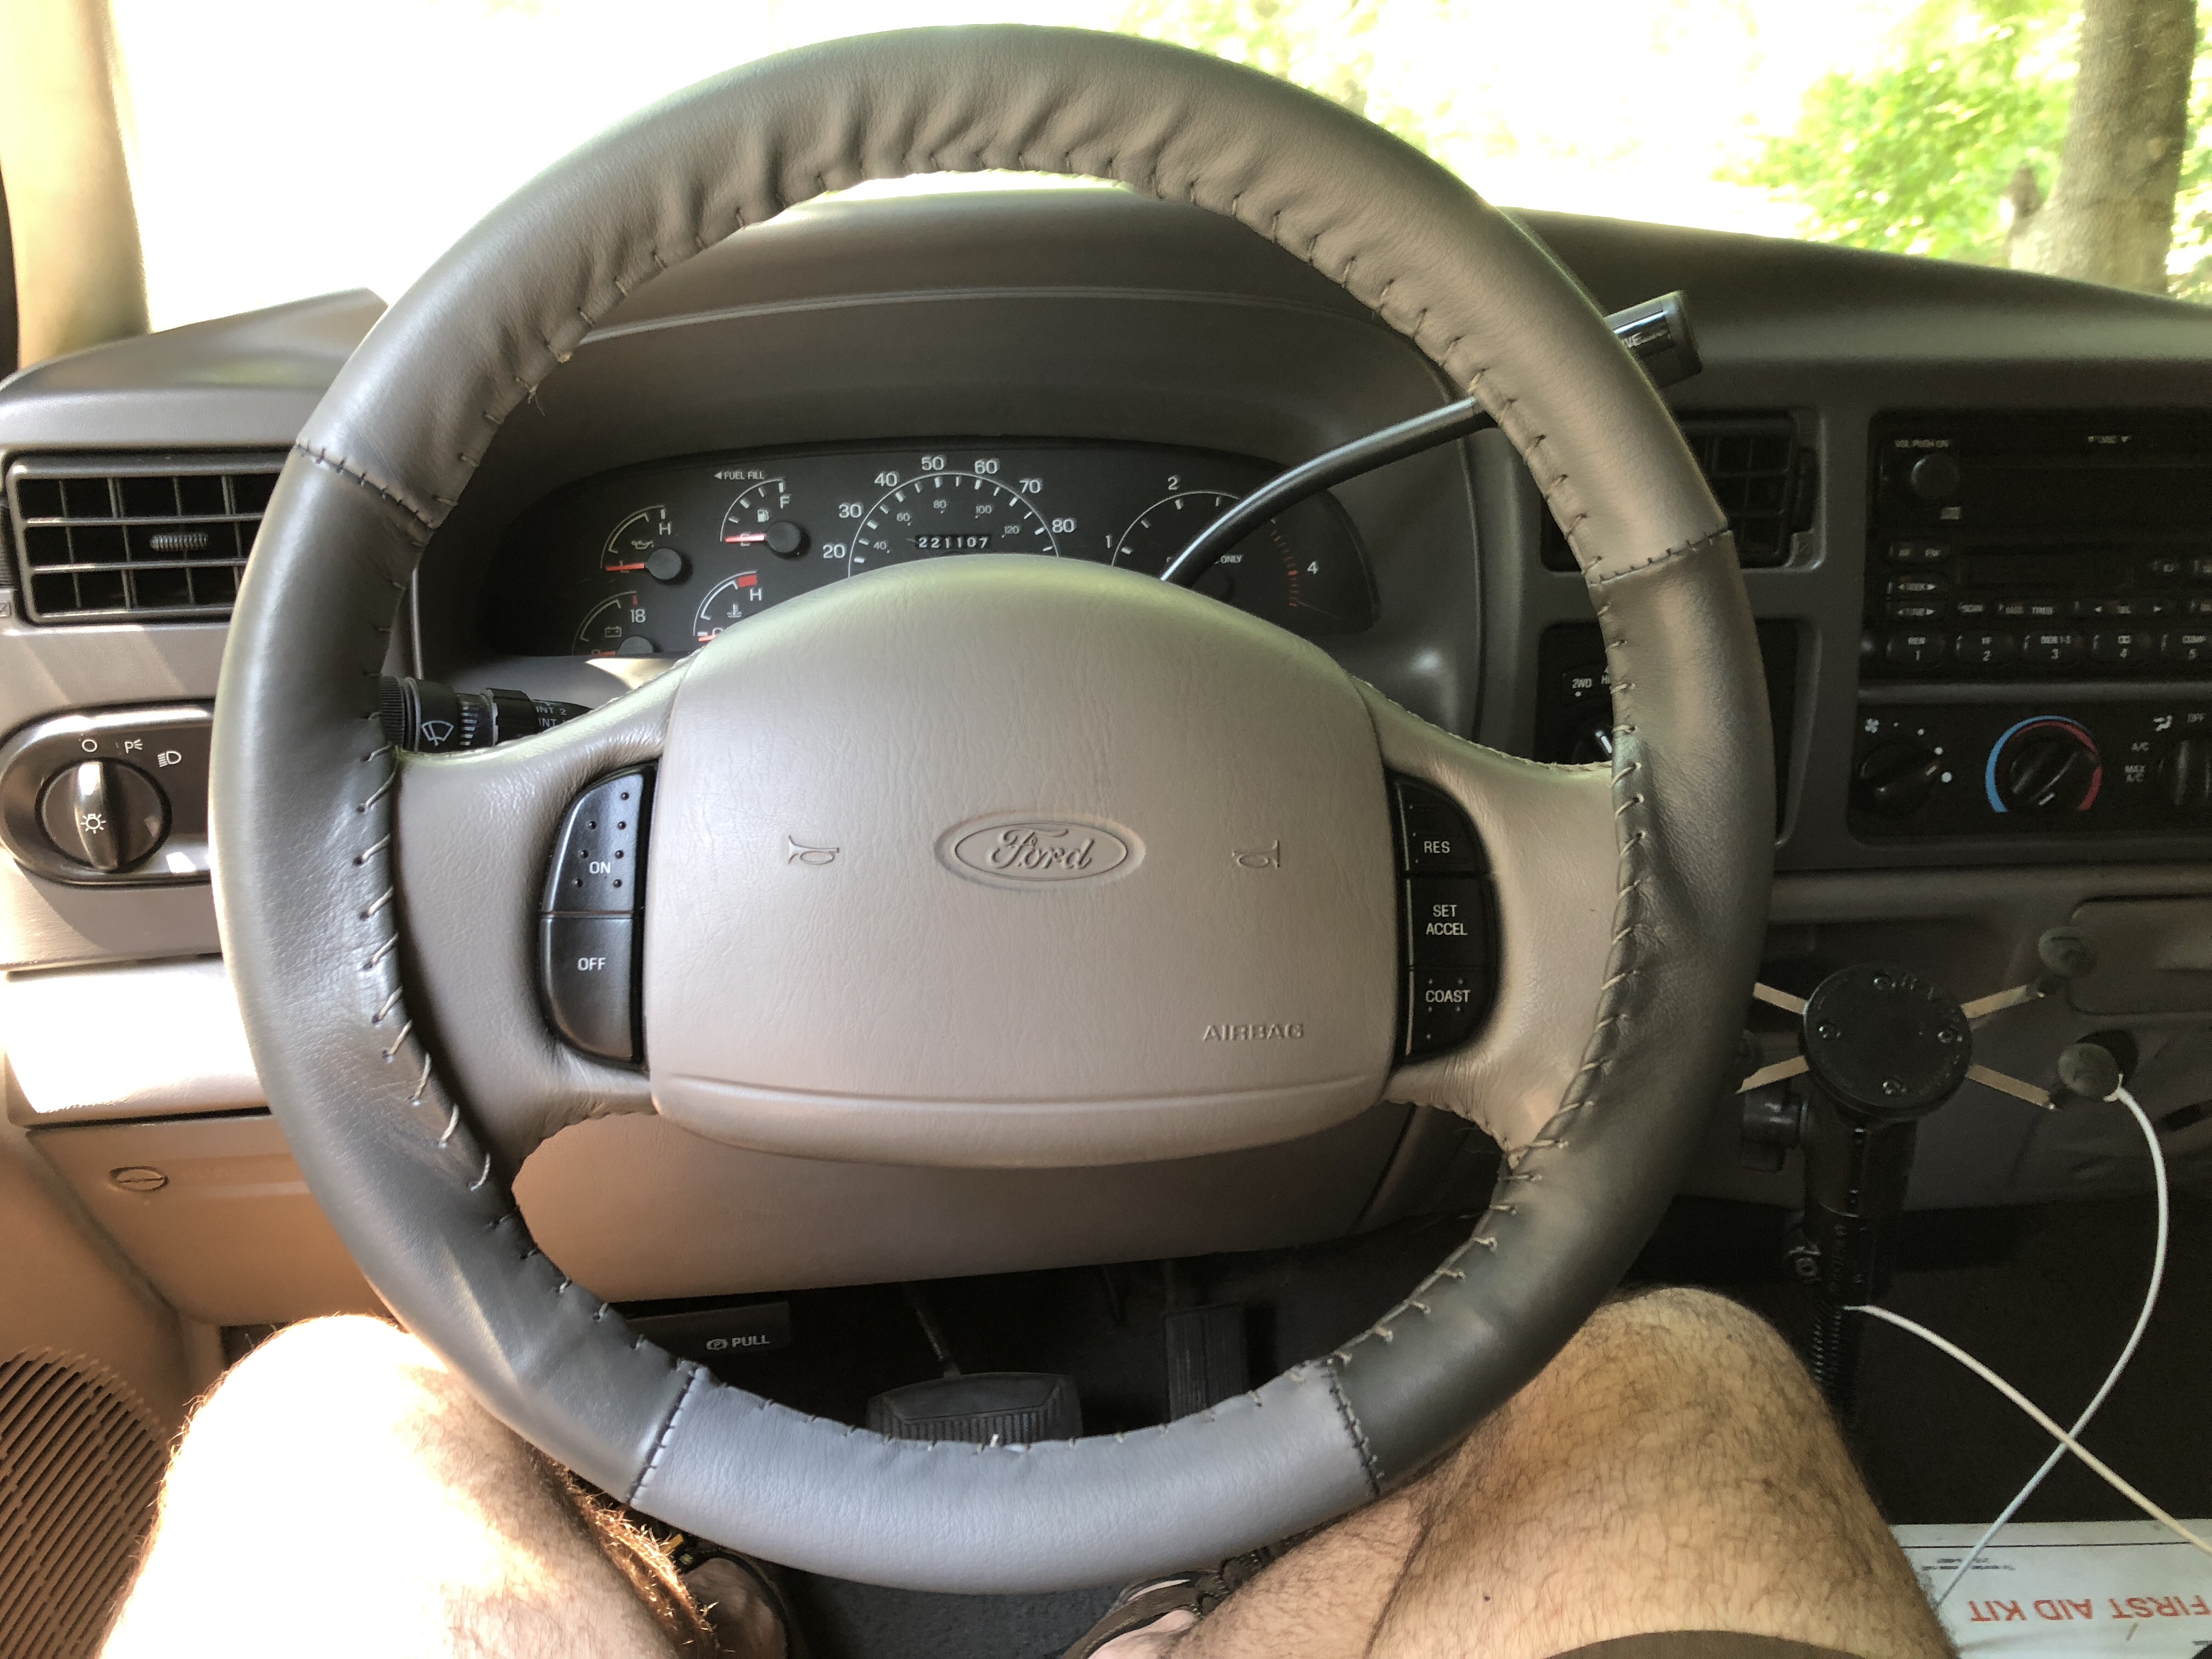
If you want a single color cover, you can order from many sites, (here is an Amazon link ) but I don’t think anyone stocks the two tone versions. Were I to do this again, I would probably go with the single color. Two tone means four seams to position. The upper seams are fairly close to the seams on the stock wheel, so it gets a bit thick there. Im off center by one stitch and it’s a bit maddening.
The install process for these covers is a bit involved, as you have to sew the cover onto the wheel. The cover comes with the needle and thread, so no worries on that front.
You start by stretching the cover over the wheel.
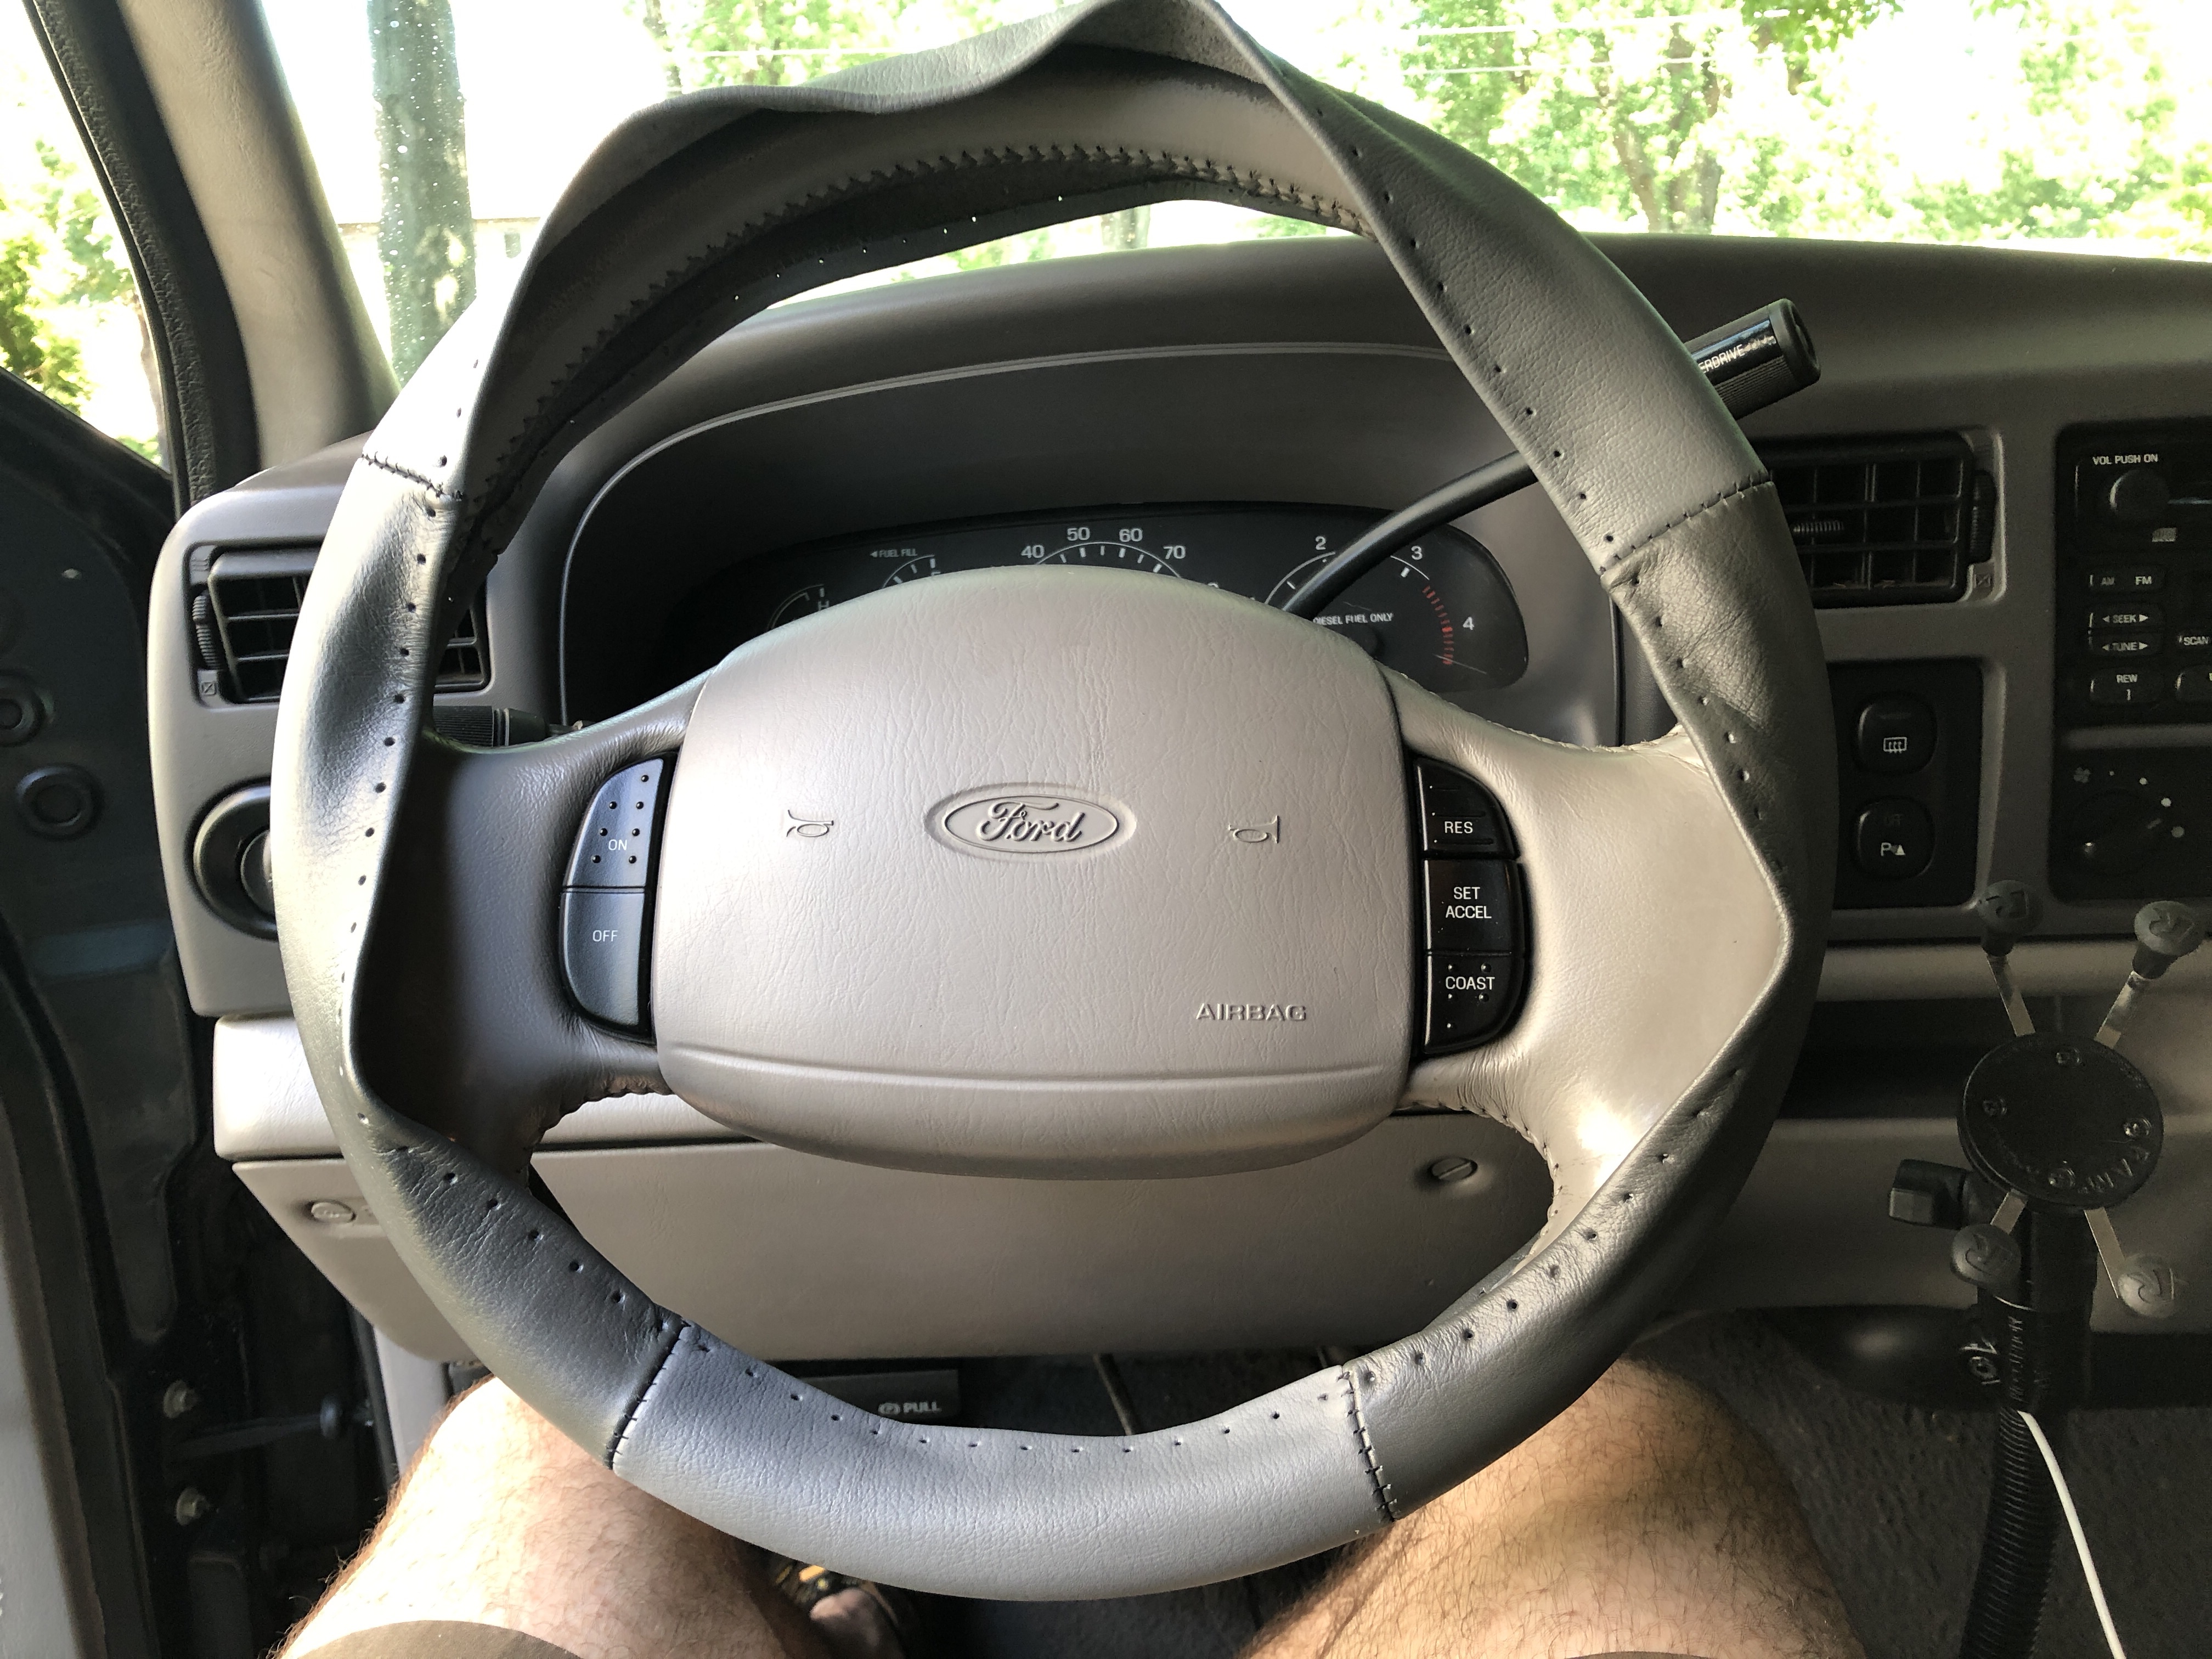
Start sewing from the bottom and work your way around the wheel. The included instructions are pretty good. Speaking from experience though, this project is easier in the spring than the winter.
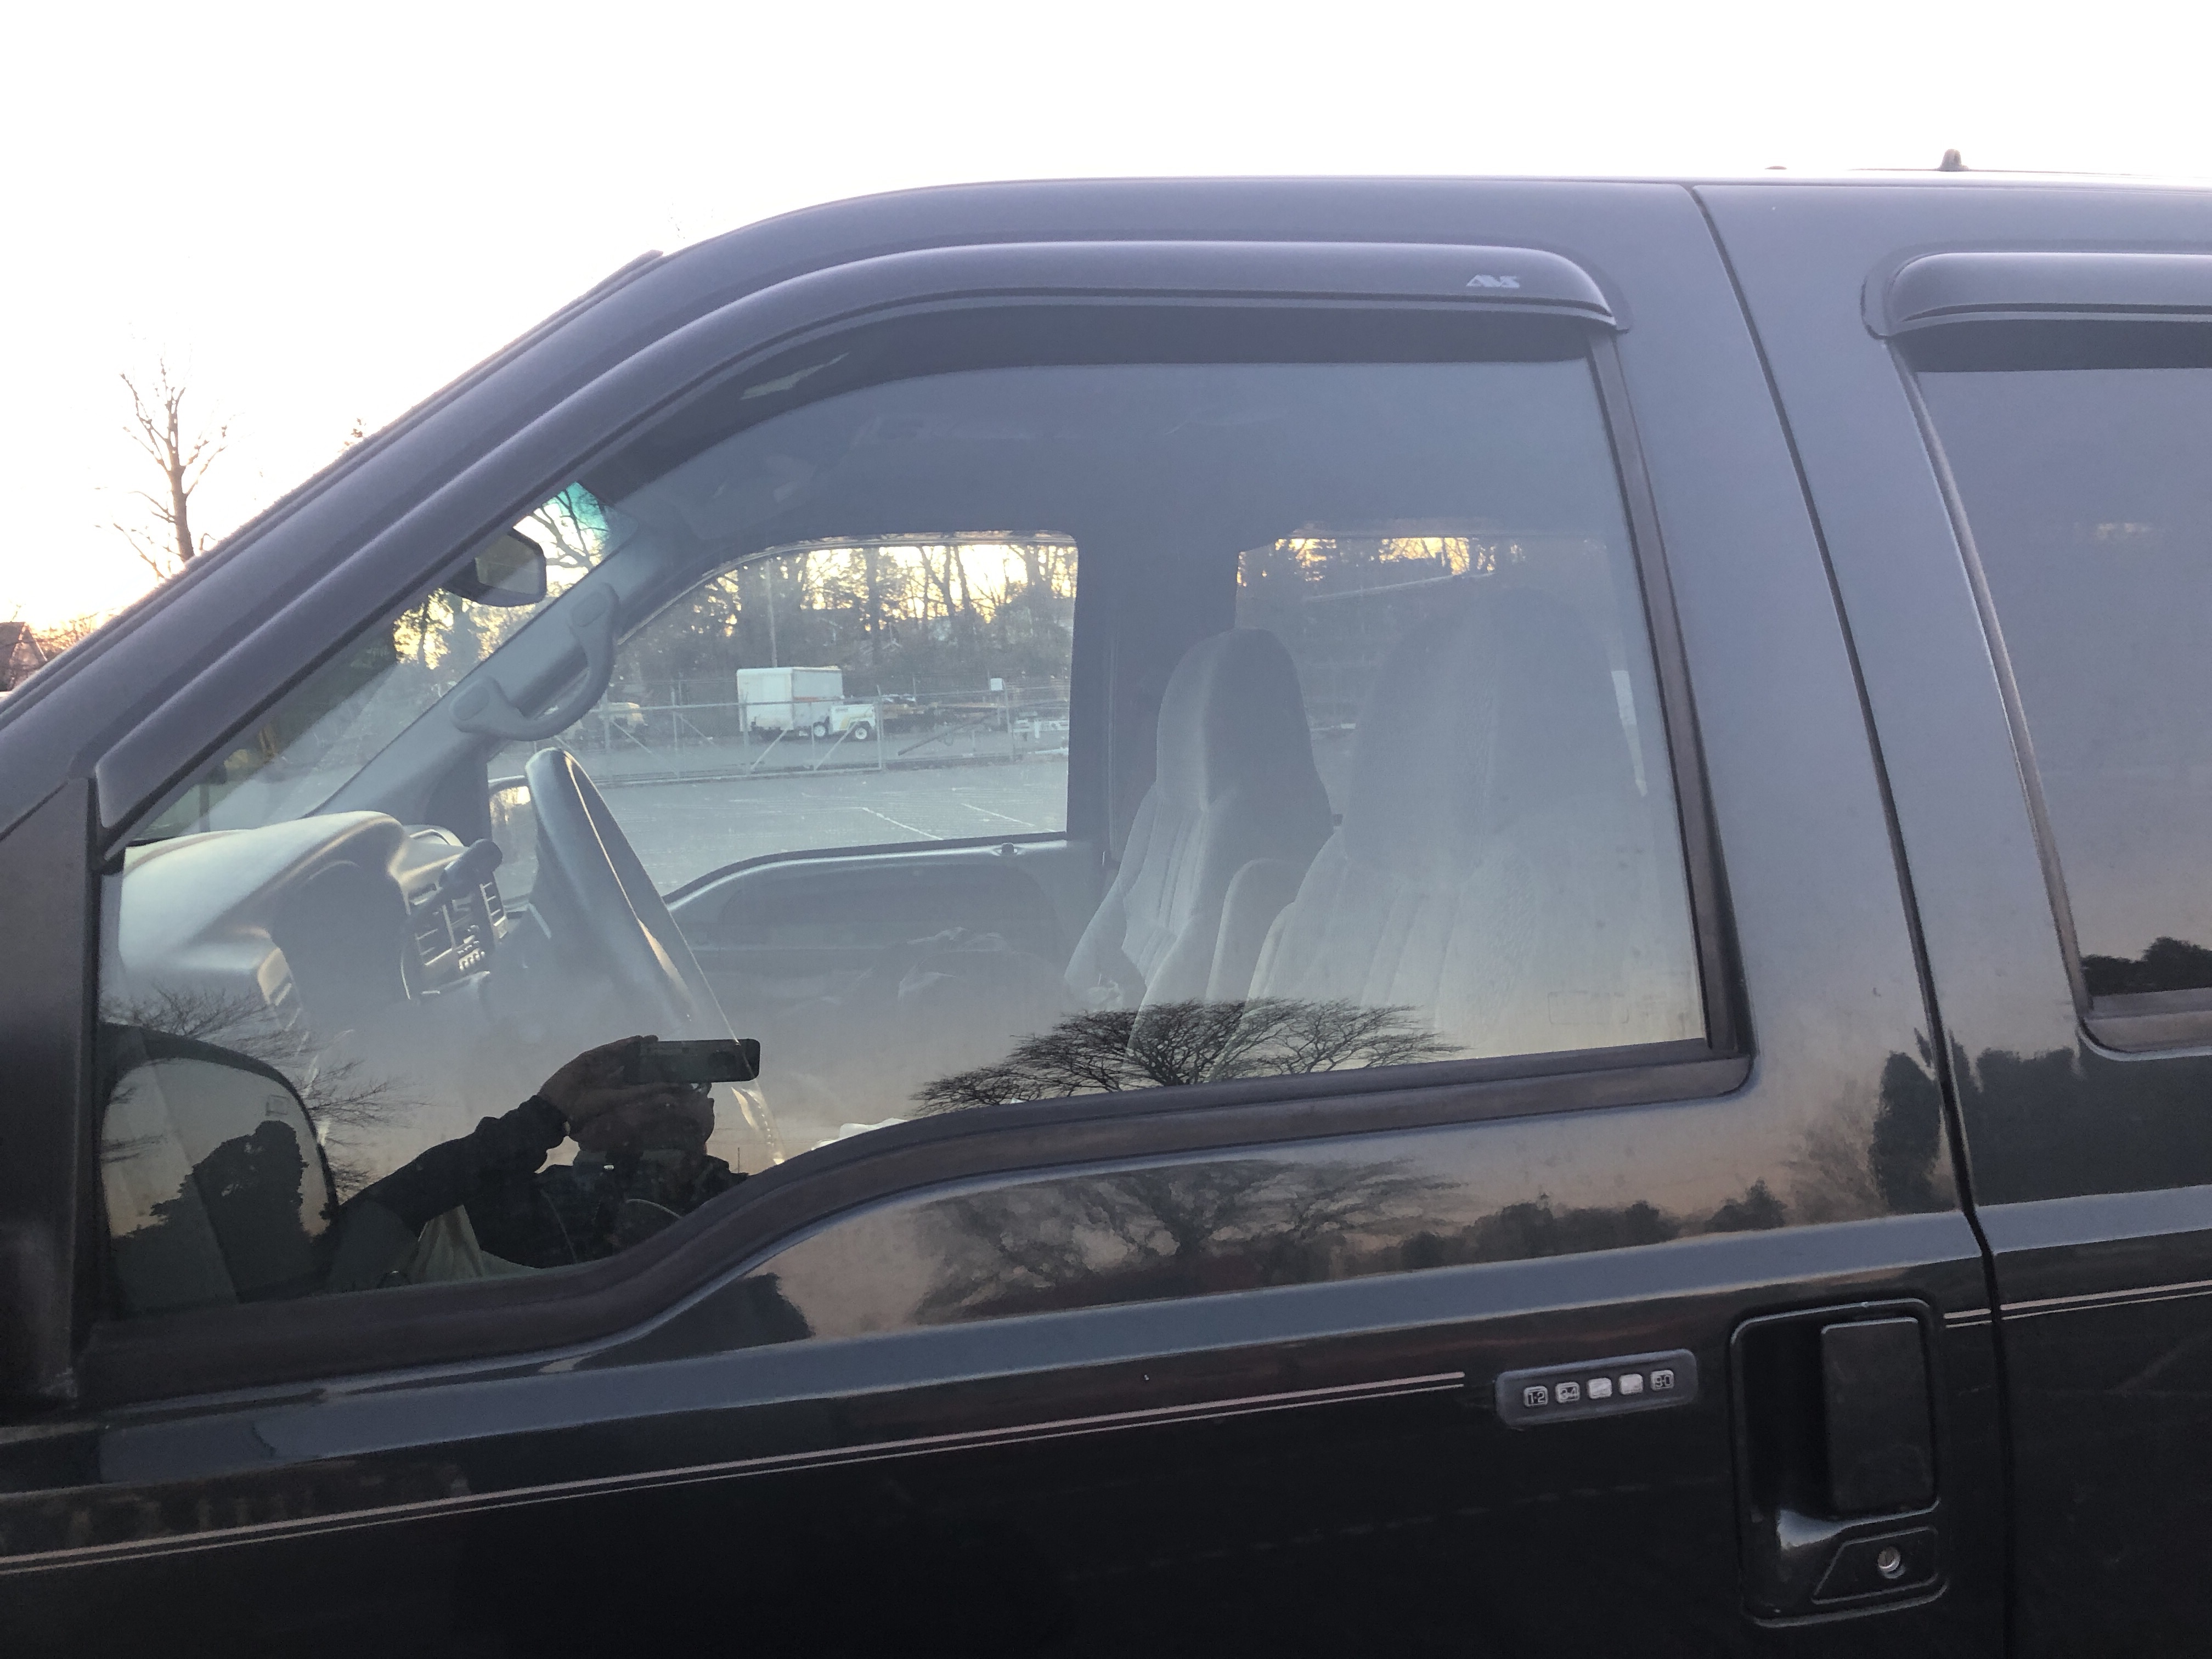
The other thing I did was install a four piece set of vent shades. I opted for the adhesive versions. I believe that there are some that fit into the window channel. Now I can leave my windows cracked open while I’m parked with no worries of a stray squall getting my interior wet.
Legal jibber-jabber
- As an Amazon Affiliate, I may earn commission if you purchase something linked from this page.
- Product reviews – unless stated otherwise, I have purchased all reviewed products with my own money.
- “Manufacturers claims” are exactly that. Their claims. If my text says “manufacturer claims” it means I haven’t checked it and I probably don’t have a way to check it. Hydrostatic ratings, R-values, Temperature ratings, etc.
- Follow these instructions at your own risk. I’m not a professional anything. I’m just some random human you encountered on the internet. I may or may not have any idea what I’m doing. I certainly have no idea what you’re doing. I accept no liability for injury, property damage or any other direct or indirect damages you may incur from anything on this page or any other pages I may or may not have authored.
- Copyright Reserved Creative Commons – Attribution, Non-Commercial, Share Alike . If I’ve inspired you, link back to this page. Don’t steal my text or photos. Feel free to modify my designs in any way you see fit. Don’t try to make yourself money from my ideas.
- Comments will be moderated. Those that add to the discussion will be allowed. Those that add nothing will be deleted. If you don’t agree with my decisions, get your own website.
- DON’T PANIC
