
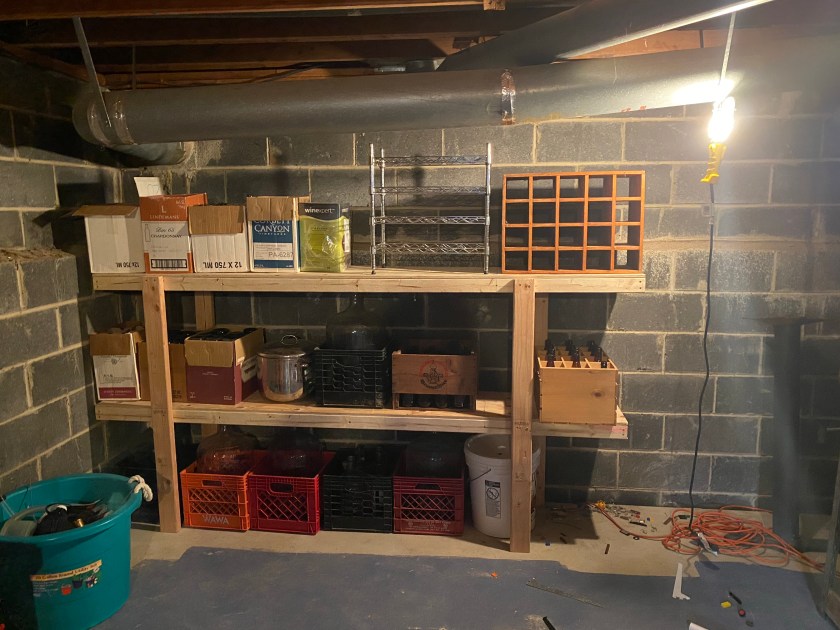
I call these my afternoon shelves, because that’s how long it takes to build them (including the run to the store for lumber). They aren’t pretty by any means, but they are perfect for the garage or basement.
I wish I could take credit for the design, but I originally found them on The Natural Handyman One change I made to this design is that I made is that my shelves are 16″ deep instead of 24″.
I had two sets of these at the old house and I found that the 24″ shelves were too deep for one box, but not deep enough for a second box. We ended up collecting odds & ends on the ledge in front of the boxes. This made it a real hassle when you had to put four things on the floor, grab a box, put the box on the floor, put four things back on the shelf and then take the box.
Pro Tip – (in two parts)
- Ask the home store to rip the 4 x 8 sheets of plywood. Their panel saw is far more square than my folding table saw.
- Instead of 16″ shelves, cut them to 15 7/8″. You’ll never miss that eighth of an inch and this will give you three equal shelves.
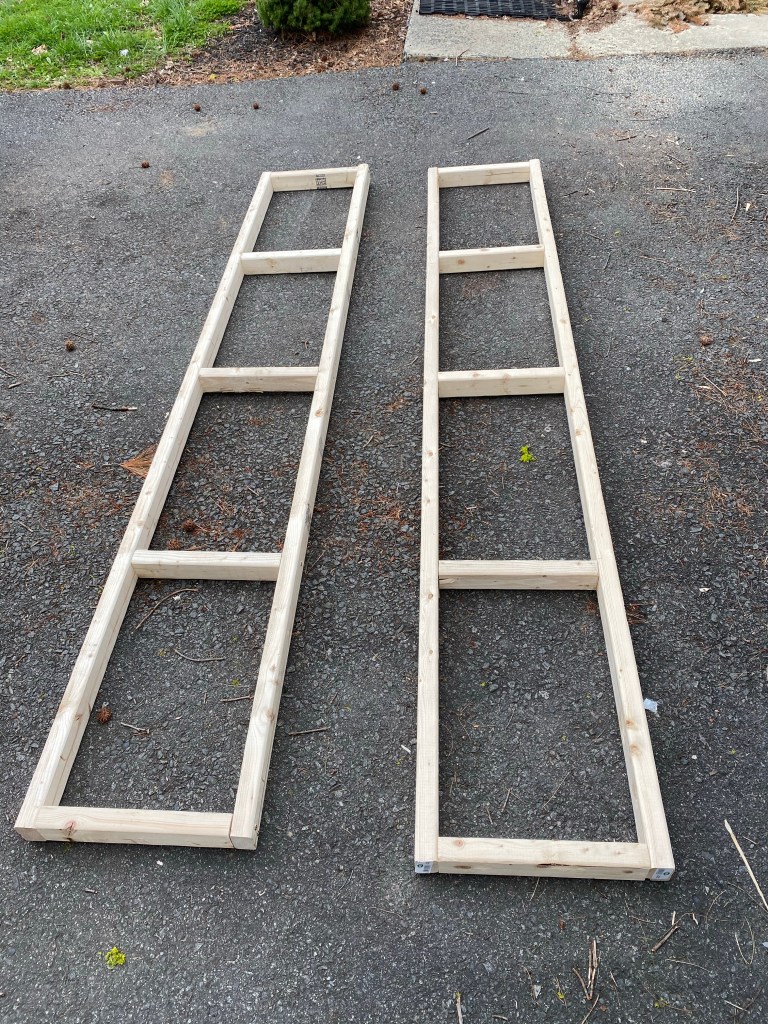
I screw my frames together and then use ring shank or underlayment nails to attach the deck to the frames.
The original instructions say to put the first shelf on the ground and use a post level to plumb the posts and screw the posts into the framing of the first shelf.
I have a bit of a phobia of trapping moisture under that first shelf so I never do that. Figure out what you’re going to store on the ground. For this shelf (which is going to be in my brewing area) I used 6-gallon carboys as spacers, but maybe you’re going to use storage tubs. Place a scrap of plywood on top of your spacers. Balance the first shelf on top of the plywood spacer.
Using your favorite clamps, clamp the posts to the shelf. Place your levels on the shelf, one front to back, the other side to side. Using the levels, figure out which corner sits highest. Put the post level on that post and loosen the first clamp a little. When you’ve got the post plumb, drive one screw through the post and shelf, leaving room for the second screw, which will be driven later.
Move to the second corner. Level the shelf, plumb the post, drive a single screw. Repeat for the remaining two corners.
Put your spacer assembly on the shelf, and position shelf two atop the spacer. Put the levels on the second shelf to see how well you did on the first. Clamp the posts to the shelves. One at a time, plumb the posts and drive two screws into the frame.
Go back to the first shelf and drive the second screw through each post.
Repeat the leveling process for all the upper shelves. Assuming you leveled & plumbed properly, they should go in easily.
Legal jibber-jabber
- As an Amazon Affiliate, I may earn commission if you purchase something linked from this page.
- Product reviews – unless stated otherwise, I have purchased all reviewed products with my own money.
- “Manufacturers claims” are exactly that. Their claims. If my text says “manufacturer claims” it means I haven’t checked it and I probably don’t have a way to check it. Hydrostatic ratings, R-values, Temperature ratings, etc.
- Follow these instructions at your own risk. I’m not a professional anything. I’m just some random human you encountered on the internet. I may or may not have any idea what I’m doing. I certainly have no idea what you’re doing. I accept no liability for injury, property damage or any other direct or indirect damages you may incur from anything on this page or any other pages I may or may not have authored.
- Copyright Reserved Creative Commons – Attribution, Non-Commercial, Share Alike . If I’ve inspired you, link back to this page. Don’t steal my text or photos. Feel free to modify my designs in any way you see fit. Don’t try to make yourself money from my ideas.
- Comments will be moderated. Those that add to the discussion will be allowed. Those that add nothing will be deleted. If you don’t agree with my decisions, get your own website.
- DON’T PANIC
