
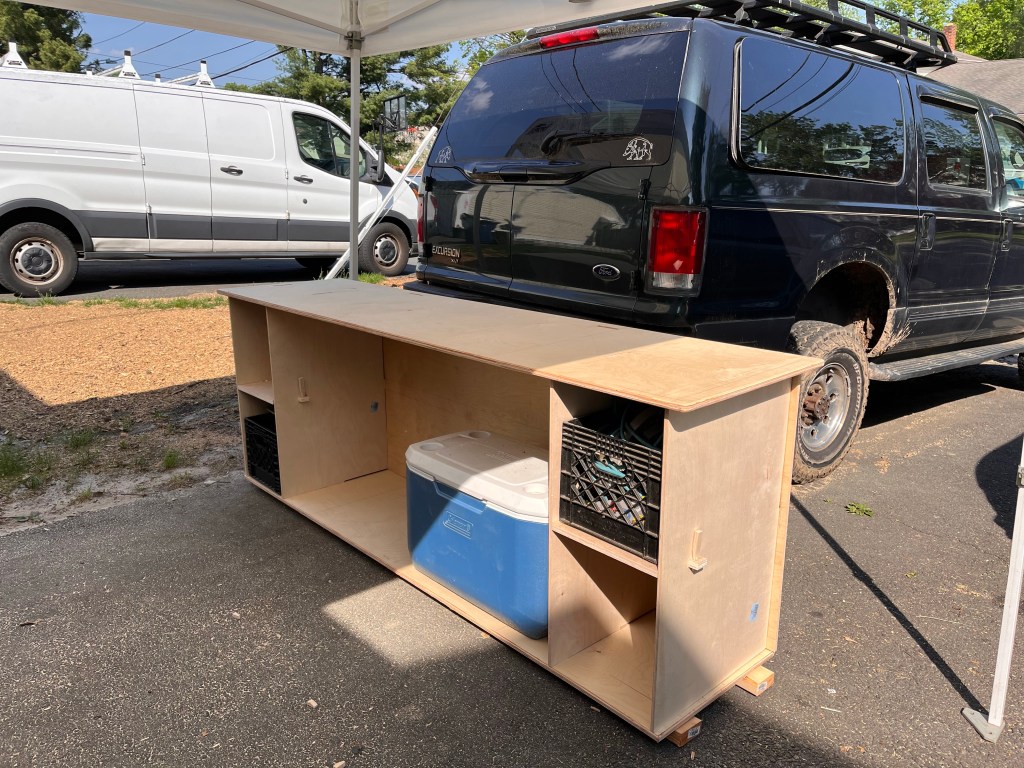
The first version of the kitchen was made from low quality plywood that I had on-hand. It was never supposed to be used a second time, but I never found the time to remake it with better quality materials.
We’ve used it for at least seven years, and I think I’ve identified all the shortcomings.
- Steel pins
- Shelves aren’t interchangeable
- Wasted space, shelves are too big for crates
- Paper towels get rained on.
- Doesn’t pack flat
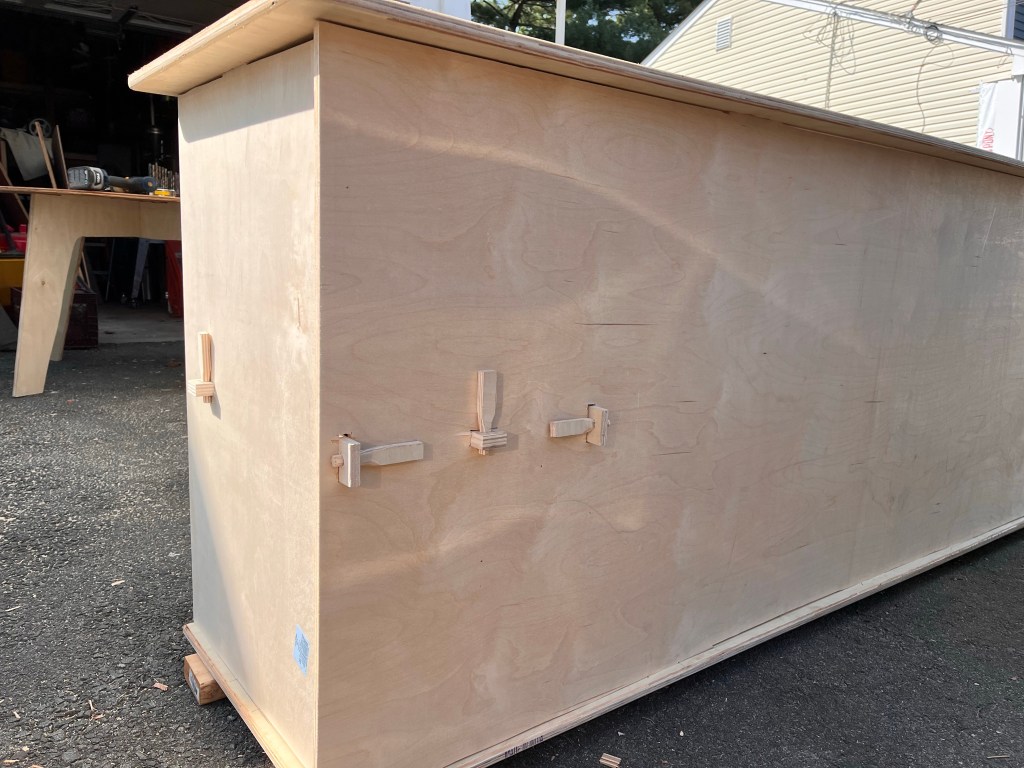
Version 1 was held together with 12 steel pins. I was always a bit leery of this system, because I can’t easily make steel pins while camping. The steel pins are being replaced with wooden wedges, which I’m sure I can easily replace mid-trip if needed. Also, the pins weren’t really locked in, so each time the “drawers” get pulled out, the rear pin for that shelf wiggles out a bit. Eventually the pin comes loose and I have to partially disassemble the kitchen to find the pin and then reinstall it.
When building the original, I held the shelves in place on top of the cleats and eye-balled the center of each side to drill a hole for the pin. None of them is actually in the center, so each shelf fits in exactly one position. The new model will eliminate two shelves and have two identical shelves.
Because the pins stand proud of the shelves, the crates have to fit inboard of the pins. This means there is about an inch of extra shelf on three sides of each crate.
The paper towel holder was an afterthought, and I just hung it on the front of one of the milk crates. If anything gets spilled on the countertop, it always runs down the paper towels. I’m going to put the towel holder totally under the countertop to protect it from spills.
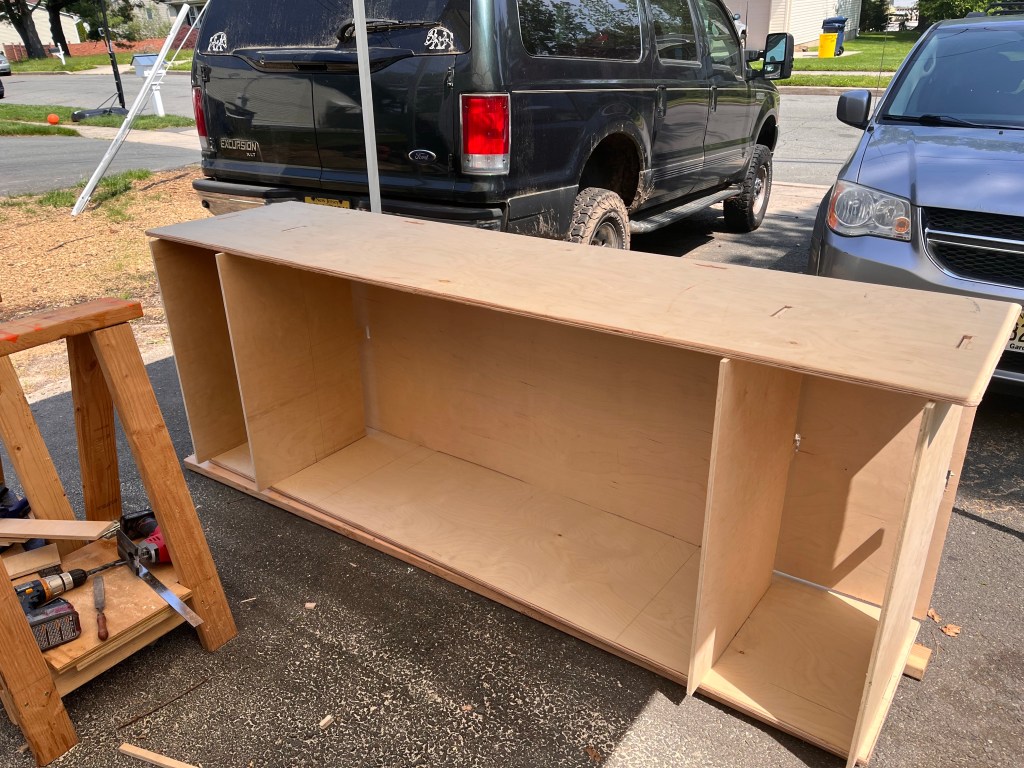
Lastly, the shelves sit on 2×2 cleats,and the underside of the countertop has cleats to secure it to the verticals. These cleats take up space and are difficult to pack around. I’m replacing the cleats and pins with mortise and tenon construction, so all my boards will pack flat.
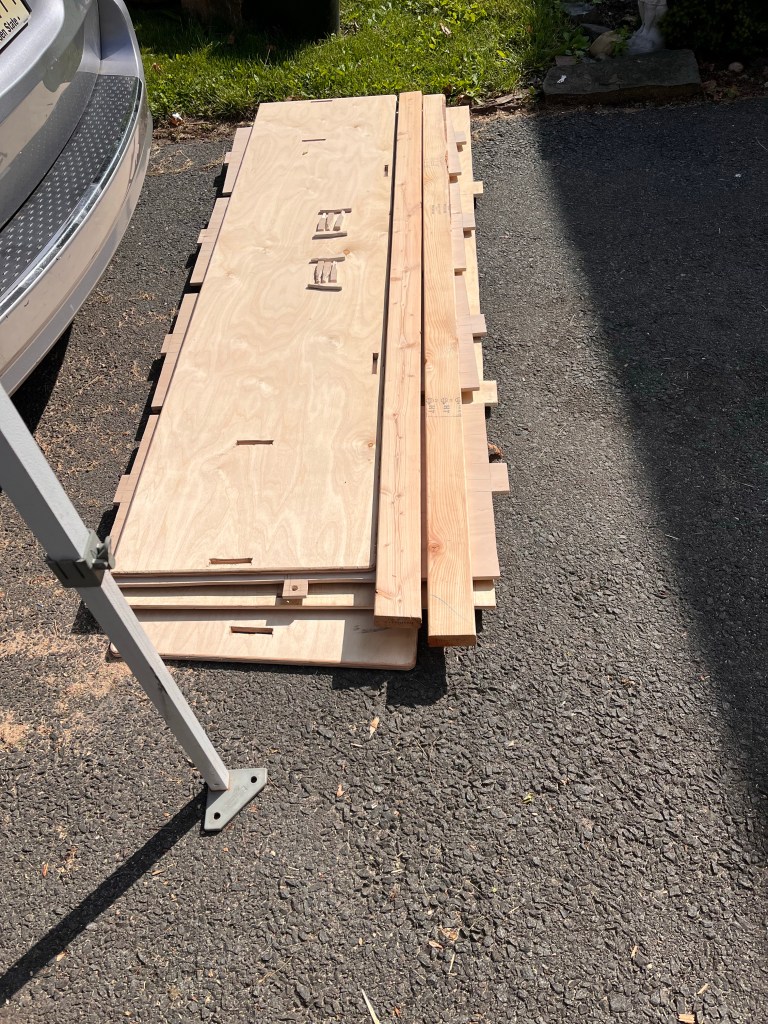
Last year I promised myself I would redo it before this camping season, so I bought some cabinet grade plywood as winter was starting to break.
Given that the biggest problem with the first version was that every piece was unique, I’m trying to make them as identical as possible this time.
I laid out the tenons and mortises before cutting panels out. (Which became a problem later on)
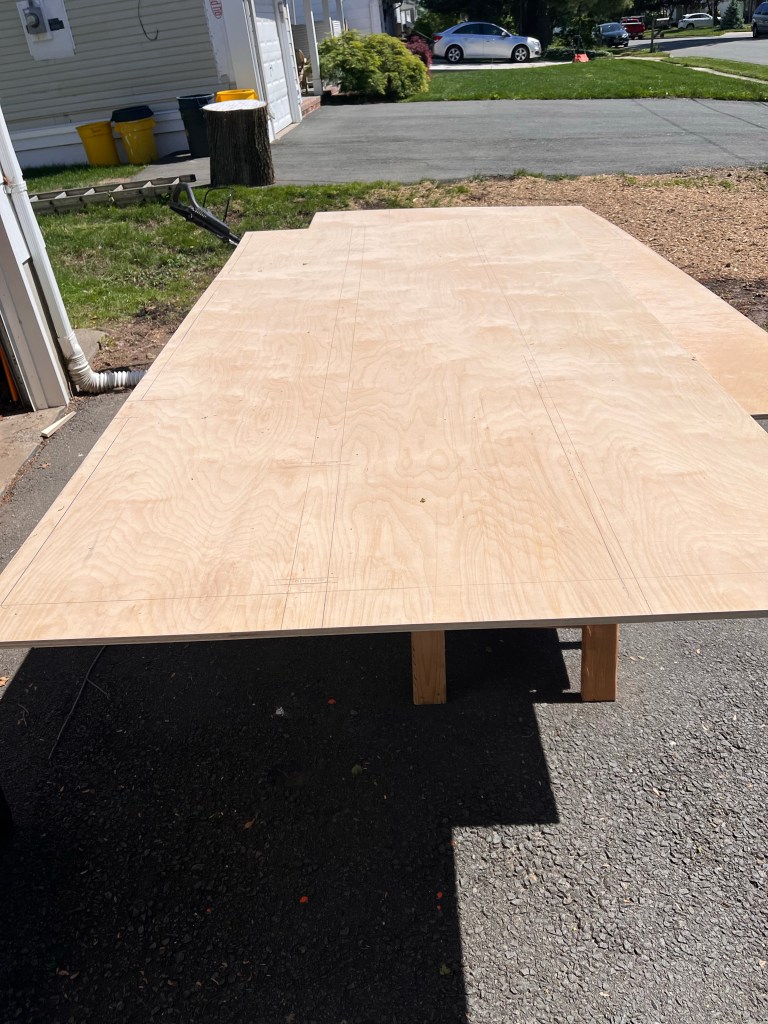
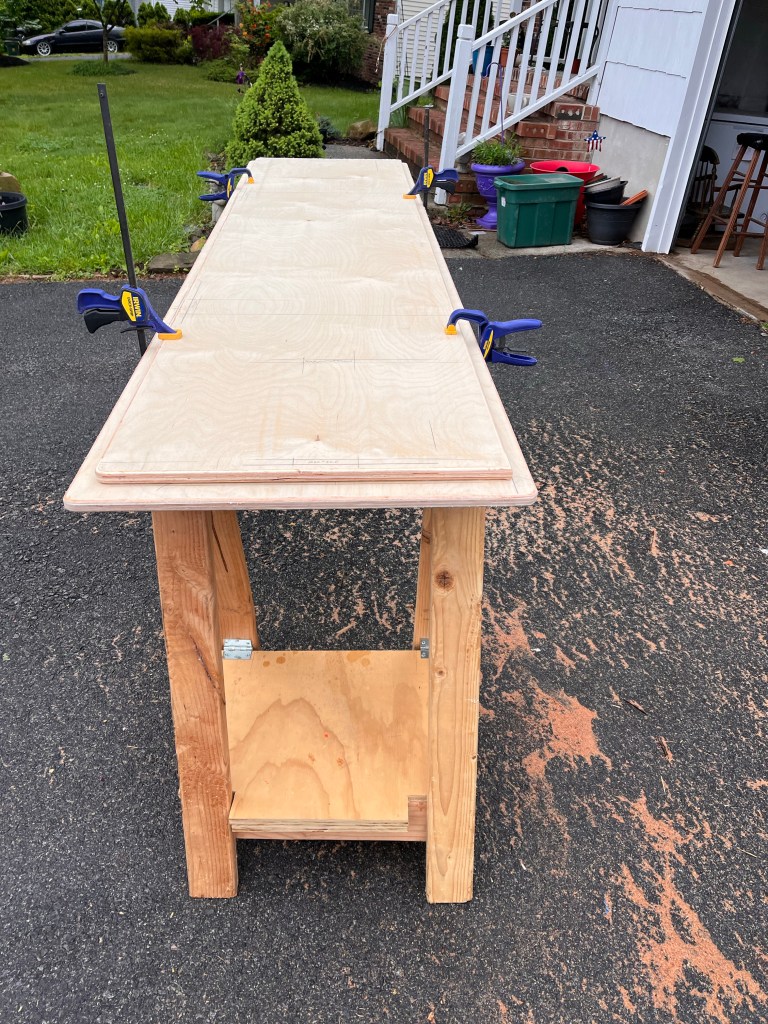
To ensure that the mortises on top and bottom panels are aligned, I clamped them together and drilled out the corners for each mortise hole.


Legal jibber-jabber
- As an Amazon Affiliate, I may earn commission if you purchase something linked from this page.
- Product reviews – unless stated otherwise, I have purchased all reviewed products with my own money.
- “Manufacturers claims” are exactly that. Their claims. If my text says “manufacturer claims” it means I haven’t checked it and I probably don’t have a way to check it. Hydrostatic ratings, R-values, Temperature ratings, etc.
- Follow these instructions at your own risk. I’m not a professional anything. I’m just some random human you encountered on the internet. I may or may not have any idea what I’m doing. I certainly have no idea what you’re doing. I accept no liability for injury, property damage or any other direct or indirect damages you may incur from anything on this page or any other pages I may or may not have authored.
- Copyright Reserved Creative Commons – Attribution, Non-Commercial, Share Alike . If I’ve inspired you, link back to this page. Don’t steal my text or photos. Feel free to modify my designs in any way you see fit. Don’t try to make yourself money from my ideas.
- Comments will be moderated. Those that add to the discussion will be allowed. Those that add nothing will be deleted. If you don’t agree with my decisions, get your own website.
- DON’T PANIC
