
Simple but labor intensive, I told my wife she only gets one of these per year. We decided on dry stacked concrete blocks for the beds the winter after we bought the new house.

The concrete blocks should last for years, but because they’re dry stacked it should be easy to remove these beds and repurpose this corner of the yard in the future.
There are two challenges with the land here; one, the land slopes noticeably and two, tree roots make digging almost impossible.
Step one is to have her stake out the corners where she wants the new bed
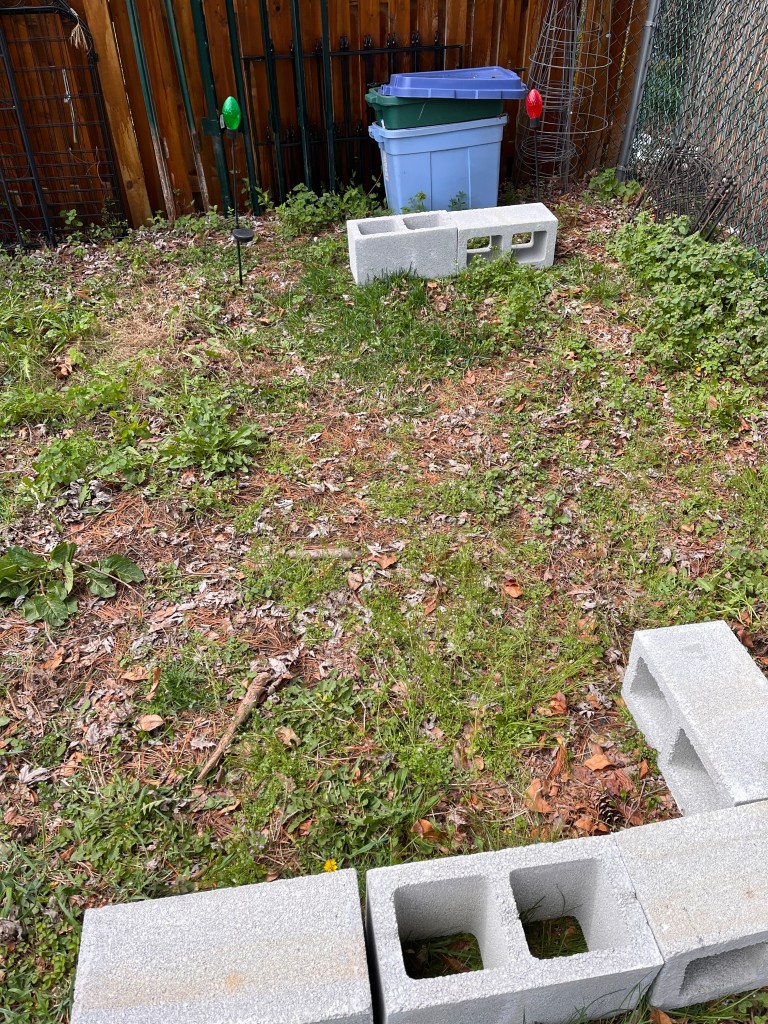
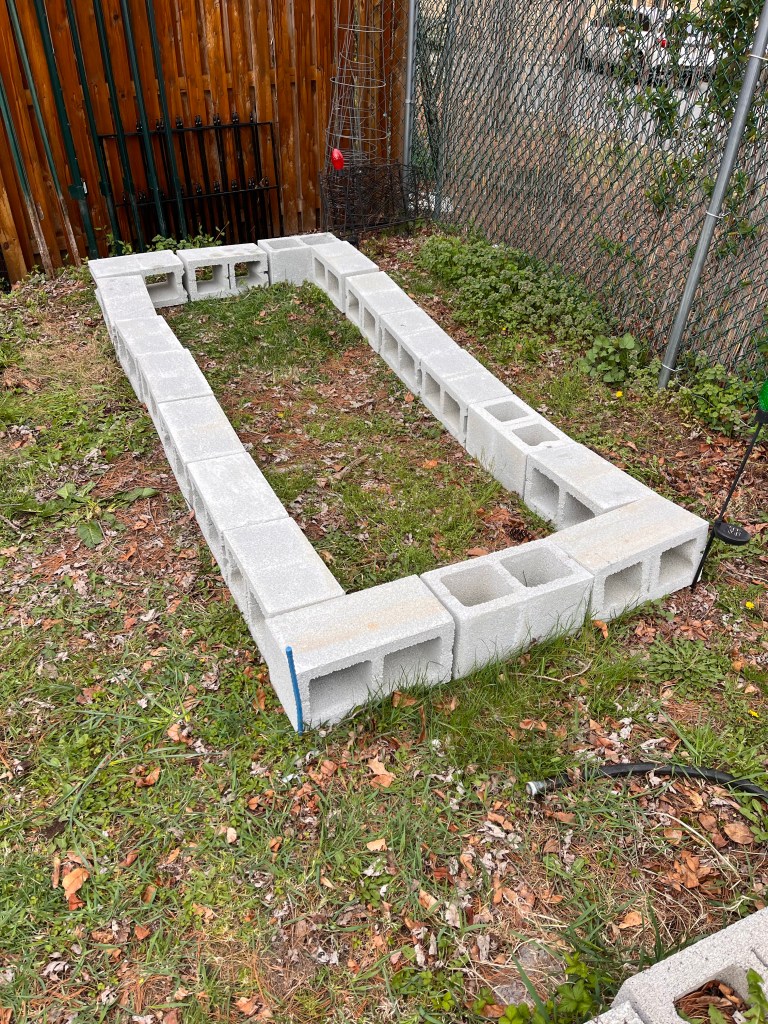
I roughly lay the blocks where the bed belongs, then fine tune the placement so it lines up with the other beds.
After my blocks are set where I want them, I mark out the inside and outside perimeter with spray paint.
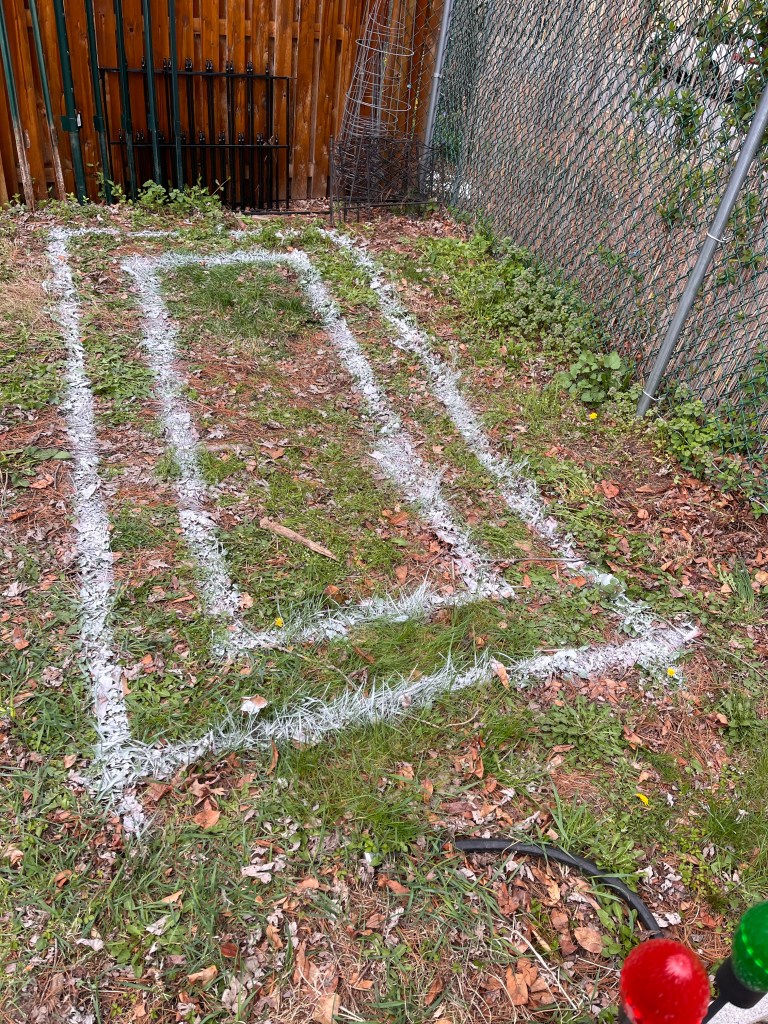
The next step is to trench out the space between the white lines.
I start by cutting the sod with a flat shovel and using a mattock to break up the soil between the lines.
I place the soil removed from the trench into the center of the future raised bed. I’ll add compost to the bed when I’m done.
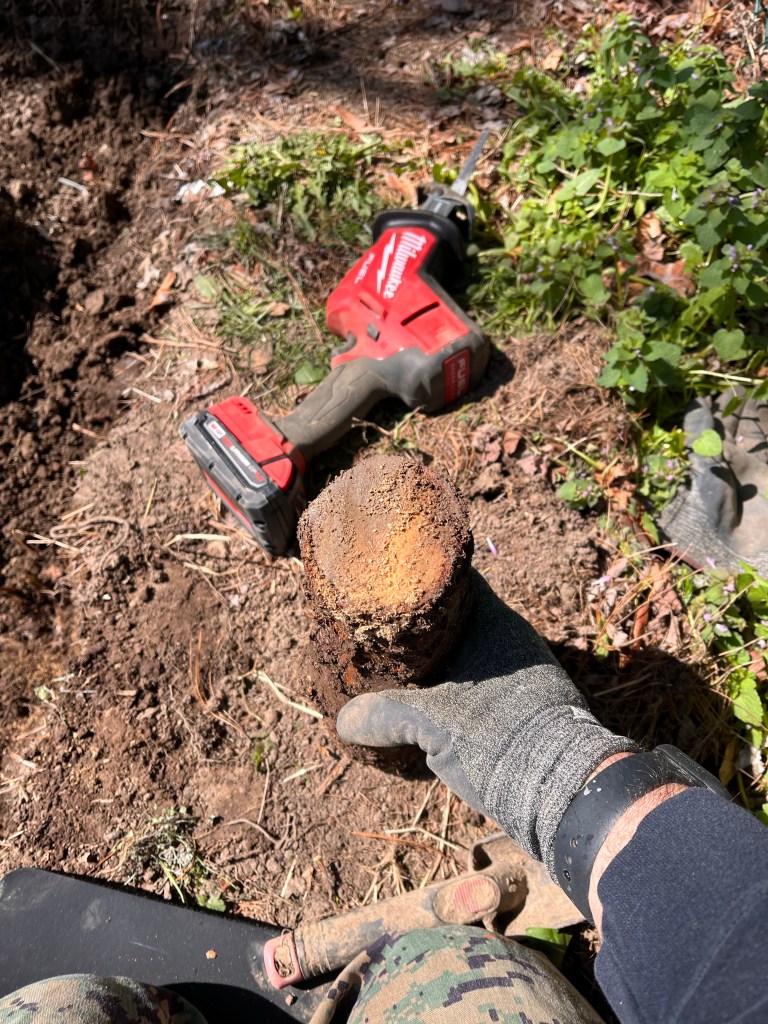
My reciprocating saw makes short work of any roots that come into the trench.

Once the trench is reasonably clear, the delicate bit starts – leveling the blocks.
I start with the lowest point of the ground. For this bed, it’s about the middle of the back side. You want the block here to be buried at least halfway so the earth keeps it in place.

As you place each block, you’re going to level it against the work you’ve already done. Once again, I’m using the SuperStrut as a straight edge.
This part of the process is tedious. Level the block against its neighbor with the long level. Level the block front to back and side to side with the torpedo level. Pick the block up, adjust the soil underneath with the trowel. Tap or pound it into place with the three pound hammer. Repeat until this block is perfect. Repeat until all 18 are perfect.
The second course is easy; just lay it down. You do need to offset your joints though. Just rotate the corner block and it takes care of itself.
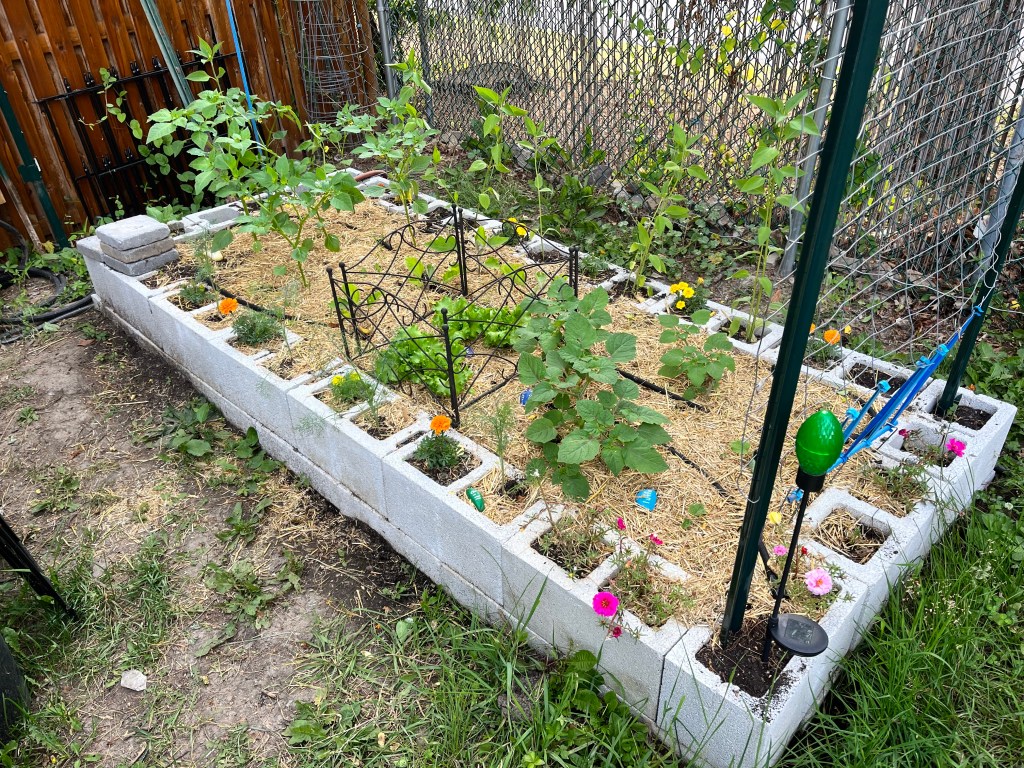
The cells around the outside are very useful. Some of them get flowers, which attract pollinators to the garden. Some of them get herbs. Some of them are used to anchor trellises.
