
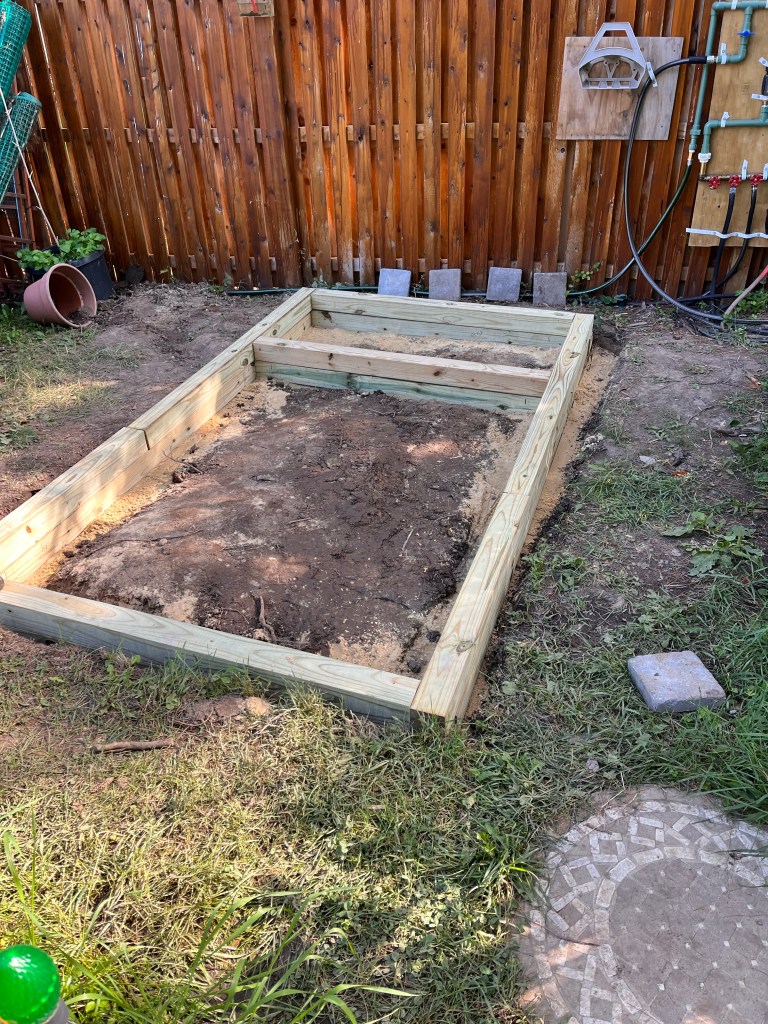
Birthday present for the wife this year is a space for working and sitting and storing tools and materials for the veggie garden. *
It’s a wee space, but it has room for all the bits & bobs she keeps in the garden.
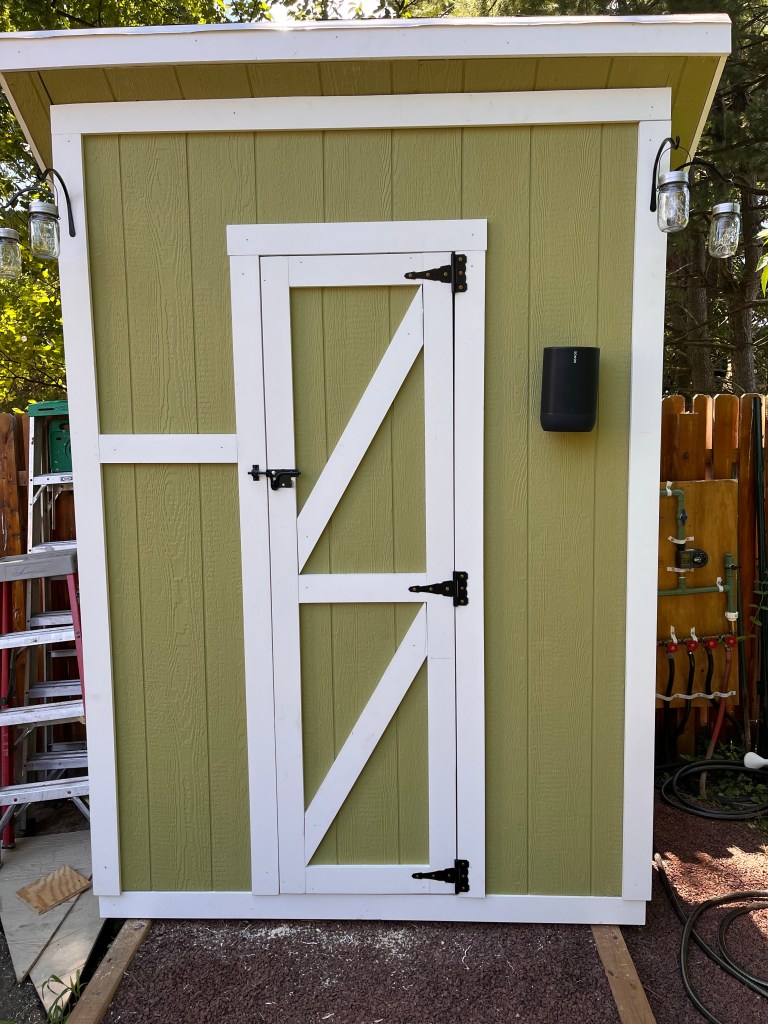
In addition to storage, she has a bit of a work space and a place to sit so she can commune with her plants.
I’m hoping that the storage /workbench will corral some of the chaos in my wife’s garden. That glass table is what she currently uses to store unused pots and her garden tools / supplies.
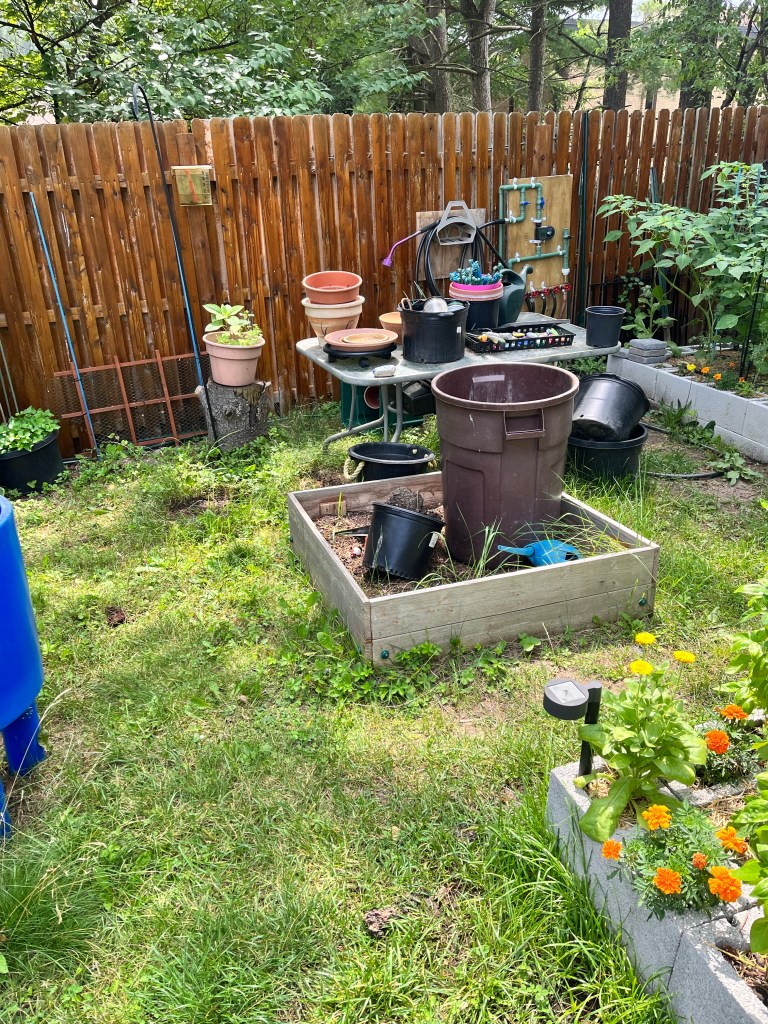
The footprint of this space matches the footprint of the raised beds. When the garden is completed, the workspace will be the back wall of the garden and the table will be just about in the center.
Unlike the beds, I’m framing this block with pressure treated lumber. The EPA says PT lumber shouldn’t come in contact with food, so I won’t use it where I grow food.
Construction Day 1
Loaded up with rakes and picks and implements of destruction.
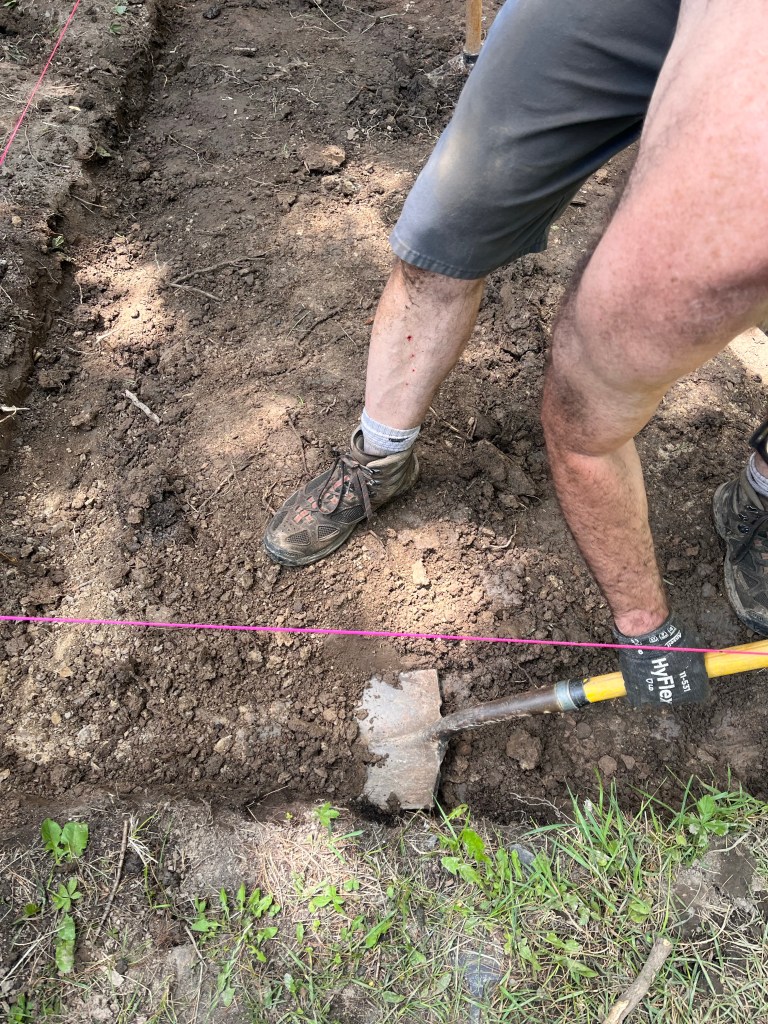
As usual, there are a ton of roots to deal with.
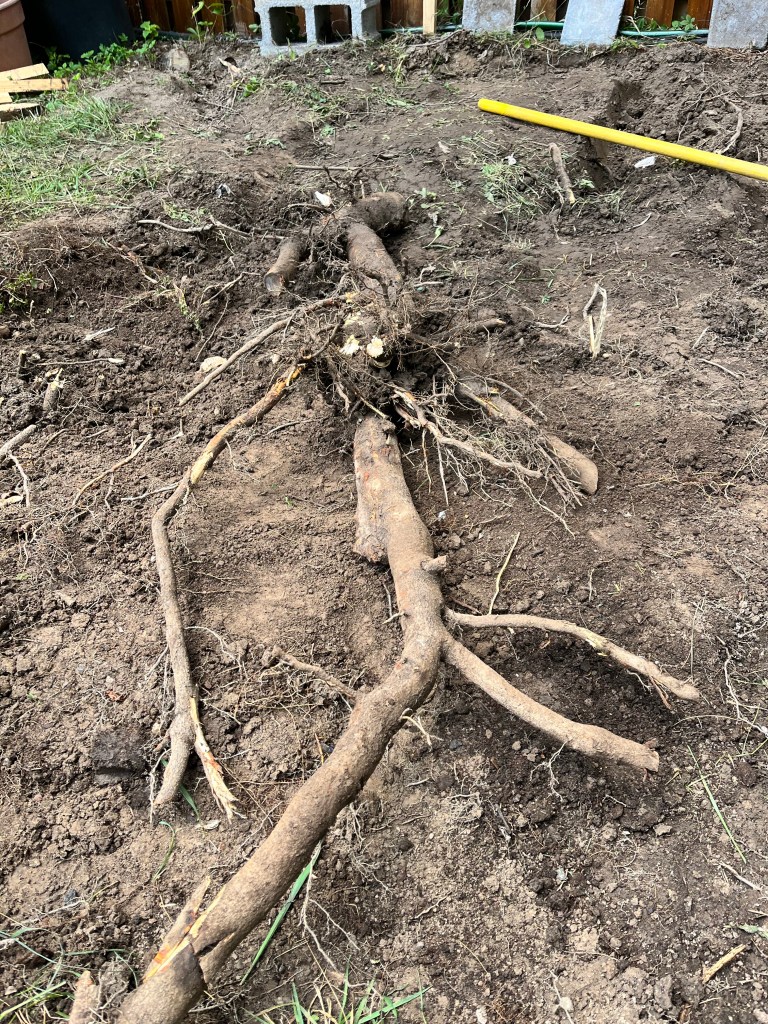
Once I got all the roots out, I leveled the bottom of the hole.

Construction Day 2
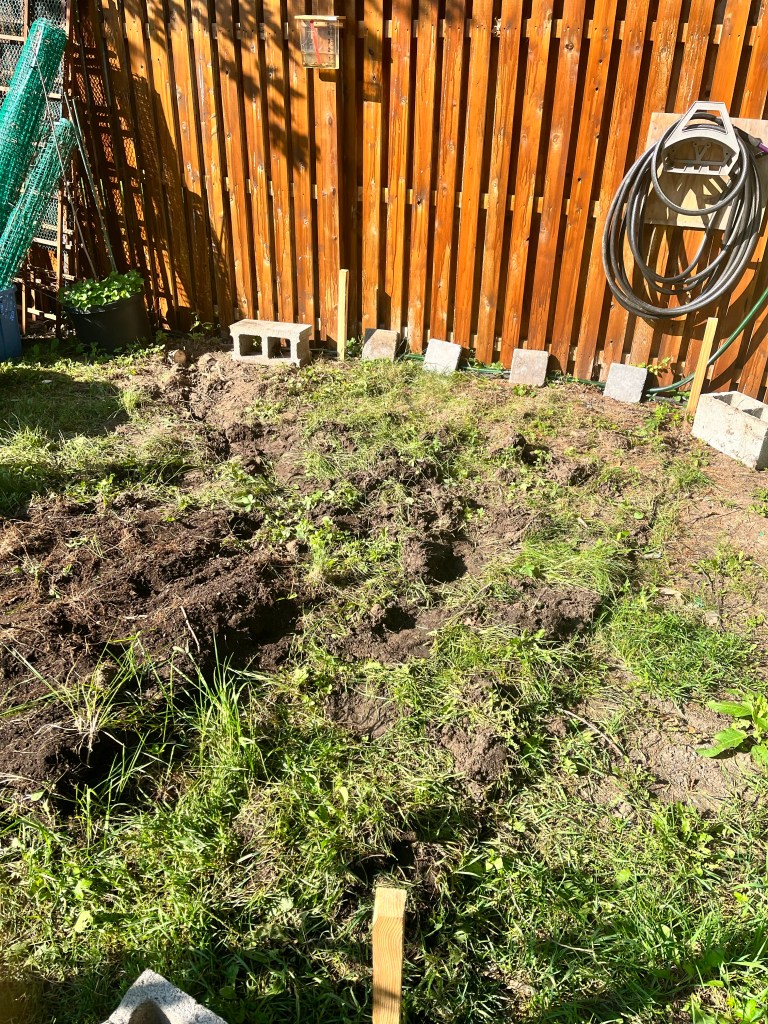
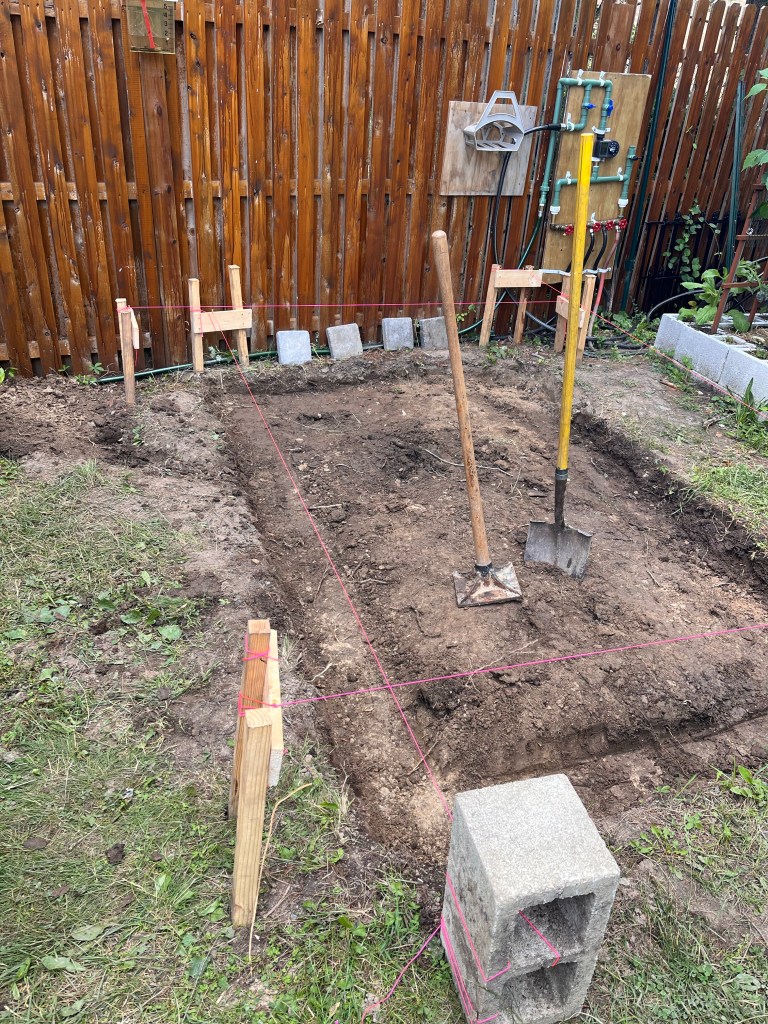
Trying to make a square hole for my square peg
The real hassle of working with the Earth is that it isn’t level or square or even close to those things.
So batten boards are used to create a level, square shape floating above the earth. Then you can use a tape measure or story board to fix the bottom of your hole.

I probably should have put these up before I started digging. I needed two helpers to get them squared. I’m sure someone smarter than I am knows how to do this solo.
Turns out that I still had a lot of digging to do.
Once I had the perimeter trench deep enough, I used my tamper to make a hard flat bottom.
I highly recommend that you get a gate wide enough to drive through. It makes delivering materials to the job site so much easier
Then I added a layer of sand & tamped that down too.

And now, after a day and a half of work, it finally starts to become a carpentry project. (This is a temporary situation, see Day 3)

And now, I get to level each board to itself and it’s neighbors. Because of the sand, it’s a relatively easy process. Hit the high side with the 3 pound hammer. Or use the trowel to add a bit of sand if the board is too low.
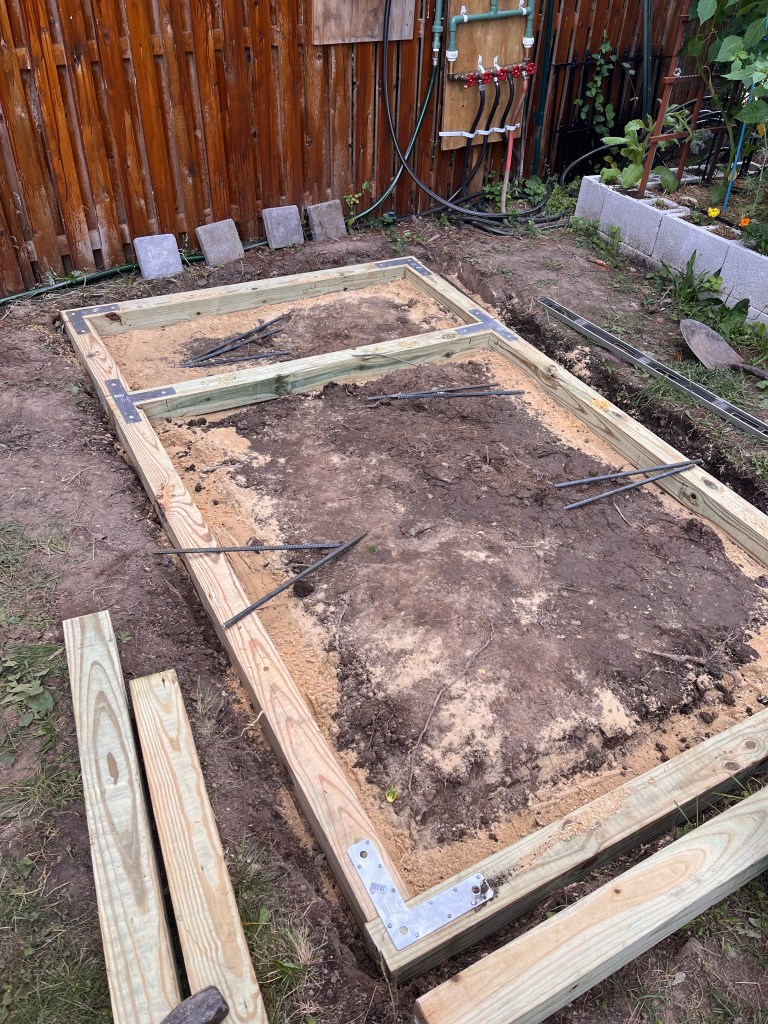
I tied the seven boards together with Simpson Strong Ties. I used 12 rebar pins, 24” long to secure the assembly to the ground.
While I was at Lowe’s, I learned that a two foot length of rebar is actually more expensive than a ten foot length. Given that I own metal cutting blades for my Hack-zall, I made my own pins.
After the first course was done, time to add the second one. Make sure all of your joints are staggered.
The upper layer of 4x4s is secured to the lower with 60d nails. I used the 3 pound hammer to drive them. And at least twice, I drove them through the Strong Ties.
Construction Day 3
Cleveland Rocks?
Today was a day of mindless labor, eventually. But first I had to figure out how to make my open sided utility trailer capable of carrying gravel without spilling it down the road.

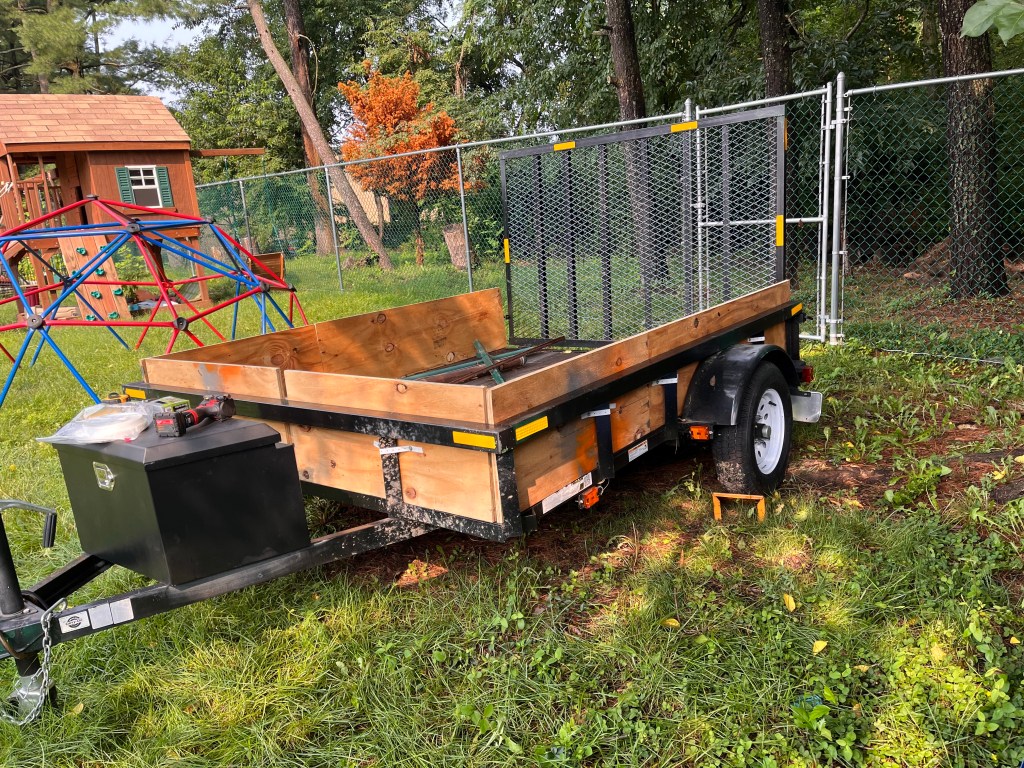
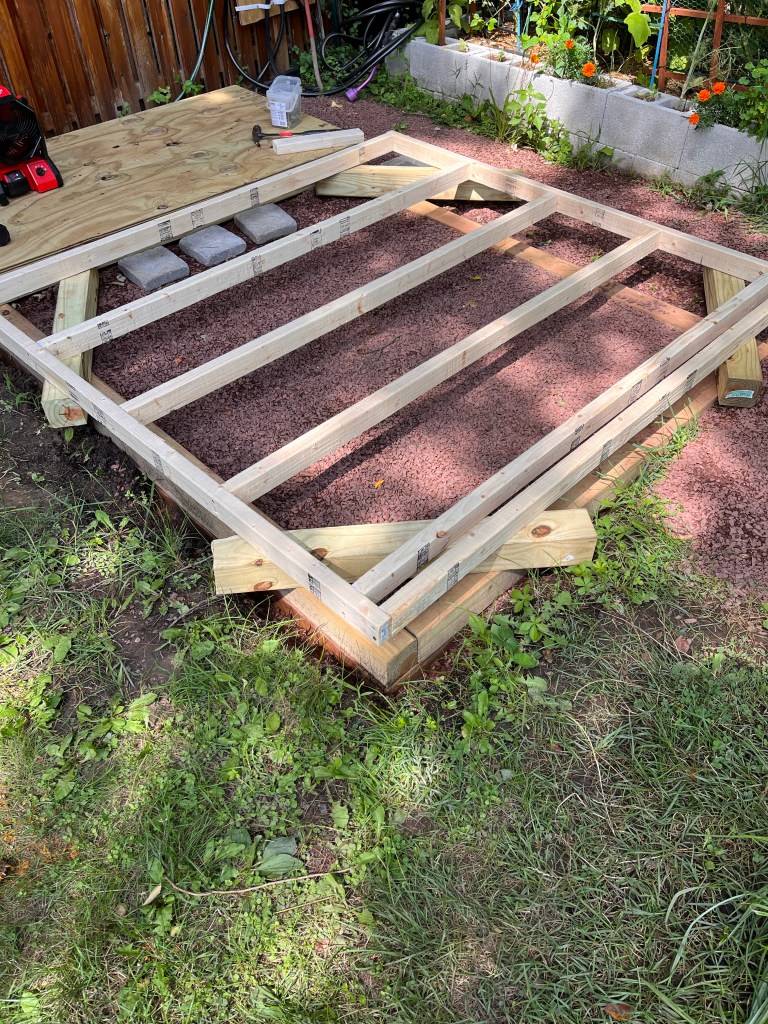
After that, it was time to move 1.5 tons of 3/8” red stone.
I tamped it down every few loads, so I’ve got a pretty solid base. I’m going to put pavers down on the patio section so the furniture doesn’t sink.

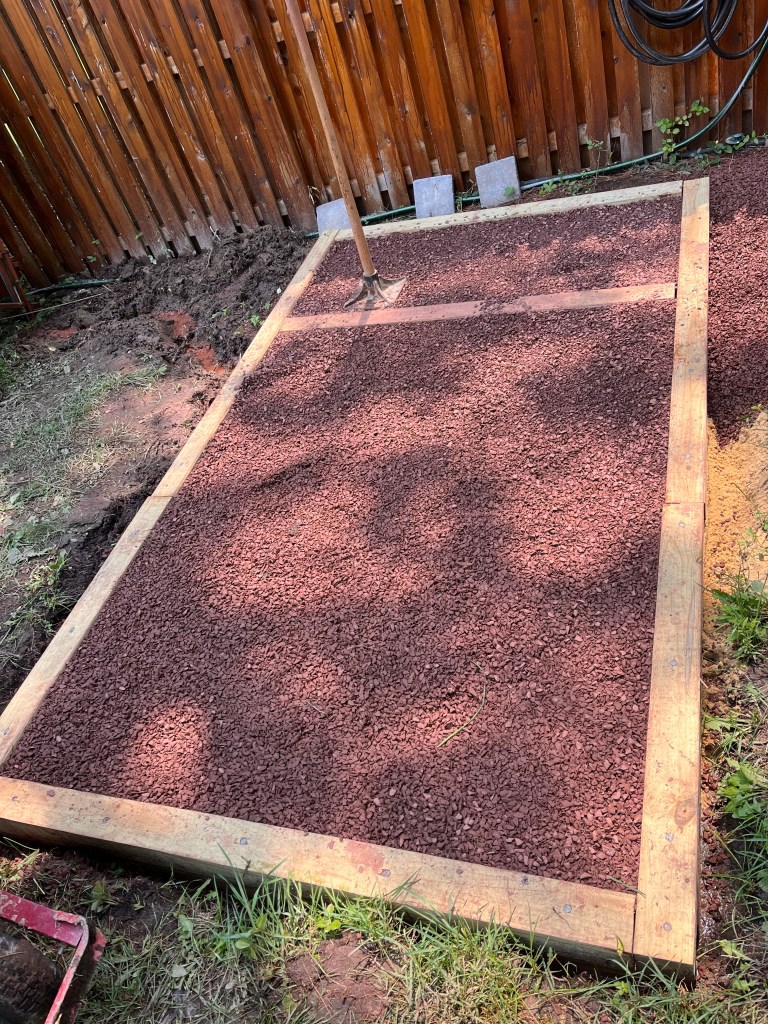
The left over red stone was spread around between the raised beds. I’m going to need at least two more loads to complete the walkways.
Construction Day 4 (half day!)
In which I climb out of the mud
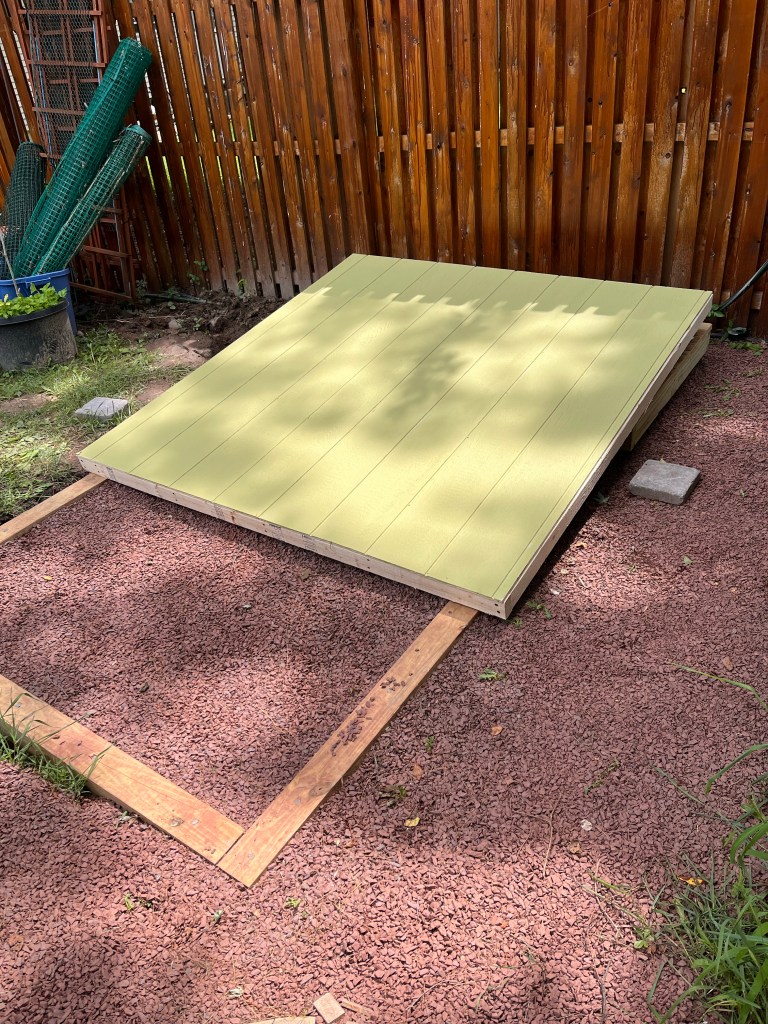
Today I built the floor for the storage unit. Framed with PT 2×4’s and decked with 3/4 PT plywood.
For most applications, 2×4 is too small for floor joists, but there’s never going to be any real weight in here and the span is only 24 inches.
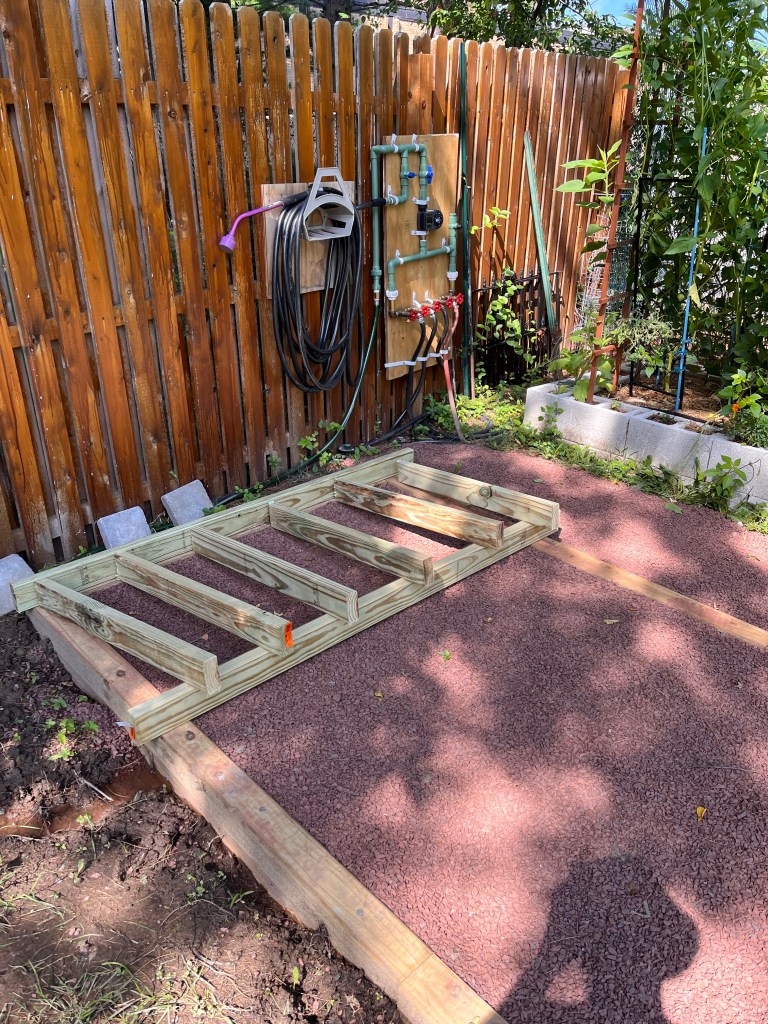
So, the motor of my driver is kind of chunky. I had to prop the frame up on scrap 4×4 as I was building to make clearance for it.
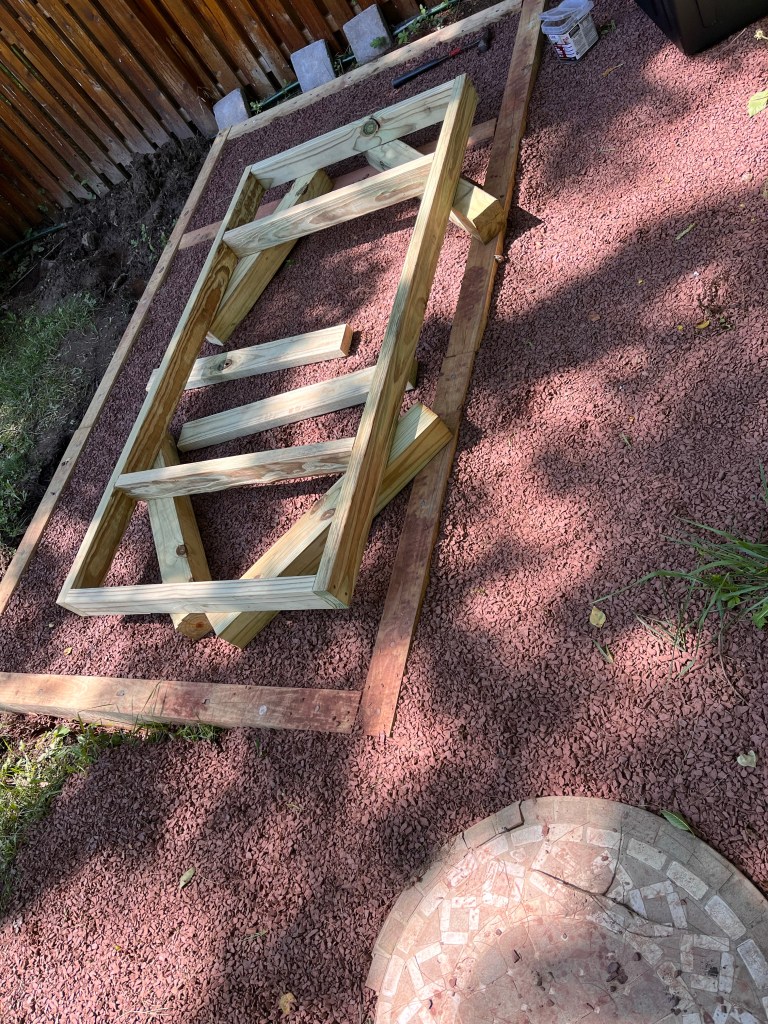
Of course, if I had used nails, I wouldn’t have had this issue.

It’s obvious that I’m going to have to sheathe the back wall before it goes up. Also, the convenience hose will be moved from the fence to the side wall. And the rain gauge will be relocated or replaced.
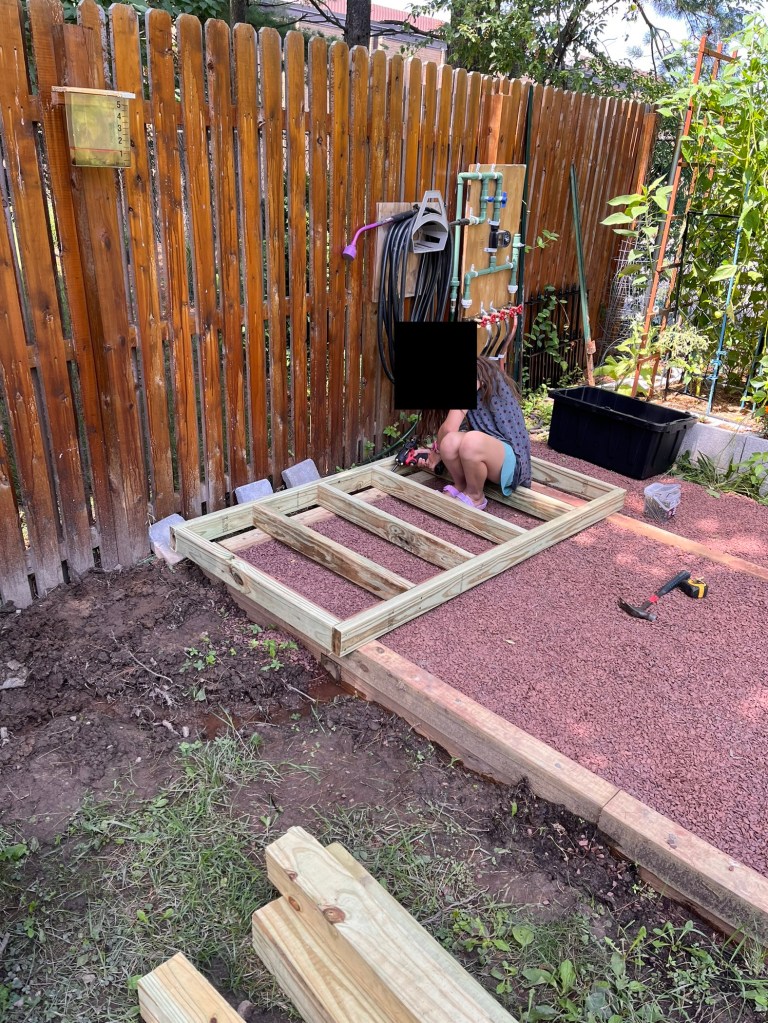
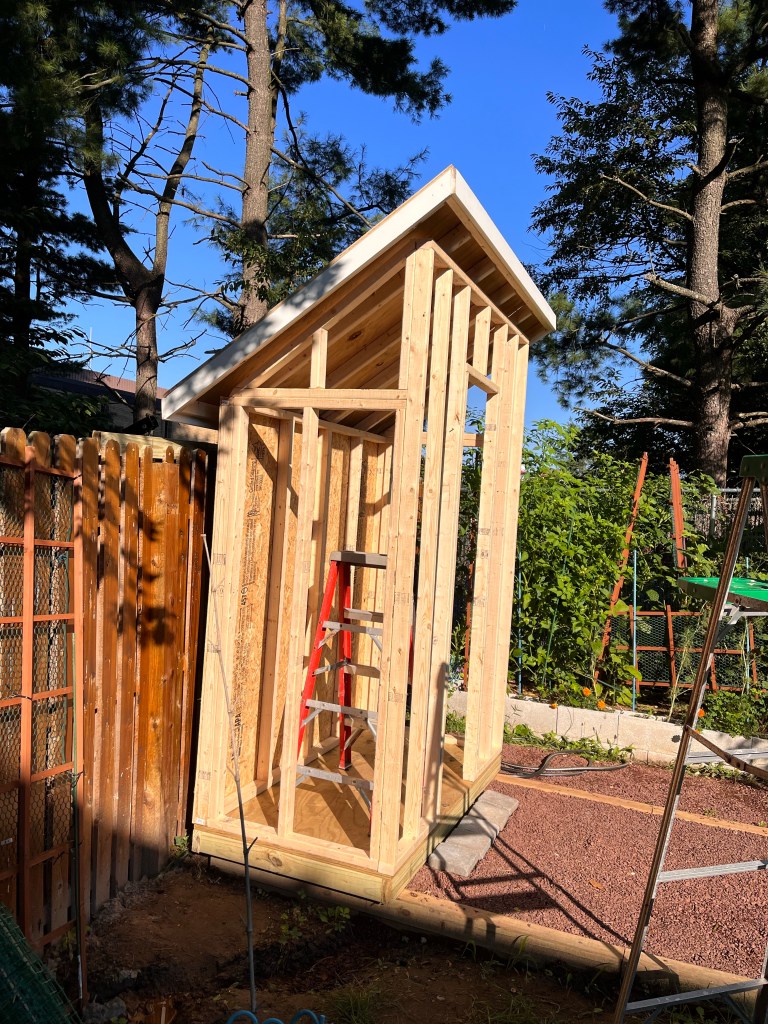
Construction Day 5
The beginning of walls
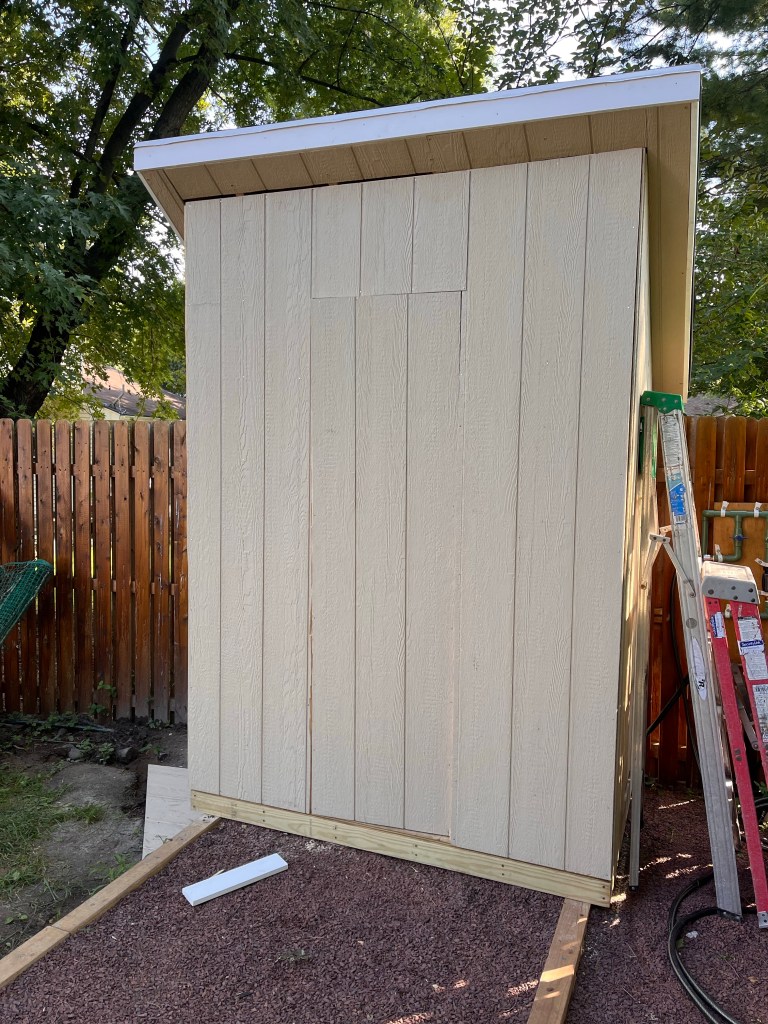
I started with that back wall. Seventy-two inches tall and sixty-nine (nice) wide.
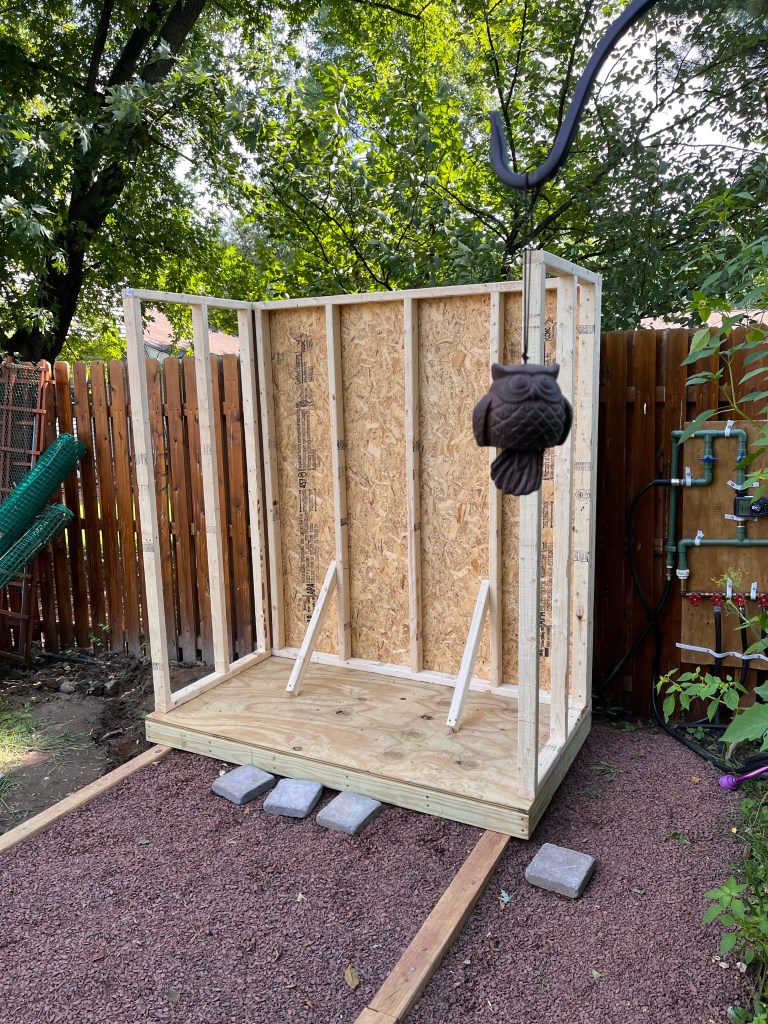
I decided to side the storage with T1-11 sheets. These sheets have a groove every 8 inches so you know where your studs are in normal construction. These grooves also help conceal your nail heads. Of course the front wall, the most visible wall, is too small for the studs to be on 16″ centers.
The back wall had to be painted before I put it up, as there’s not enough room to get behind there with a roller.
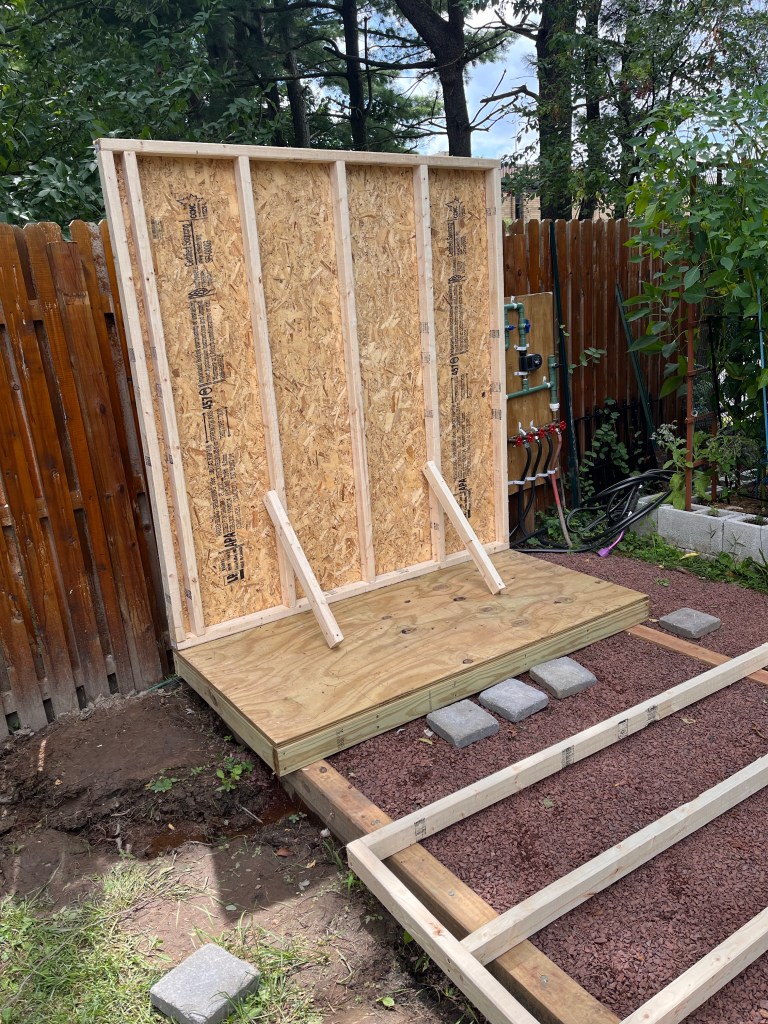
The two side walls are simple rectangles, 36″ wide, 72″ tall.
Construction Day 6
A day with lots of math
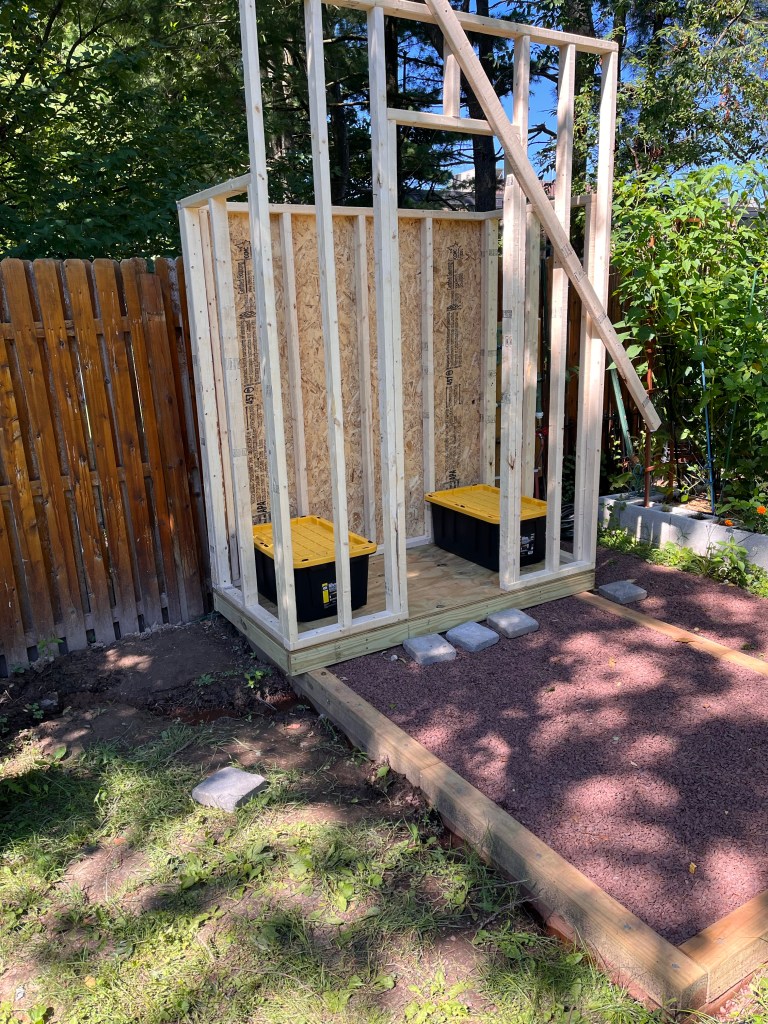
The front wall is broken up into three sections, left, door, and right. but framing a door requires jack & cripple studs and a header. And then I have to calculate the angles for the roof and build two gables. So lots of scratching my head and mathing. (I’d rather be nailing and screwing on a weekend, but this is a family friendly blog.)

As you can see, the three sections of the front wall are pretty narrow. All of these studs are centered in their sections as opposed to being on 16″ spacing.
I’m not planning to sheathe the walls until after the shelves are done. It’s kind of tight in there to work.
Construction Day 7
In which I’m hoisted by my own petard. **
Apologies, there aren’t many photos of this day.
For some reason, I decided to frame and sheath the roof on the ground and then lift it onto the walls. What I didn’t count on was the weight of of this assembly.
I leaned it up against the front wall and realized that there was no way I would be able to climb the ladder with this over my shoulder.
But, I own an engine hoist. which is really nothing more (or less) than a small crane.


I actually got the roof about a foot higher than shown in this image, but the bottom was moving out more than the top going up. If you realize that the business end of the hoist is moving in a circle around the central pivot it makes sense.
I’m going the move everything to the neighbor’s yard and lift from there. I’m certain it will be more effective, because I have two feet less height to contend with. Hopefully it will be enough more effective to get the roof on. The sheathing is secured with ring shank nails, which really don’t come out very well.
Construction Day 8
The roof, the roof, the roof is on….top!
Another day with few pictures. When I’m lifting heavy things, I don’t think to stop and take photos.
Anyway, I didn’t want to break the pickets on my two year old fence, so I installed some temporary reinforcement.

Moved everything over to the neighbor’s yard – roof, saw horses, engine hoist. And the roof went up smoothly.
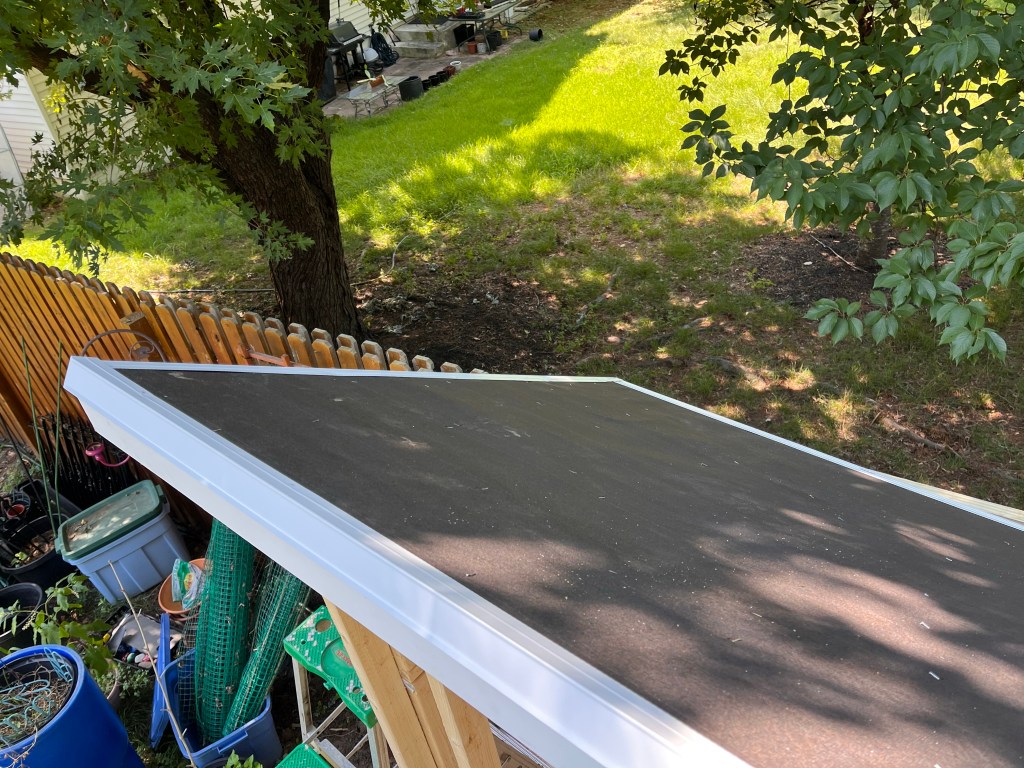
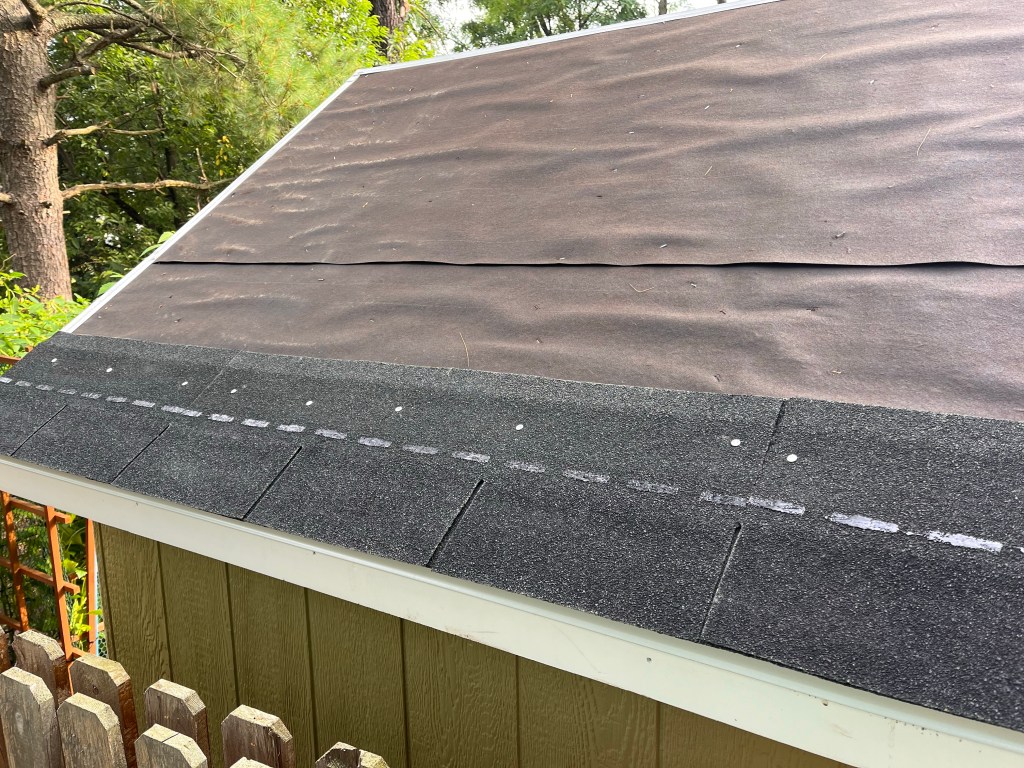
I put on roofing felt and aluminum drip edge before I had to go to work. It still needs the roof shingles.
Pro-tip 1 – when you’re removing screws that are only partially threaded, back them all out halfway before removing any completely.
Pro-tip 2 – when you buy a new tool (hammer tacker for the roof felt) make sure you own hardware that fits the tool. Hammer tracker max staple size, 3/8”. I own about 2000 1/2” staples. Had to run to the store just to get staples.
Construction Day 9
A whole new level
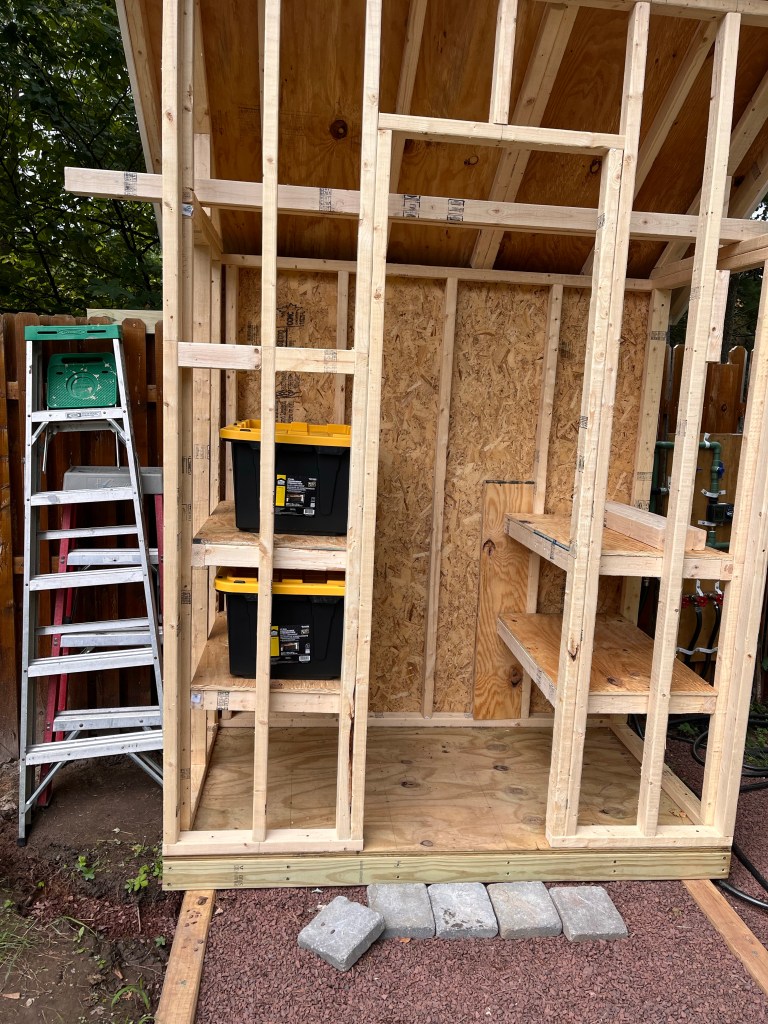
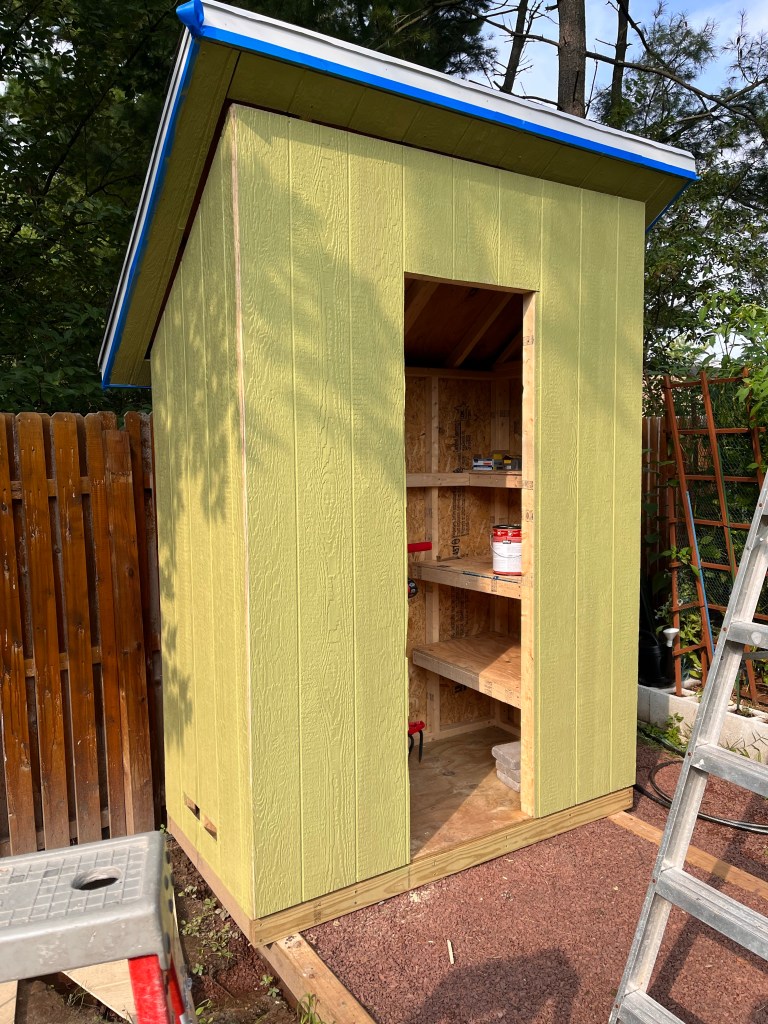
Installed the shelves today. And did some prep for final details.

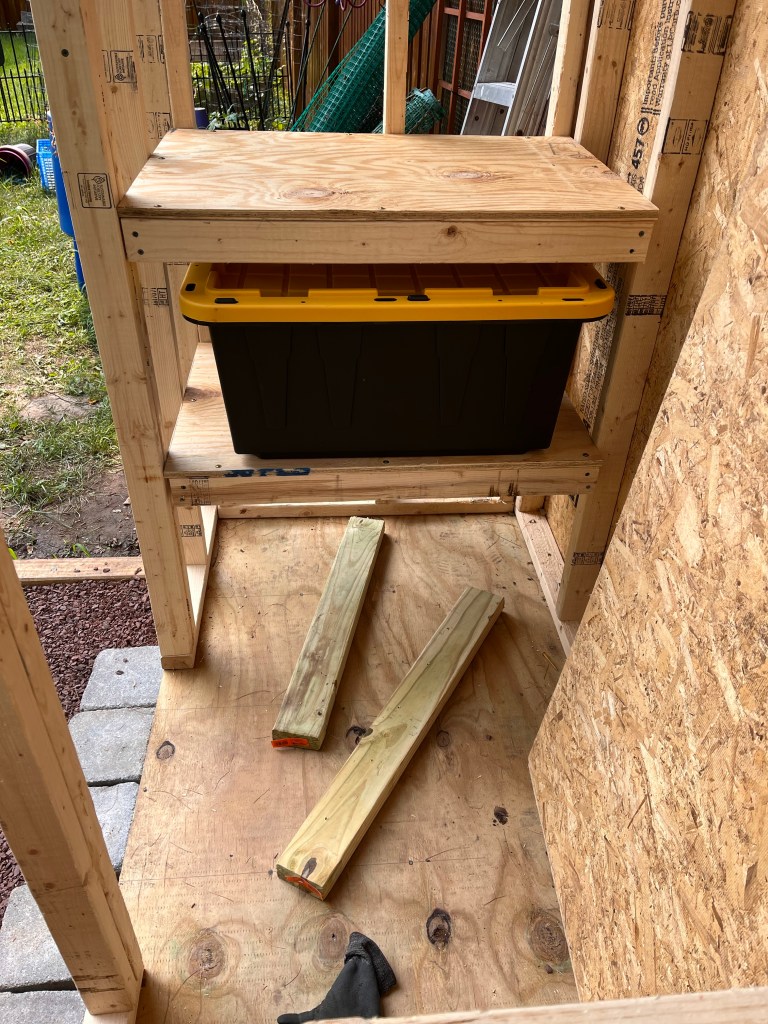
Since I know where some things will be installed on the outside, and I know that the sheathing won’t really support anything long term, I added some blocking.
Back to the scraps note from day 3, most of the shelf framing & the accessory blocking came out of my off cut pile. Being smart about waste will lower your project costs.
Ignore those 2×3’s across the top, those are being kept to the side to frame out the door. They are the two best 2×3’s I have left.
Construction Day 10
In which we measure twice, cut once and still waste an entire sheet of sheathing!
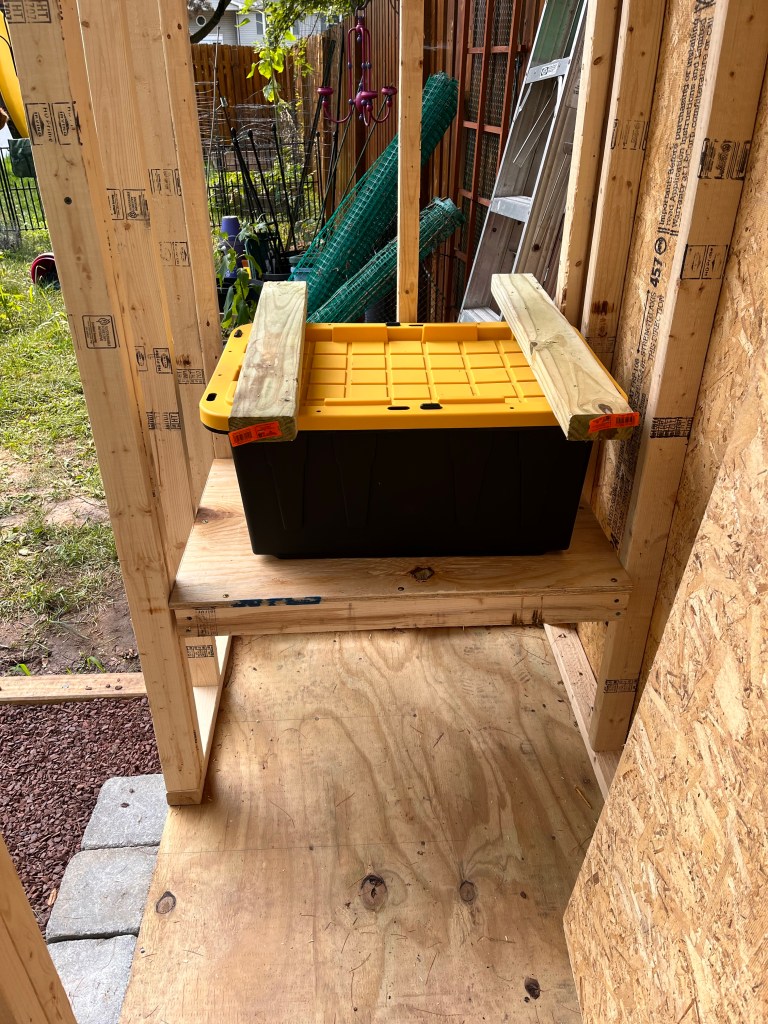
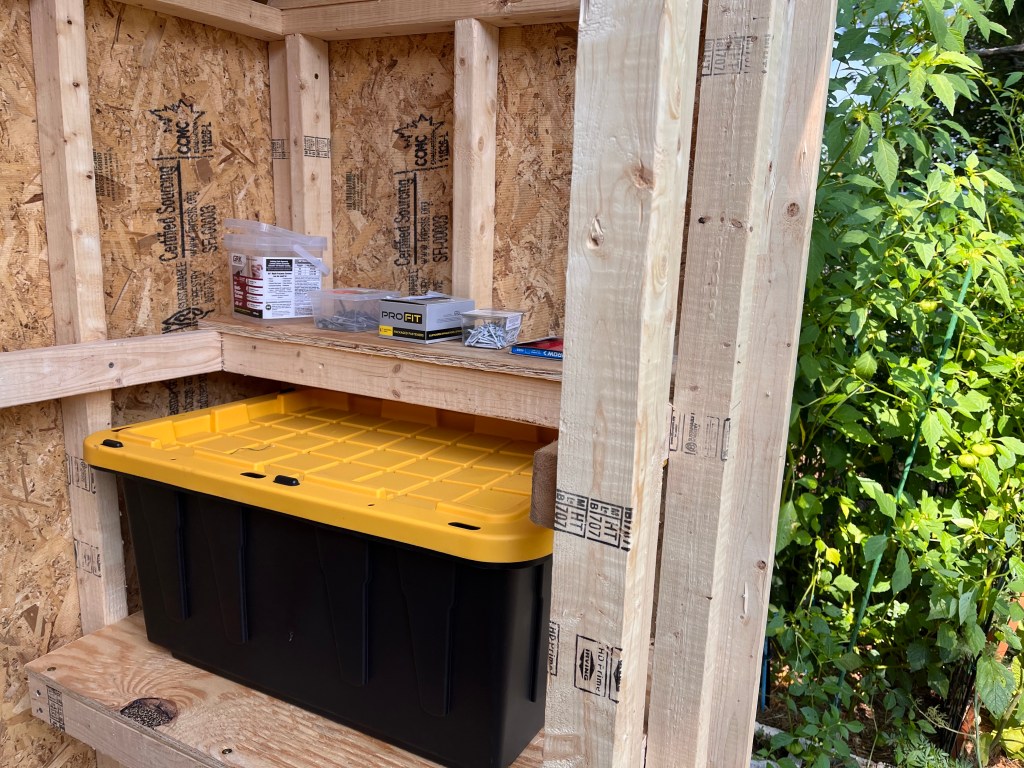
Today the first thing was to finish up the shelves. My wife wants a pair of shallow shelves.
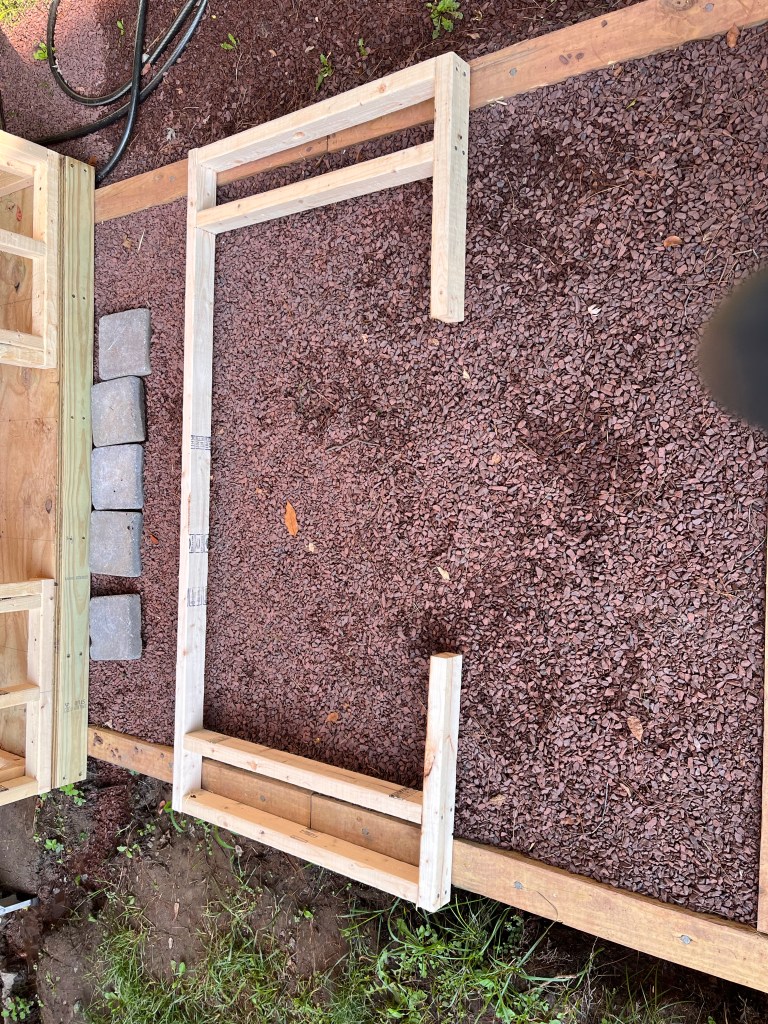
This C-shaped frame supports two 10 inch deep shelves. The shelves are too shallow to attach to the studs, so the extended frame solves that problem. It will also give a place to screw hooks to keep tools in their places.
I had to slide the frame in from the side, it won’t fit through the door.
Now it’s time to start sheathing the sides.
The first sheet went on great. After I figured out how to hold the sheathing up in the correct position, and hold a nail, and swing a hammer all at the same time.
Luckily, the bottom of the sheathing is 8” off the ground at the front of the left side. And I have a 8” concrete block just lying around not being used for anything.
So, the block was used to prop the bottom edge of the sheathing up until I got the first half dozen or so nails in.
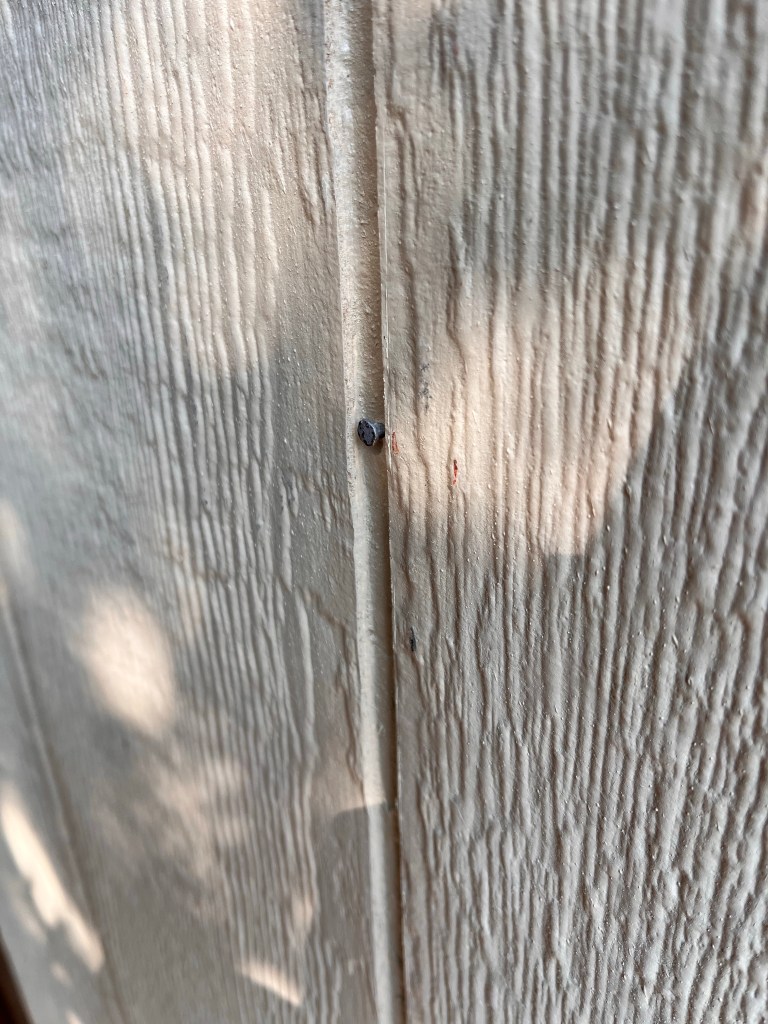
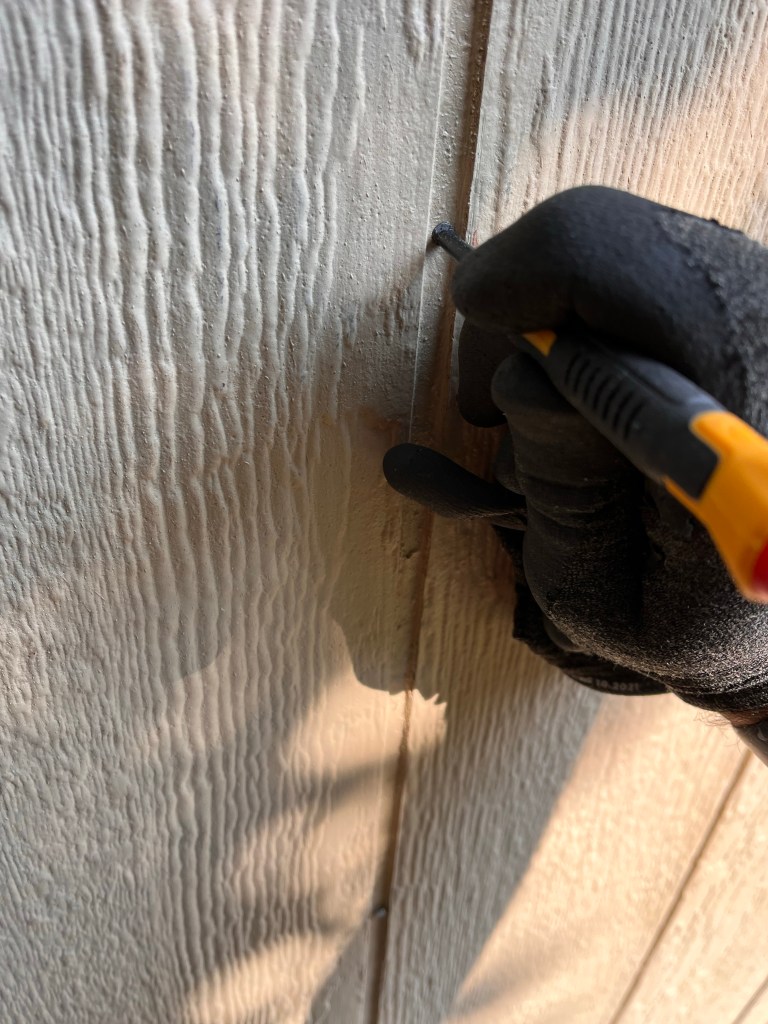
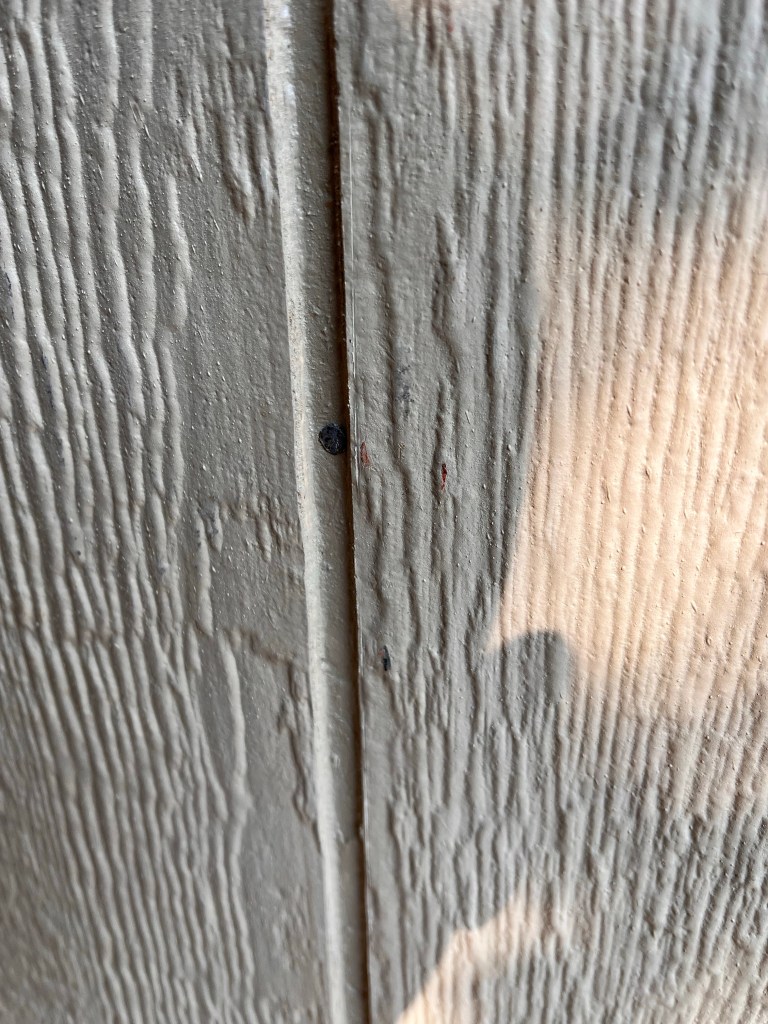
The grooves on the T1-11 are great for locating the studs, but terrible for driving nails.
Day 11
There is always room at the top.
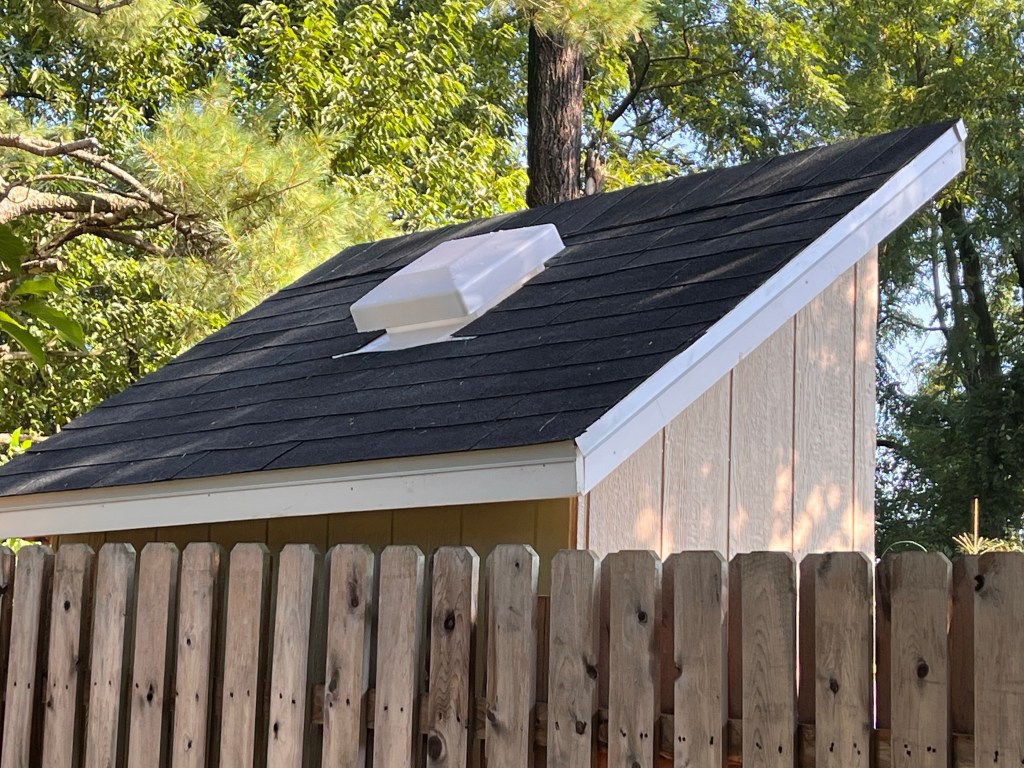
Just for giggles, roofing shingles cover 33 square feet per bundle. My roof is 35 square feet!
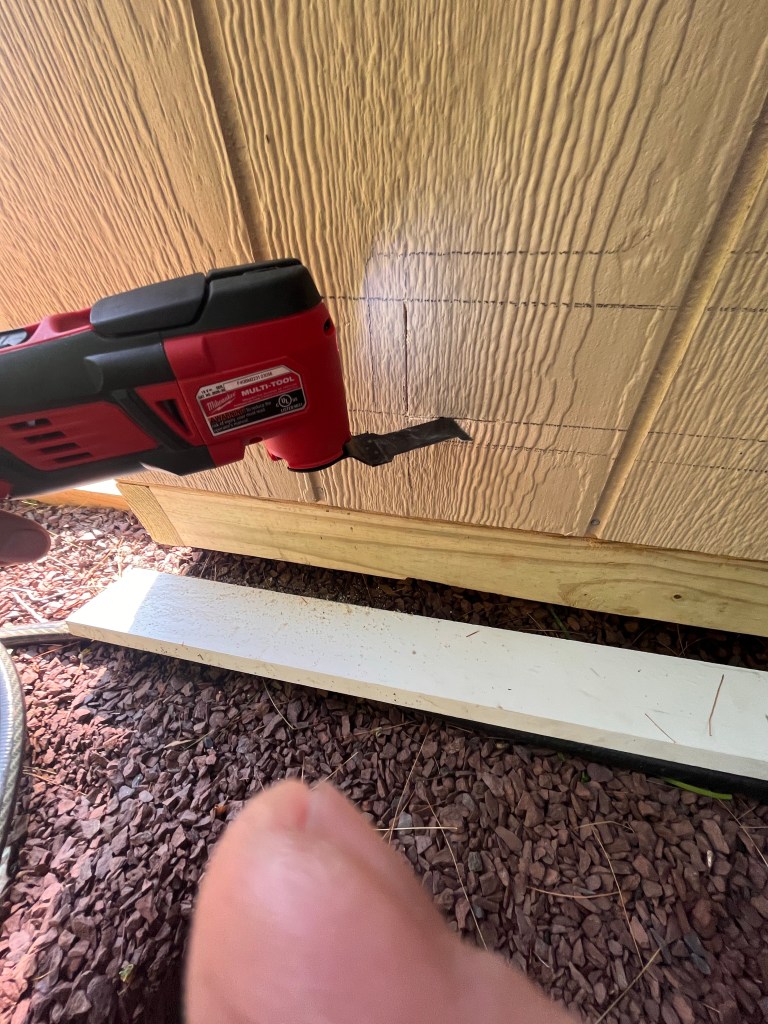
But because I’m super extra, I need to cut a hole in the roof.
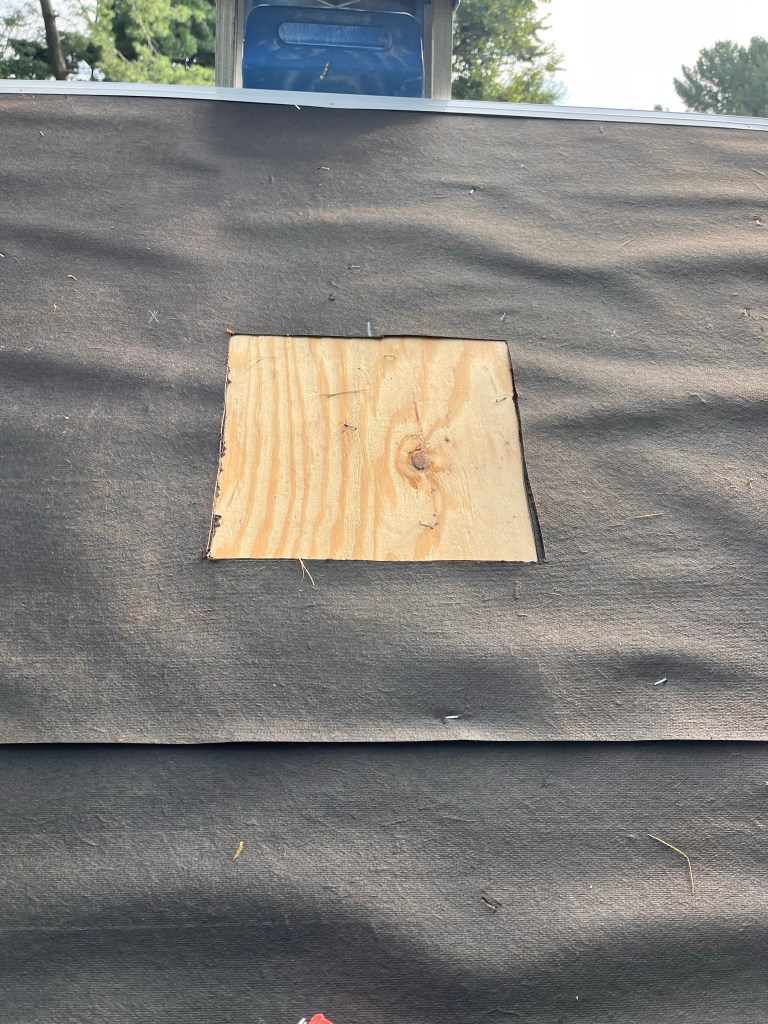
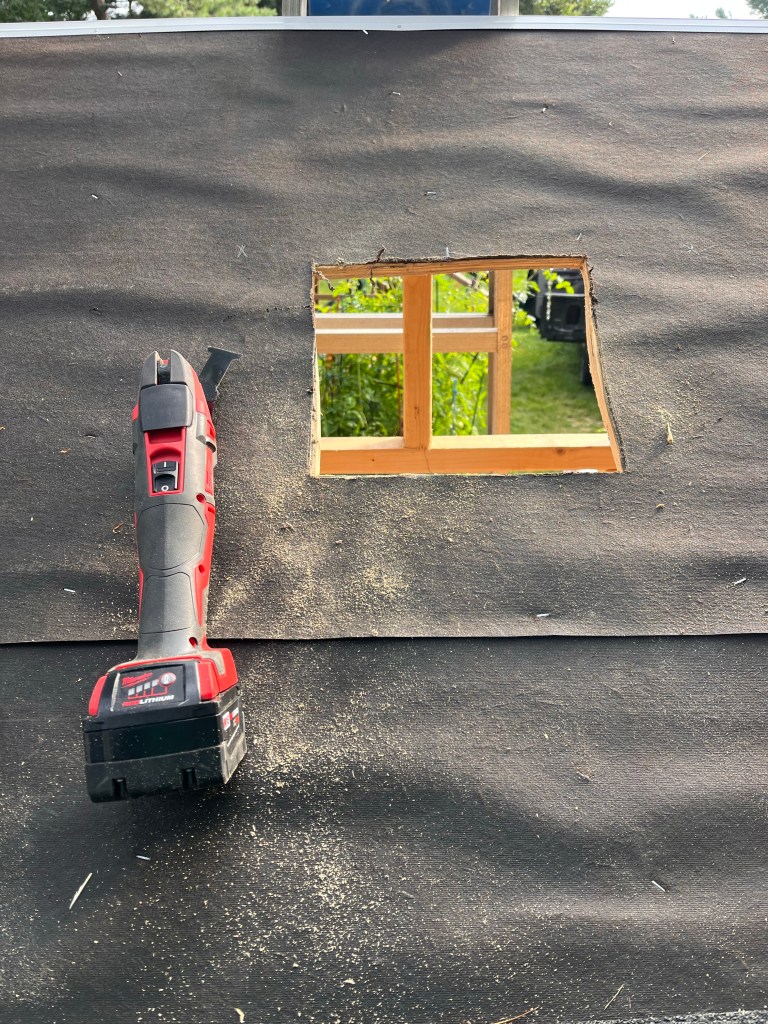
I used an oscillating tool (also called a Guybrator) to cut a hole in the roof deck.

What’s worse than a dark shed? A hot dark shed. This is a one piece vented skylight. It should keep the storage space about the same temp as the outside and let in plenty of light.
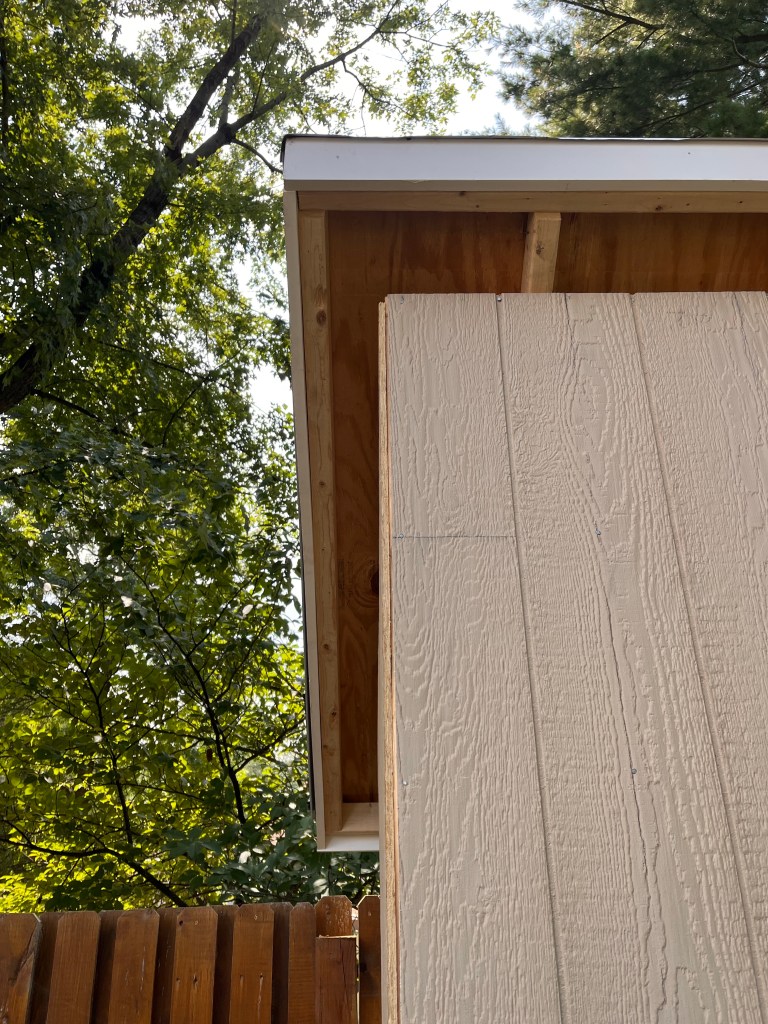
Day 12
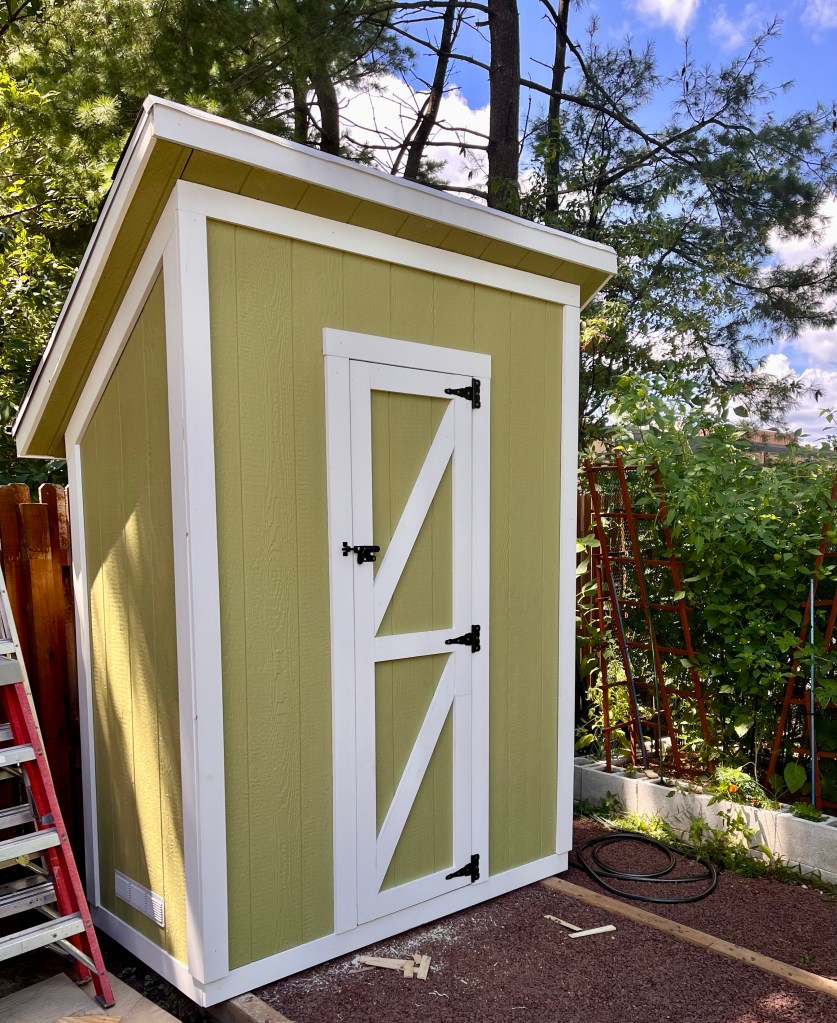
Front wall sheathing, soffit, building the door
The louvered vent will go on after paint.


Somehow I didn’t take any pictures while building the door frame.
Day 13
My precious!
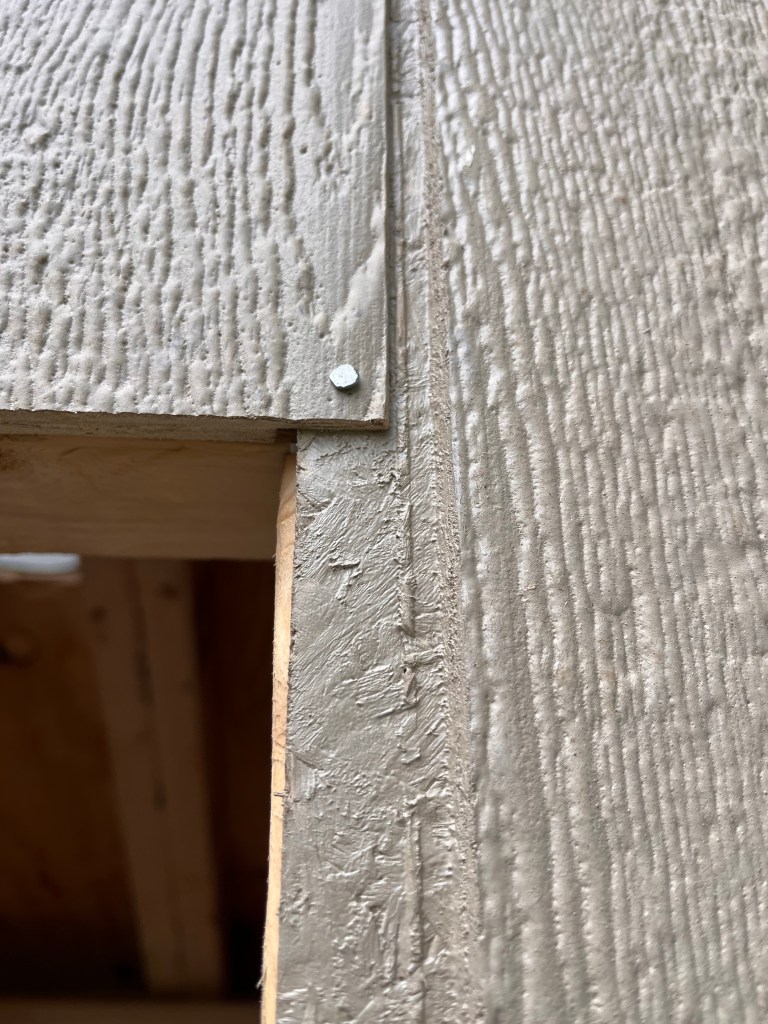
Since the sheathing is basically OSB, I need to protect the cut edges from moisture. I decided to use PVC trim boards.

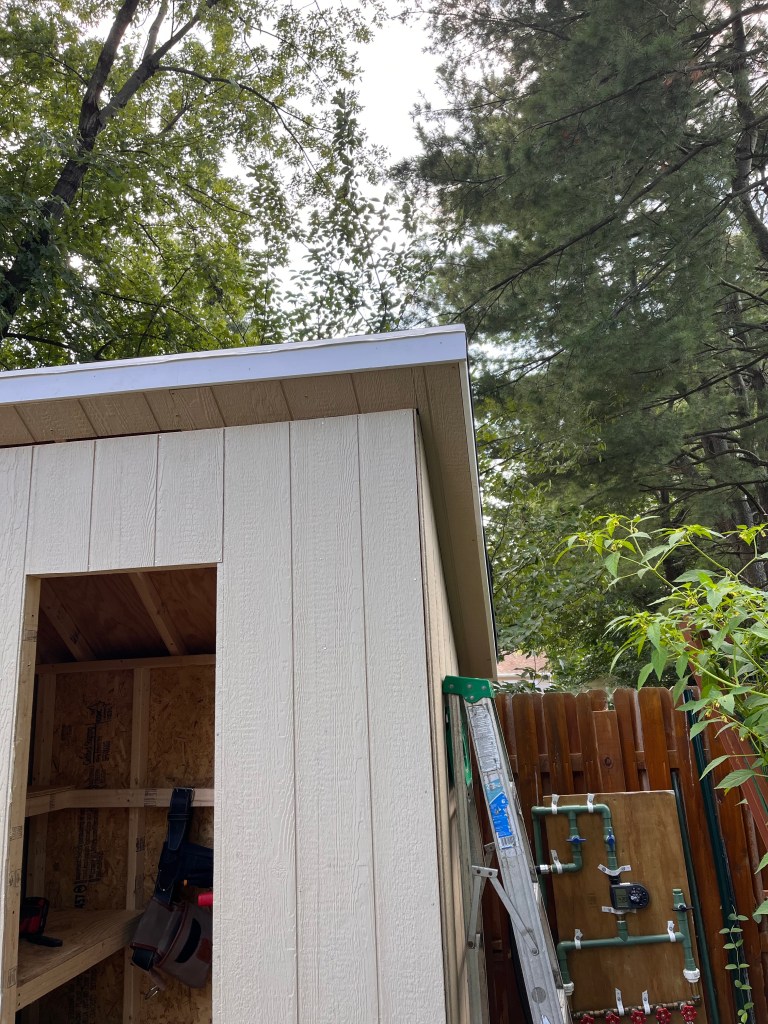
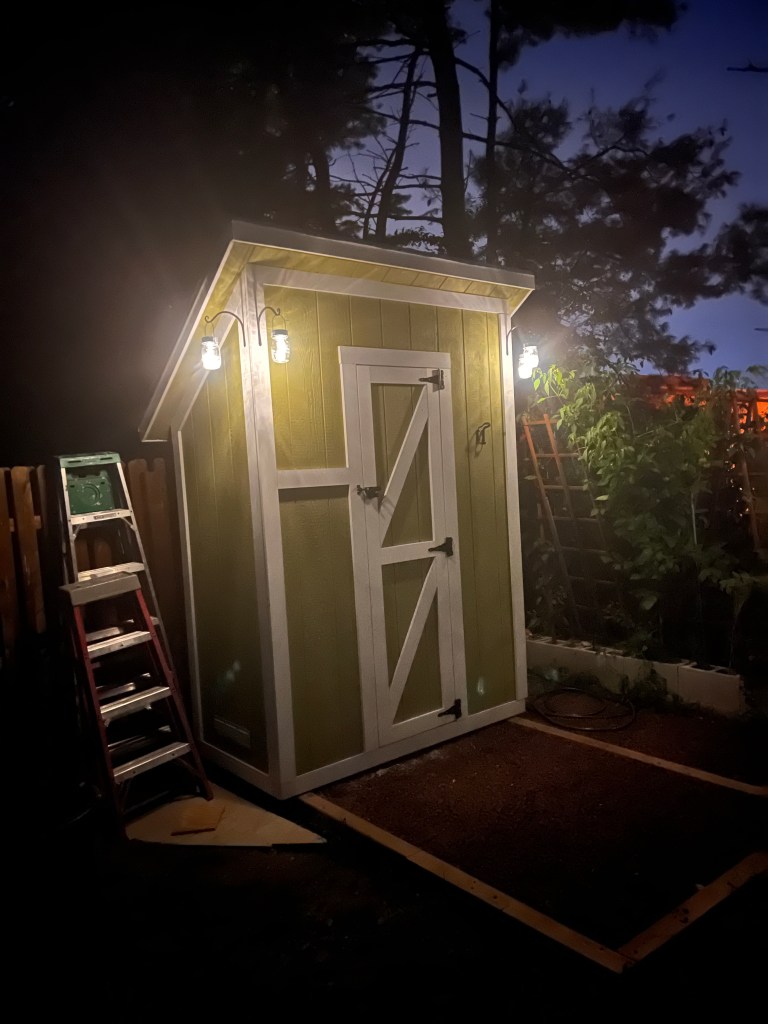
Day 14
Closing time
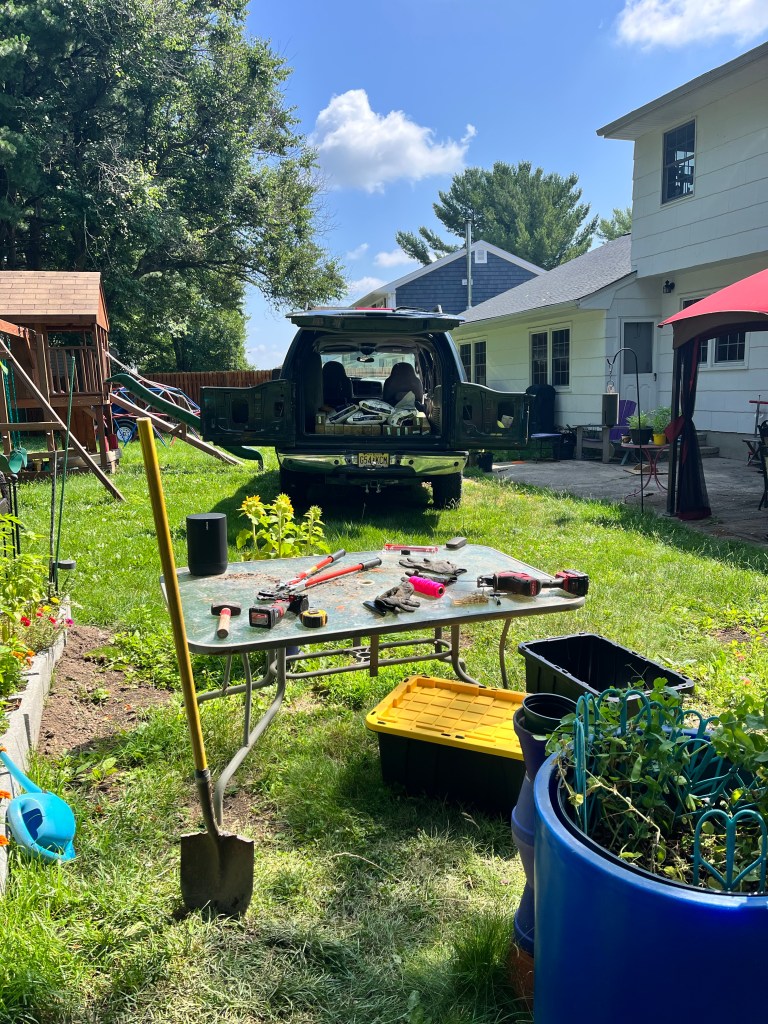
Time to get my truck out of the back yard.
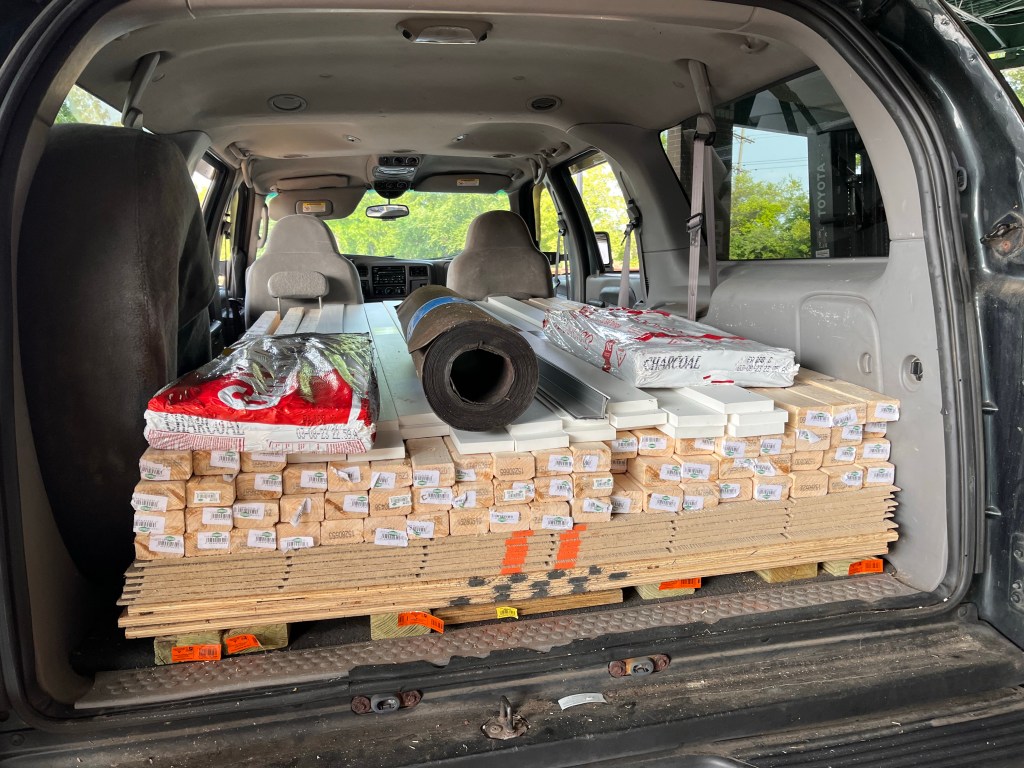
I’ve been using the Excursion as a job site trailer. All the tools and materials have been stored in the truck while I’m not actively working. But now it’s time to put everything away so the kids can use the swing set again.
After I got all the tools put away, took another trip to the Orange Store to return the excess materials.
Lessons learned on this project
1) Sheathe the walls before putting them up. This way gravity helps you hold the sheathing In position while you drive the nails.
2) Sheathe the roof AFTER you put it up. This way gravity doesn’t fight you so much.
3) Triple check your hardware supplies. Especially the specialty bits like staples & aluminum nails. Running to the store for little bits is a real productivity killer
4) If you can, base your dimensions on the size of your materials, not the size of your stuff. This project was odd, trying to build a tiny storage space. But the small scale made a lot of things harder –
- Joist spacing was off
- Which meant nails for sheathing were in odd spots
- There was A LOT of waste.
*Stupid zoning laws limit me to one storage shed, no more than 100 square feet, on my lot. This IS NOT A SHED. The shed will come in the future and will be pretty close to 100 square feet.
** French phrase meaning “to step on one’s own d!ck.” The literal translation is hoisted by your own flag.
