
When I bought this trailer almost three years ago, I was amazed by how few good tie down points there were (just four). After an unfortunate accident on I-295 over a decade ago, I have an obsession with securing my cargo.
But the primary reason I purchased the trailer was to get the Ger out of the Excursion and more importantly, off the roof. So my tie down solution needs to be compatible with my glamping setup.
And this spring, I realized that unmodified utility trailers don’t haul gravel very well. My temporary solution sort of inspired this project.
So I need to make my utility trailer modular. Enter the 3/8” Plus Nut.
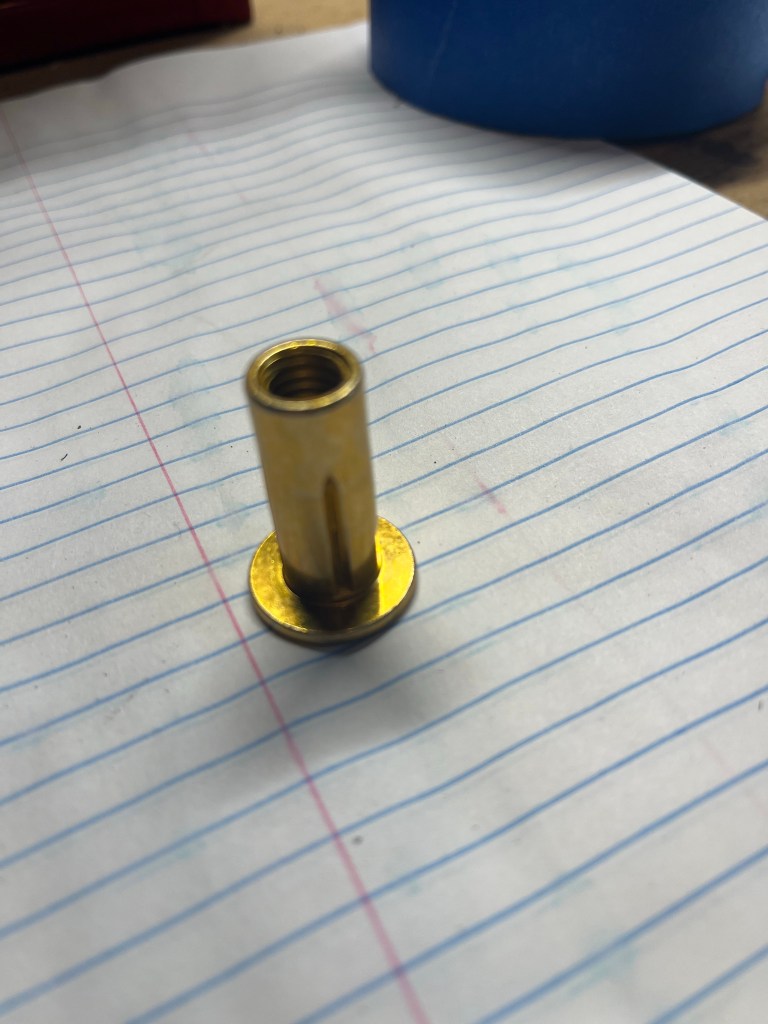
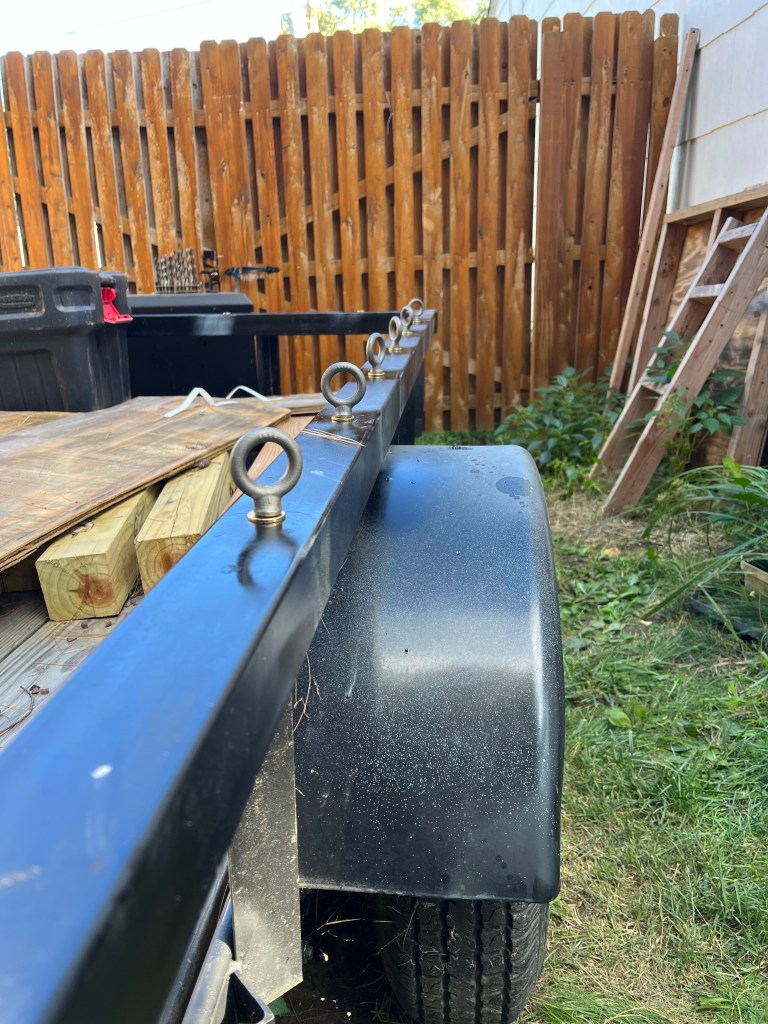
The Plus Nut allows you to add a threaded hole to a blind surface. (A blind surface is one you can’t get to the back side of.) I now have 17 places on the top rail of the trailer where I can bolt anything. Six on each side and five across the front.
I’ll keep the eye bolts installed normally, but I will construct cross bars for the long bits of the Ger and walls for bulk materials that will drop into the Plus Nuts.
Getting to the point where I could squeeze in the Nuts took several steps.
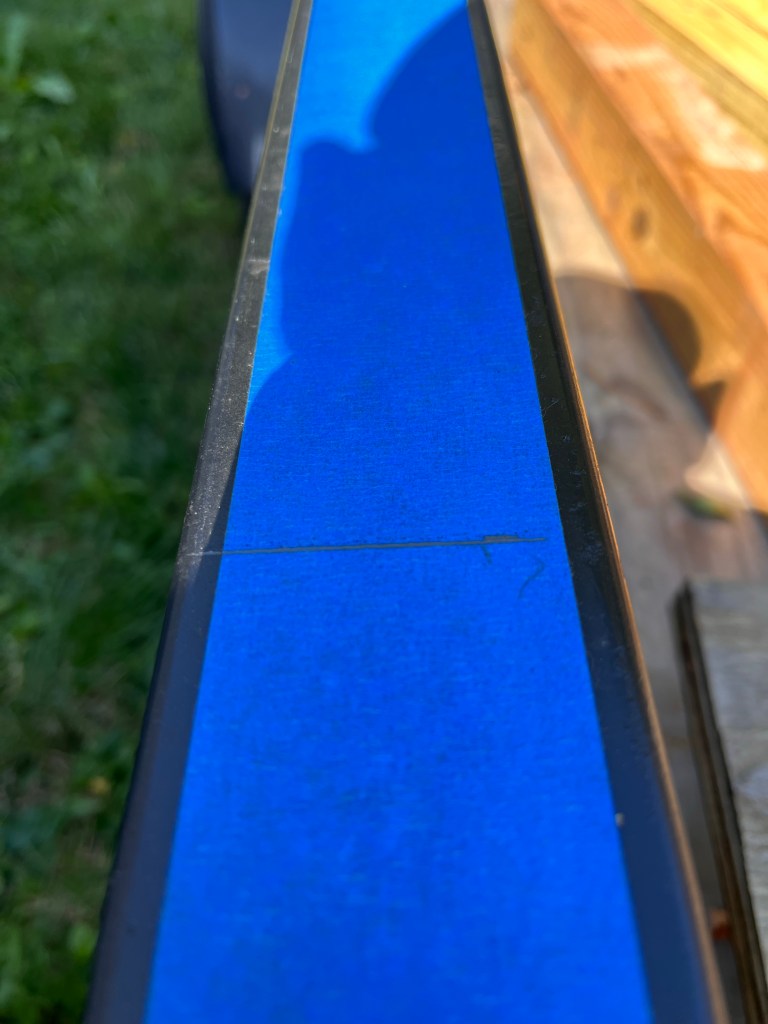
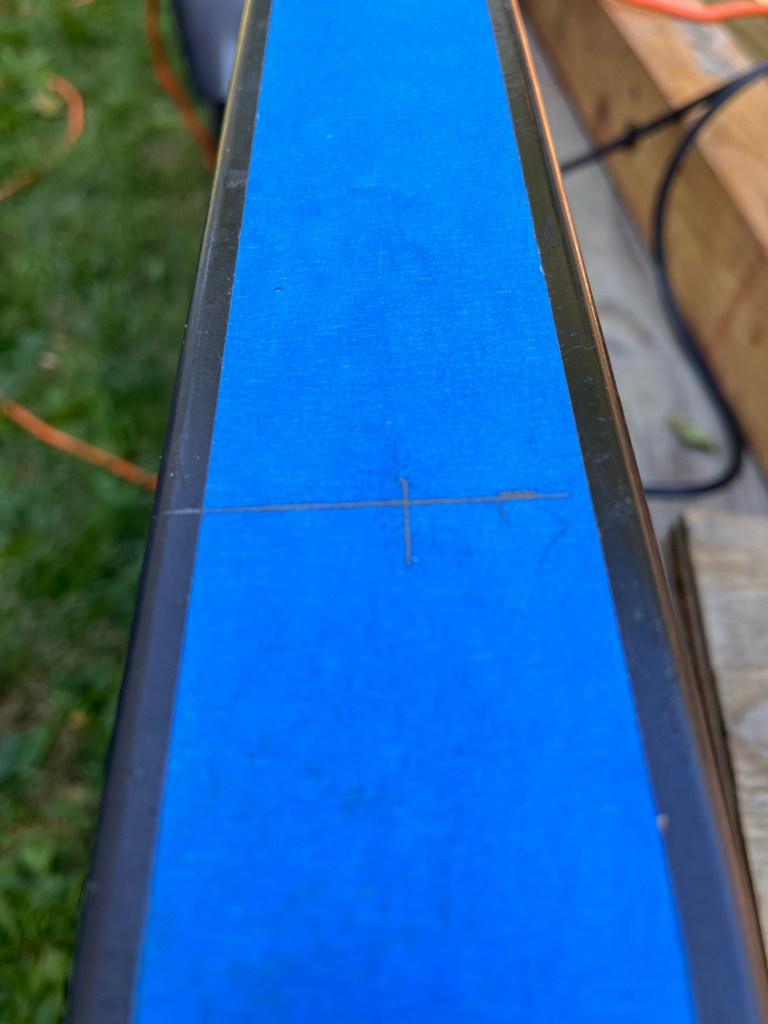
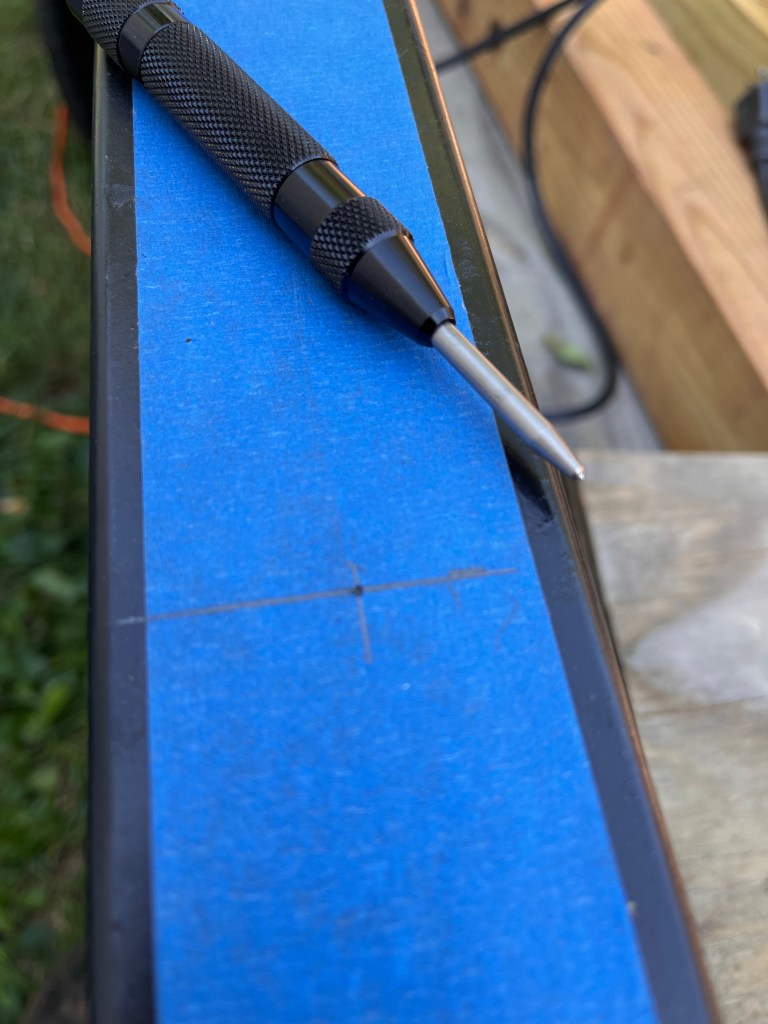
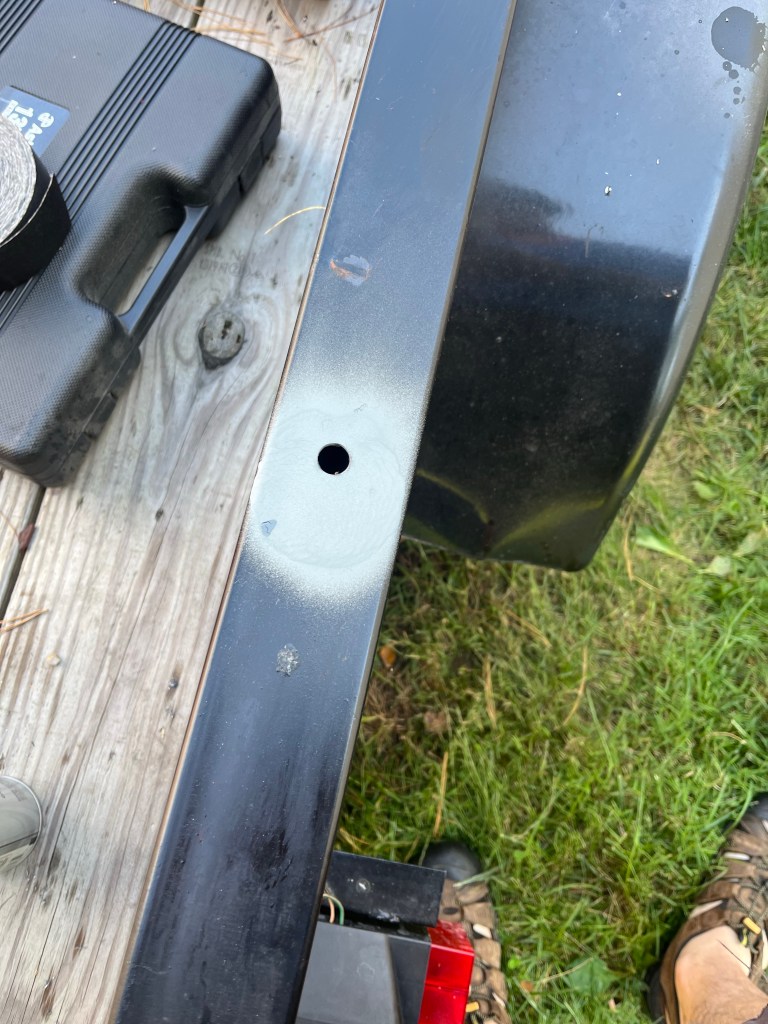
I start with a little hole and upsize it. Each hole is 1/16” larger than the one before. My drill is not really suitable for drilling steel, by taking small steps I reduce the load on the motor.
Metal wants to be drilled at a slow speed.
And lubricate your bit as you’re working.
The 3/8” Plus Nut needs a 33/64” hole.
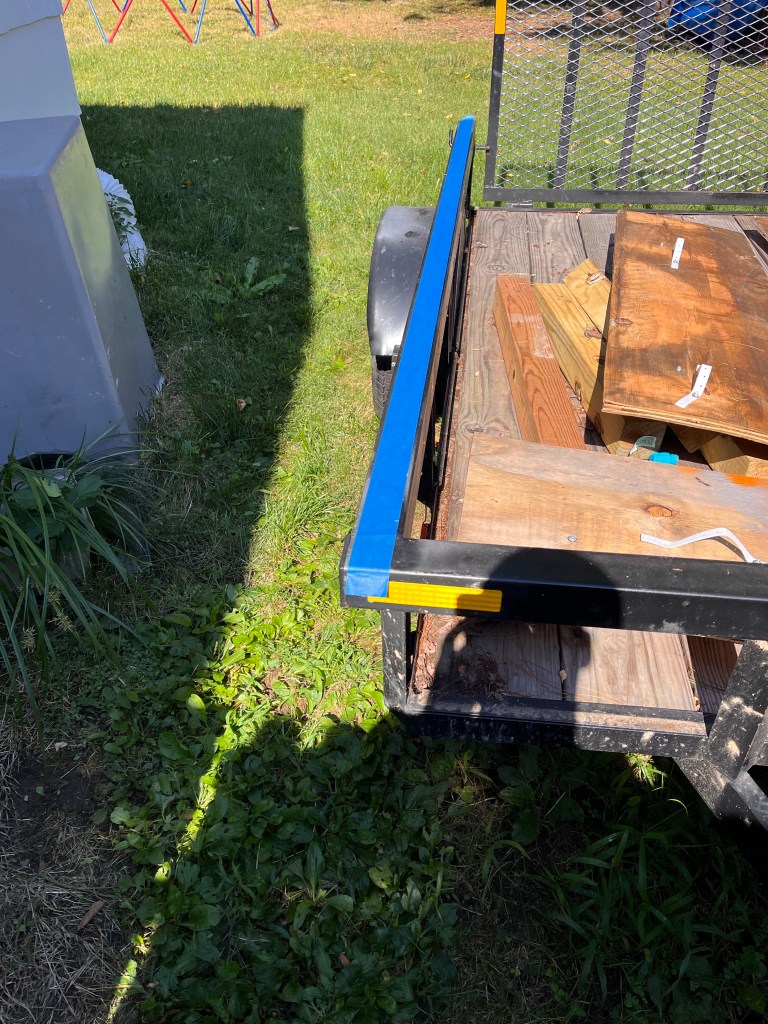
Now that I have seventeen holes in my trailer, I have to protect it from rust. The goal is to coat the bare steel side of the hole. The paint will protect the outside of the square tube. The mill scale will (sort of) protect the inside of the tube. [ed. note – Fluid film to be added before winter]
Step one, cold galvanizing compound. The zinc will react with the oxygen more readily than the steel.
Step two, primer. In whatever color you have in the garage. Primer gives the paint something to hold onto.
Step three, paint. Rustoleum Gloss Black matches my trailer pretty well, but you do you.
Now I drop the Plus Nuts into their holes.
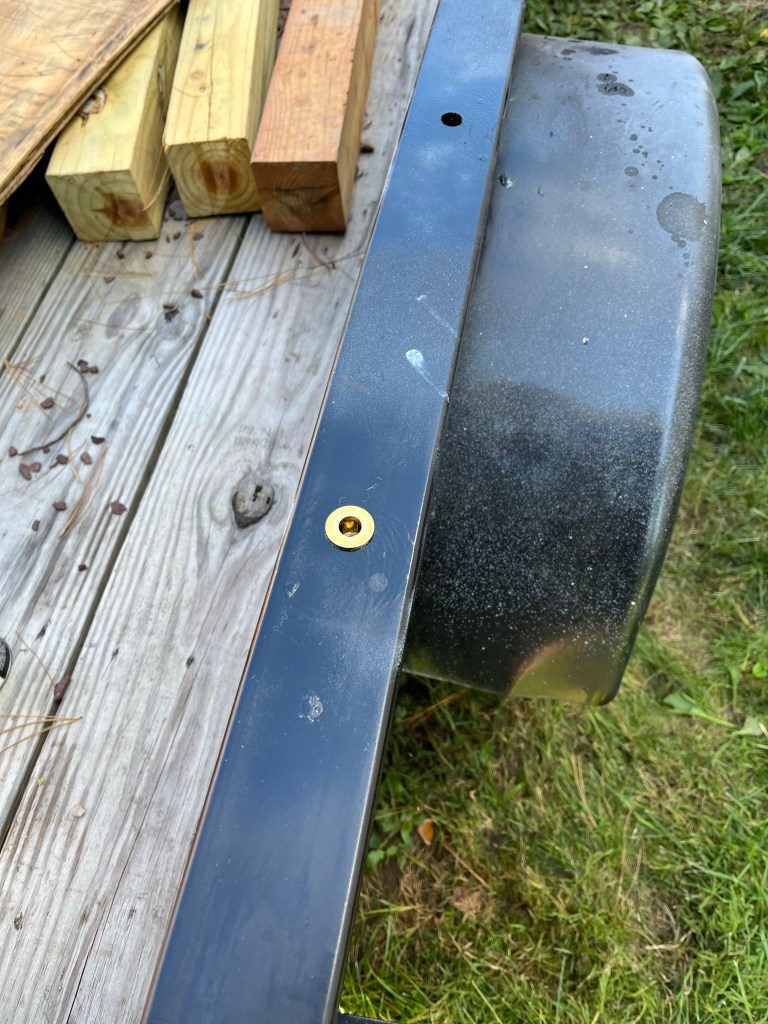
Using the Plus Nut tool, you pull the bottom threaded portion up against the inside of the square tube. If you don’t want to buy another specialty tool, you can use a nut, bolt and washer combined with two wrenches to compress the nut.
I had to double squeeze each one as the stroke of the insertion tool wasn’t long enough to fully compress the Nuts. (Shut up, Beavis!)
For the bulk material walls, I’ll rip a 2×3 down to the width of the top rail and drill holes lined up with the Plus Nuts. Then I can nail the walls to the 2×3’s.
The cross bars will have feet that bolt into the Plus Nuts. This will allow me to easily load my Glamping equipment on the trailer deck and still have a flat surface on top for the large parts of the Ger & Kitchen.
I’m sure that more bolt on solutions will come to mind in the future.
