
(part 3 of the ongoing coffee series)

In terms of pack space & weight, this pour over filter definitely beats the Moka pot & French press.
I’m not as fond of the coffee, but I put most of that on me. Pour over coffee is an art that requires dedication and patience, neither one of which I have in great supply early in the morning.
In theory, pour over coffee is simple. Pour water over grounds. Let water flow through filter. Drink.
Just a bit of water to start
In practice it’s a bit harder. First you want to pour in just enough water that the grounds will absorb it. If you pour a lot of water on dry grounds, it will just flow through without extracting any coffee.
After blooming the grounds, you should pour at a controlled rate, as the weight of water above the filter pushes the drink through the filter. Pour too quickly and your coffee is weak, too slow and your coffee is bitter.
Additionally, you want to add water evenly over the top of the grounds.
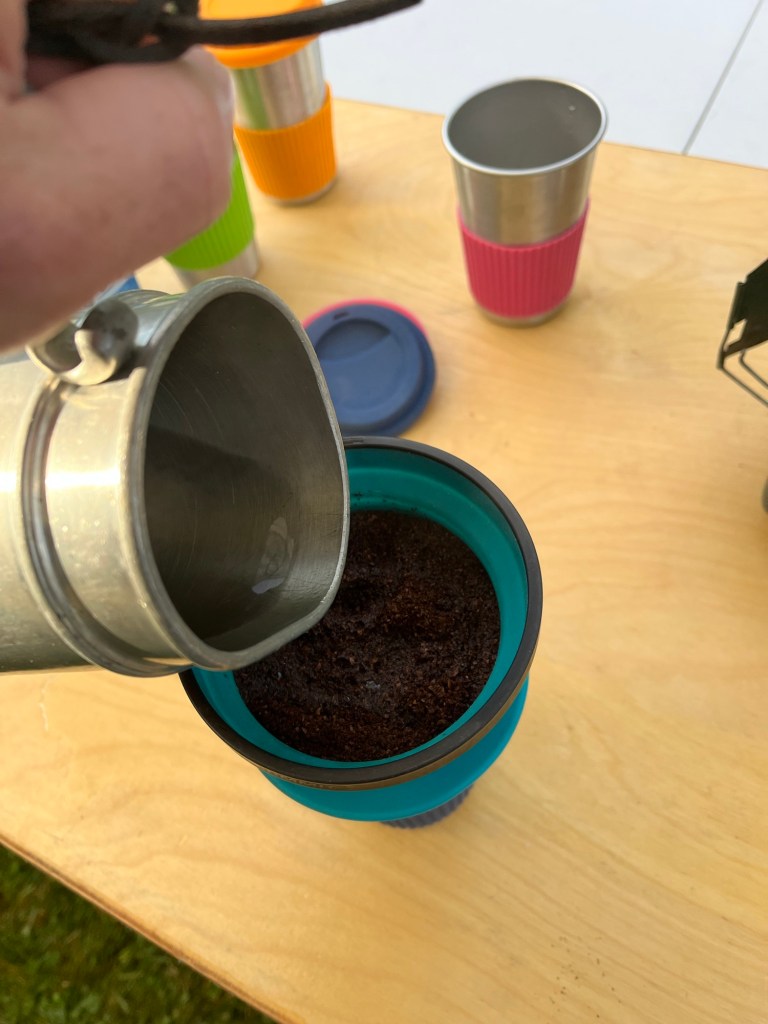
You can buy fancy pour over pots that have a long narrow spout to regulate the water flow, but when I’m camping I only have limited equipment.
This weekend, I used my tankard (which has been dropped enough to have developed a nice pour spout).

What I end up doing is adding a few ounces of water every time I hear the dripping stop.
Cleanup is easy. Shake out the filter either into your trash or your fire pit. Rinse or wipe out any remaining grounds. Let dry.
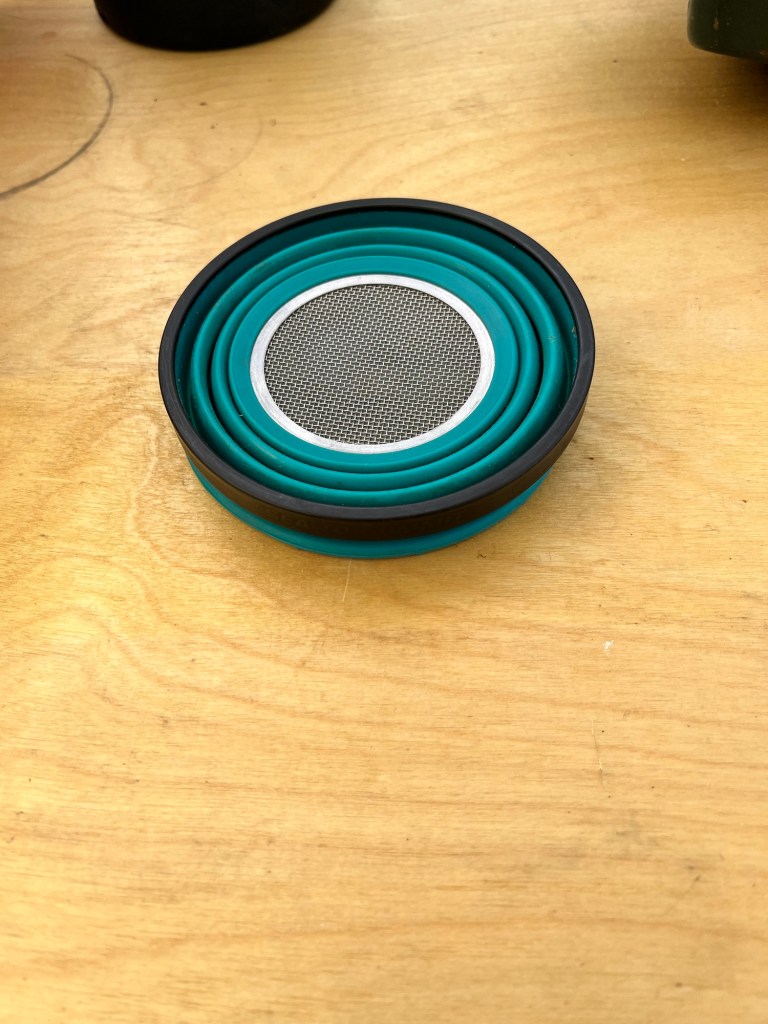
The pour over filter I have is collapsible and will work with pretty much any cup. I’ve seen dedicated pour overs that connect to specific cups. I’ve also seen more compact (ultralight) ones that are three legs that clip onto the rim supporting the filter above.
If you go the pour over route, I would definitely advise practicing at home.
