
So, I CAN fit our entire camp setup in & on the excursion, but doing so means loading some heavy bits on the roof. I’m starting to see that this is not worth the risk.
It also means squeezing the kids onto the left & center seat and they’re starting to require a bit of space between them. (Teenagers apparently require more personal space than toddlers.)
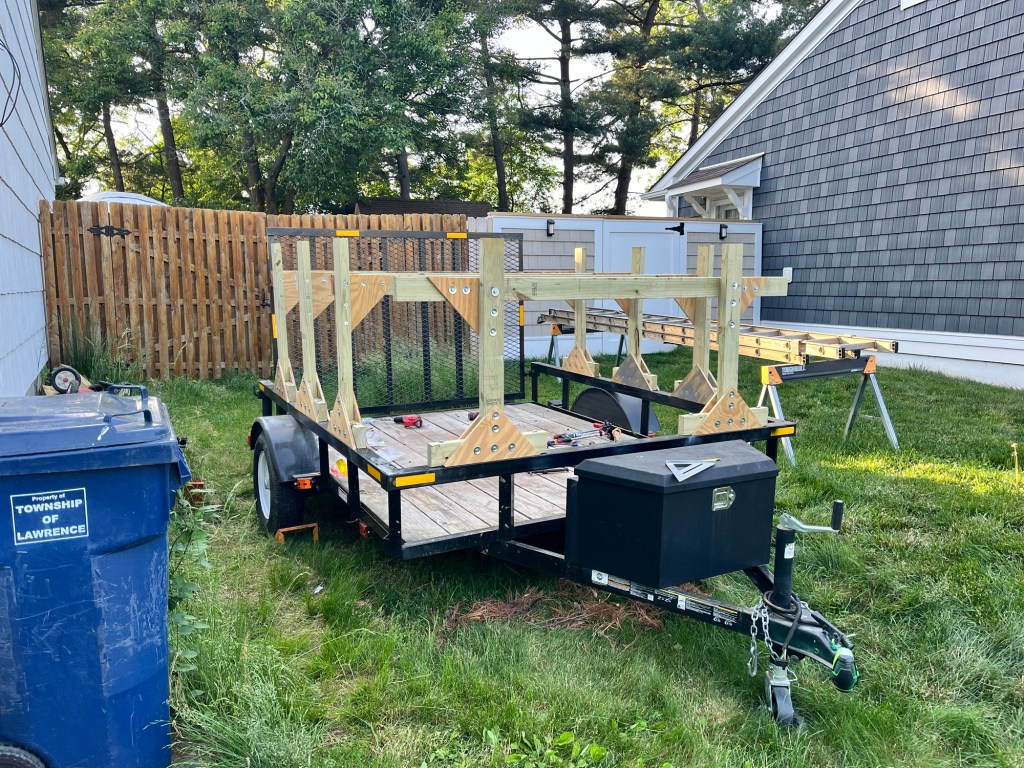
So I bought the trailer. And now it’s time for the second phase of the modular trailer to be built.
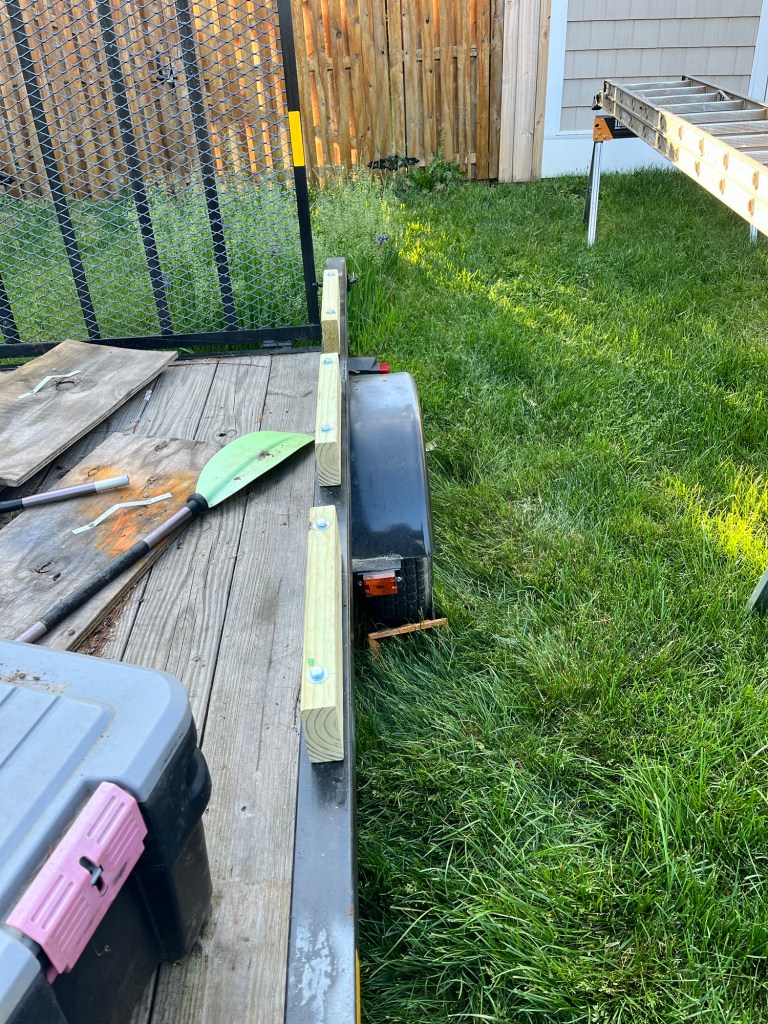
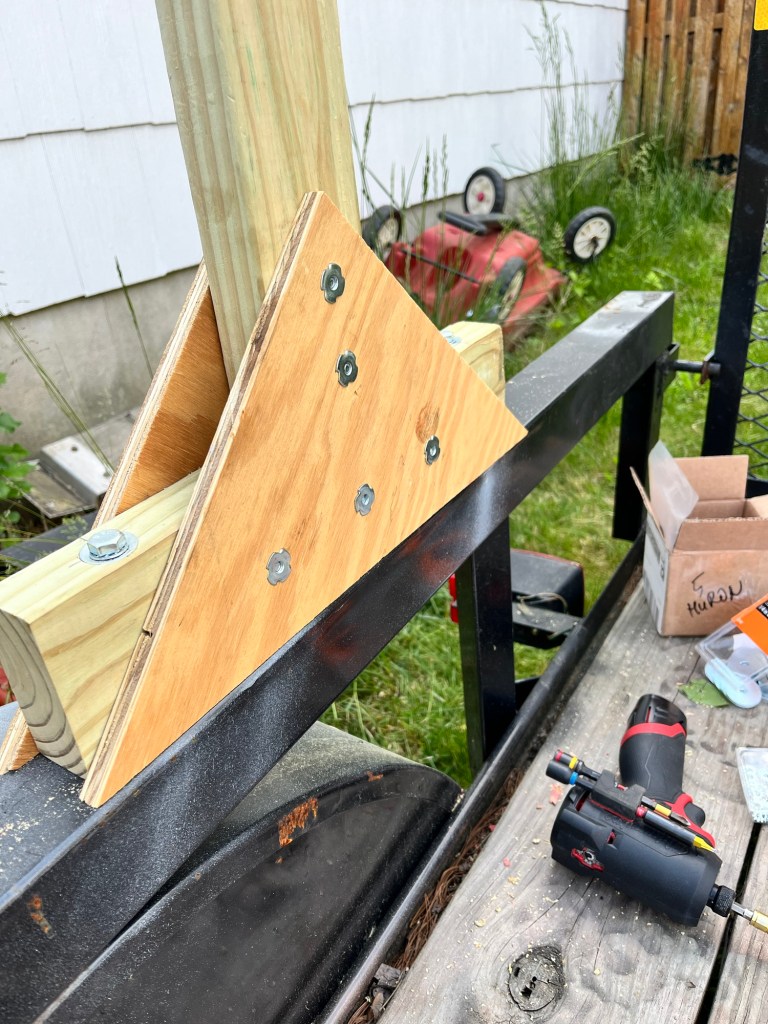
When I added the tie downs to the trailer, I added more than made sense on purpose. The Plus nuts that the tie downs screw into are used to bolt the ladder rack onto the trailer.
In order to avoid racking my rack, I reinforced all the joints with plywood gussets.
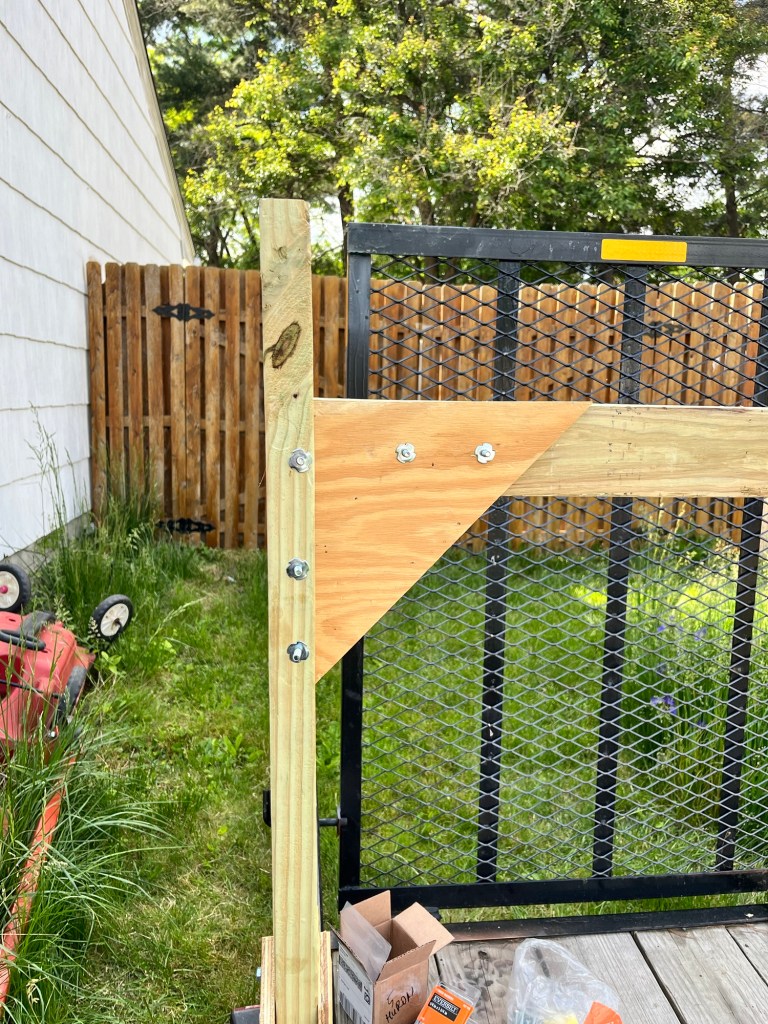
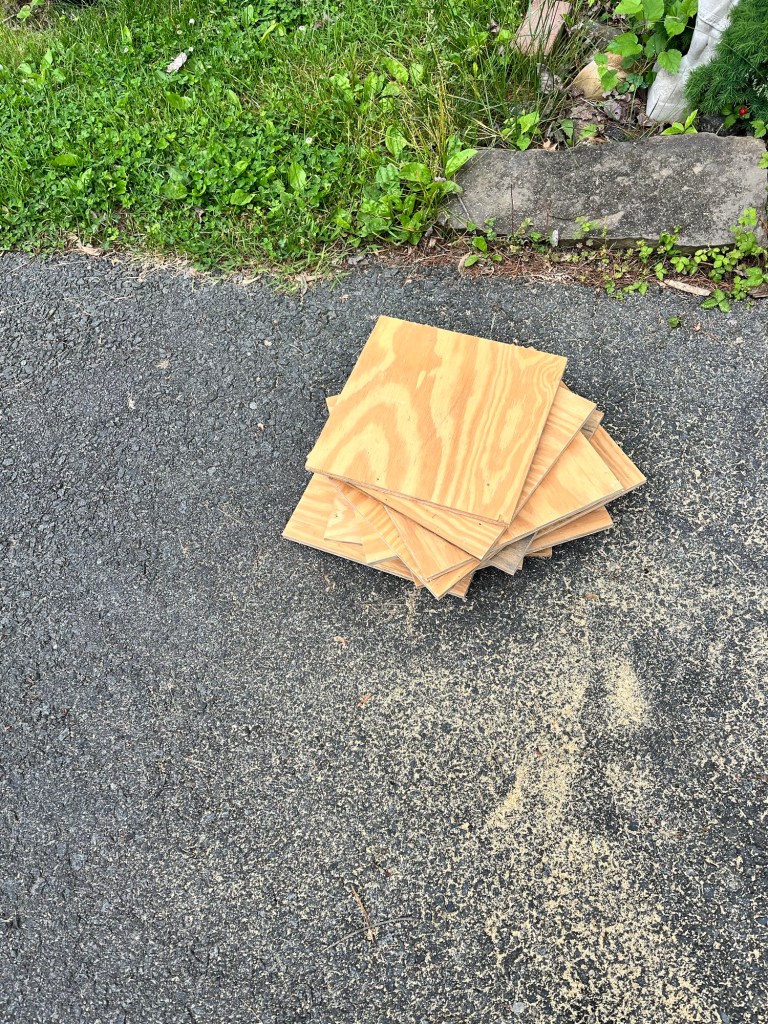
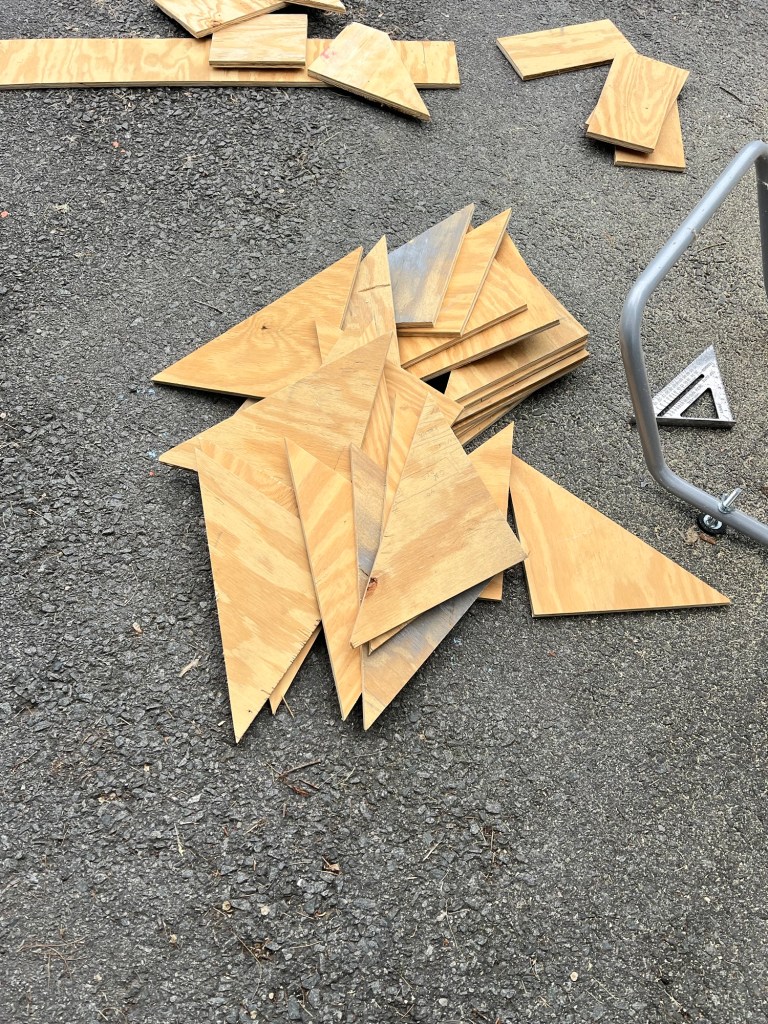
The gussets started as 12 x 12 plywood squares. They were then cut into triangles on the table saw.
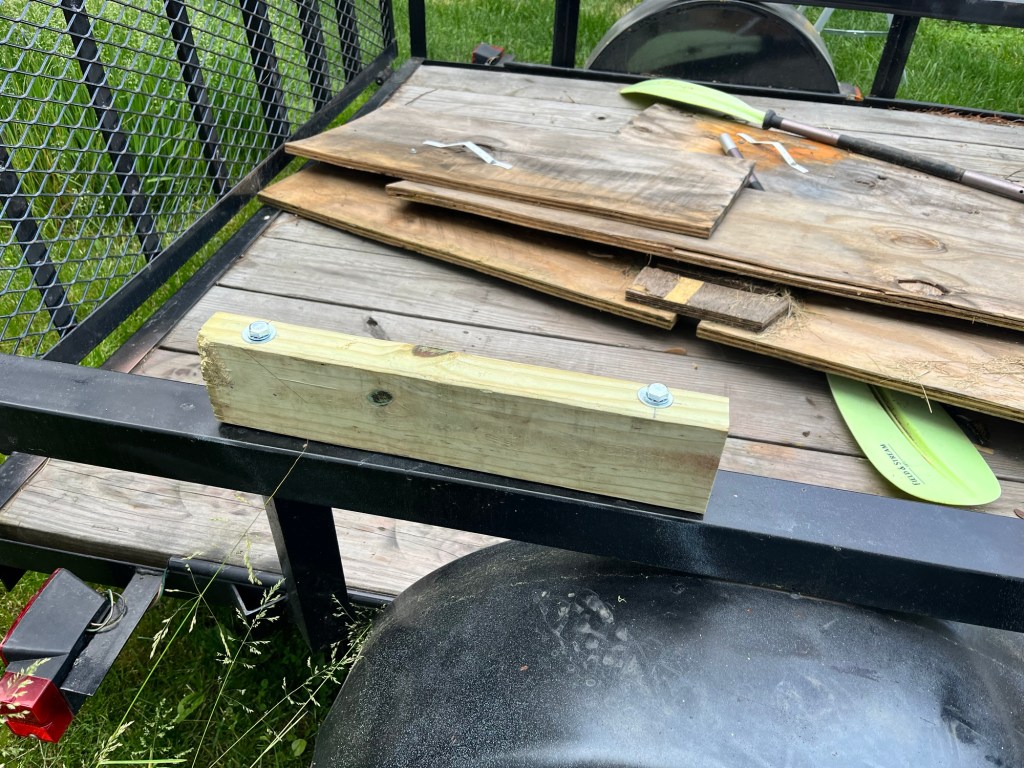
I wanted to avoid sharp ends of bolts damaging people or cargo, and I like being able to replace failed parts, so the assembly was done with T-nuts, fender washers, lock washers, and bolts.
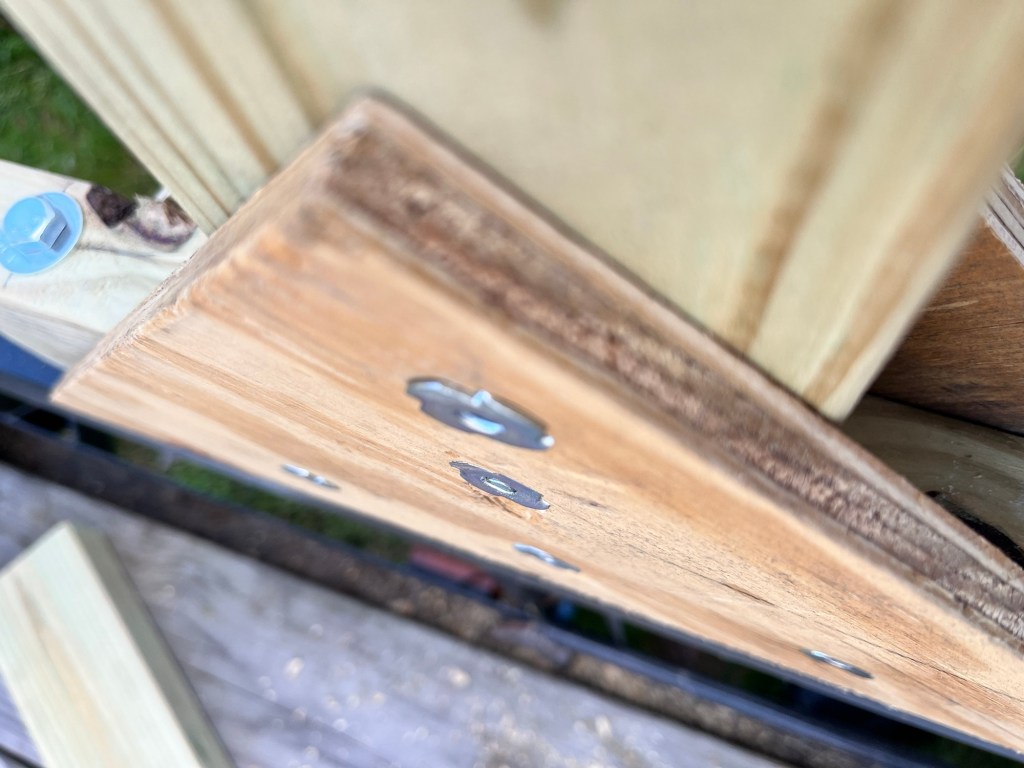
I had originally planned to use ring shank nails to attach the gussets to the 2×4’s but then repairs would be impossible. Also I would have struggled to keep things square while beating them with a hammer.

The rack itself is great. But now I need to move everything into waterproof totes that I can trust to actually be waterproof at highway speeds. We had rain on both ends of our trip so anything that couldn’t be wet was inside the truck.
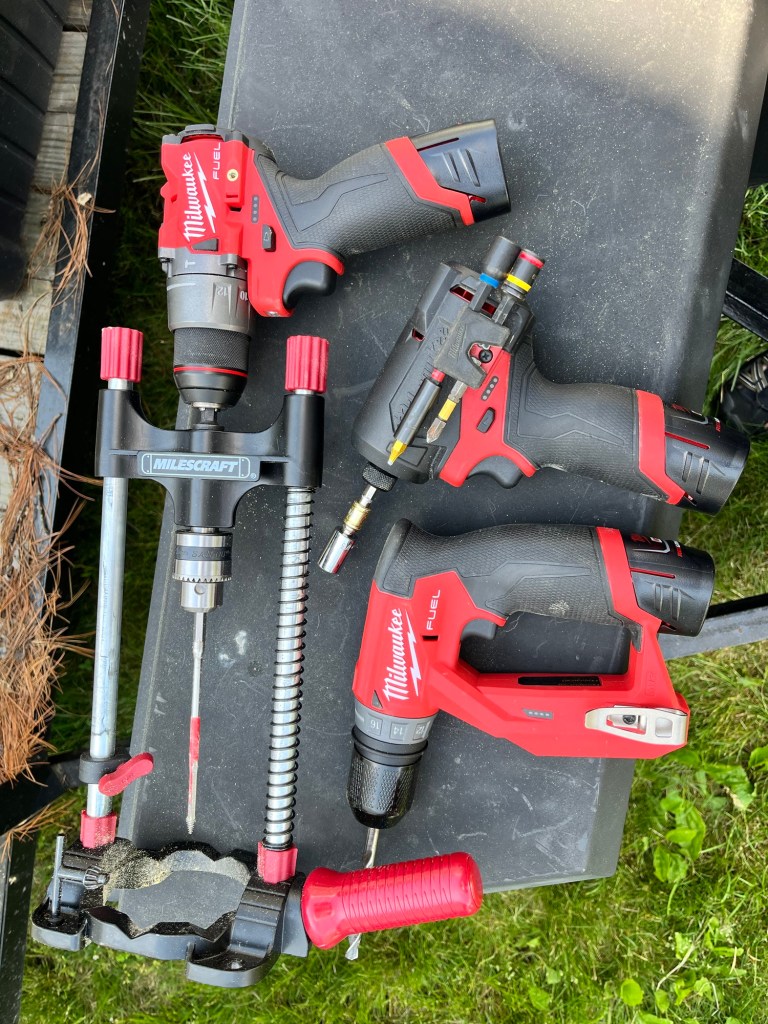
I’m not usually a proponent of more tools for the sake of more tools. That being said, assembly goes a lot faster if you don’t have to stop to change bits.
The drill has a Milescraft guide and a very long 1/4” drill bit. The let me drill my through holes square. With this setup I can center my hole and drill width wise through a 2×4.
The installation tool has a 7/16” drill bit. I used that to hog out the 1/4” hole to insert the tee nuts. (This tool Milwaukee 2505 is so perfect for assembling flat pack furniture.)
The impact driver has a 9/16” socket. This was used to tighten the bolts into the tee nuts. (And yes, I know the socket isn’t rated for impact duty.)
I’m going to oil the rack down at the end of the summer. I want more of the pressure treatment liquid to cook out, but I want to protect the boards from the weather.
