
It turns out my trailer has been non-compliant with NJ law for the entire time I’ve owned it. Trailers over 3,000 GVWR must have brakes & a breakaway system. My 3,500 pound trailer had neither when I bought it. So, let’s get to work.
My word – this project was more complicated than I thought it would be. But some of that complexity was really just trying to understand the nomenclature. Brake backing plates, brakes, drums, hubs, bearings, spindles must all fit together. (It turns out most of those things only come in one size based on the weight rating of the axle.)
First, you’re not adding brakes to the trailer – you’re adding brakes to the axle. So don’t bother trying to figure out what the trailer needs – get the label off the axle, that will have the data you need.

My axle is a Lippert Industries 3,500 pound axle. Lippert’s website was able to give me the correct bearing information.
Second tip – read all the details on the items you’re adding to the cart – the drum/hub assembly that I chose comes with bearings, so there was no need to order a second set.
Third tip – If you want to make any upgrades to the running gear, now is the time (more on that later.)
Short version – grease is sticky and we’re going to use a lot of it. More than that.
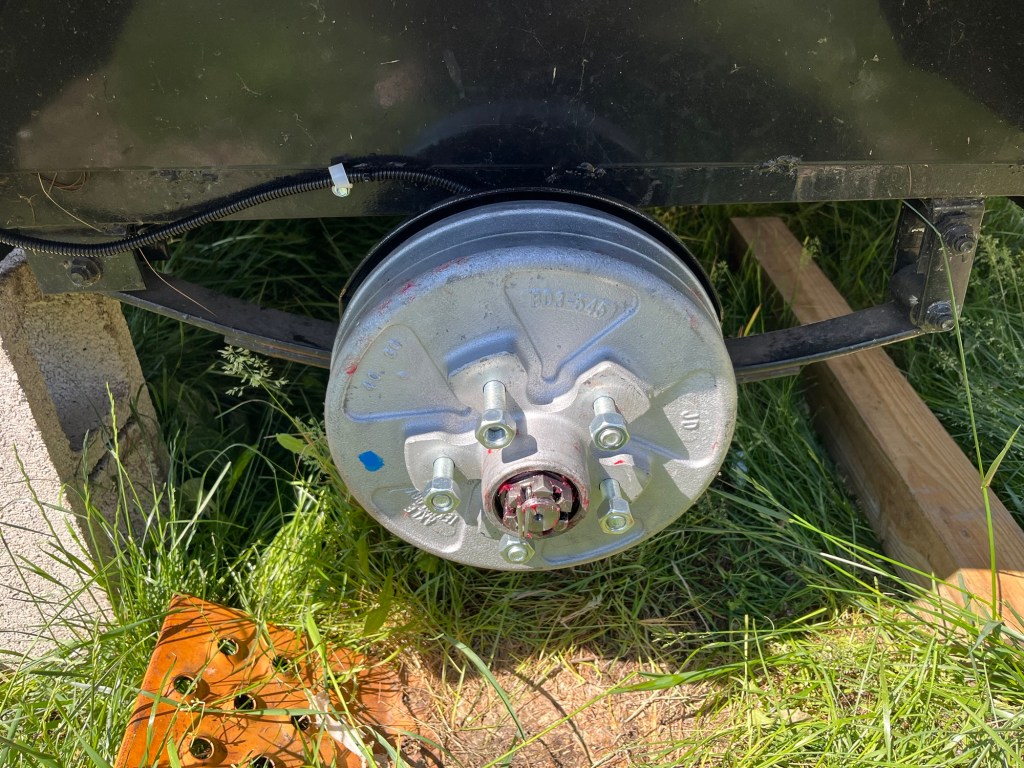
Long version – brakes get bolted to the backing plates. The drum & hub assembly goes over the brakes. The wheel gets bolted to the hub.
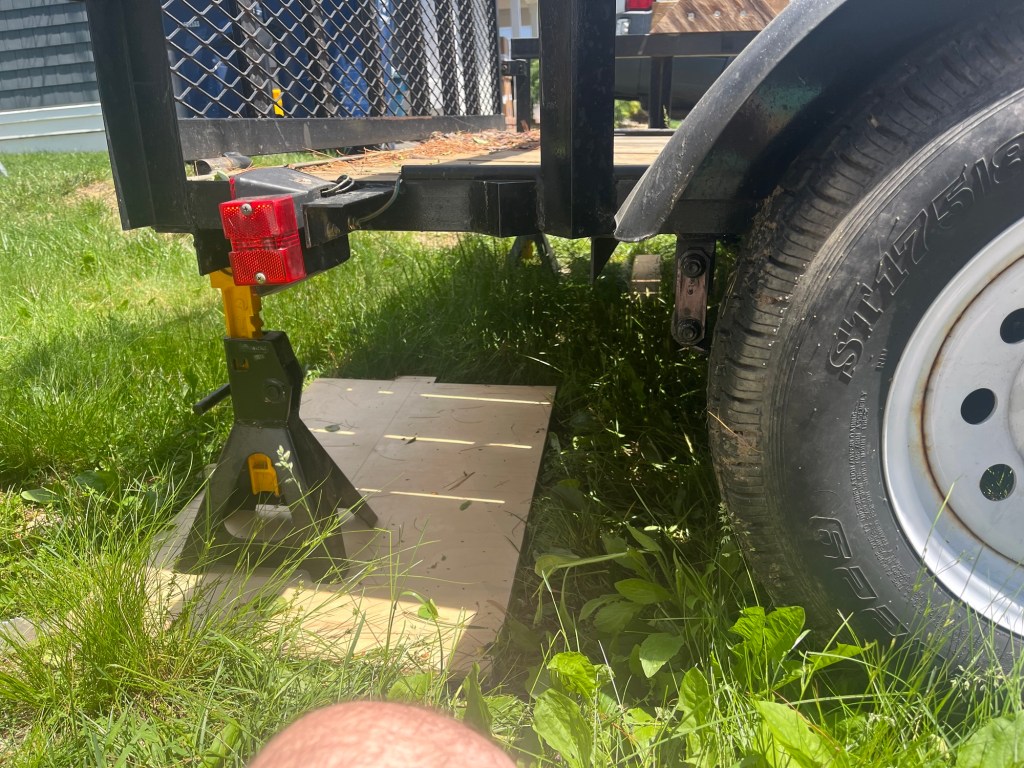
I guess step one is to get trailer onto a paved surface so I don’t lose any hardware. I also want a clean surface to work on so I don’t contaminate the new grease with dirt.
Actually, I was forced to work on the grass because I couldn’t move either car off the driveway (the wife is on crutches).
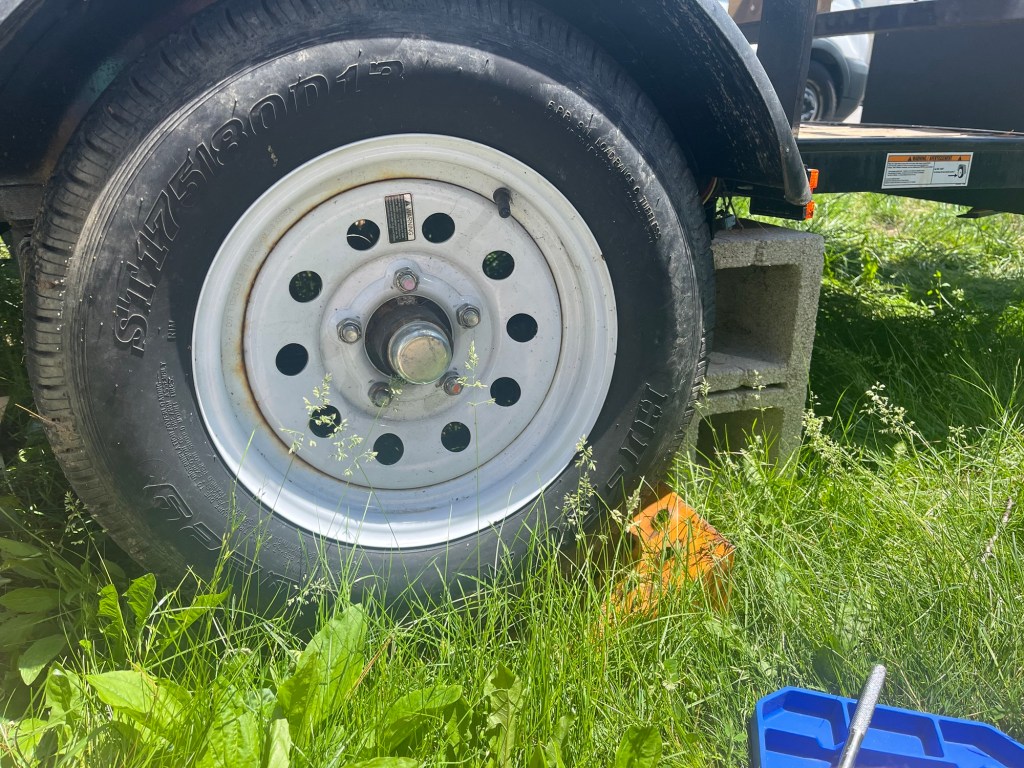
Always break lug nuts free before jacking a vehicle off the ground. Especially since there’s no brakes to hold these wheels in place (yet)!
Let’s get the trailer up off the ground and get these wheels off.
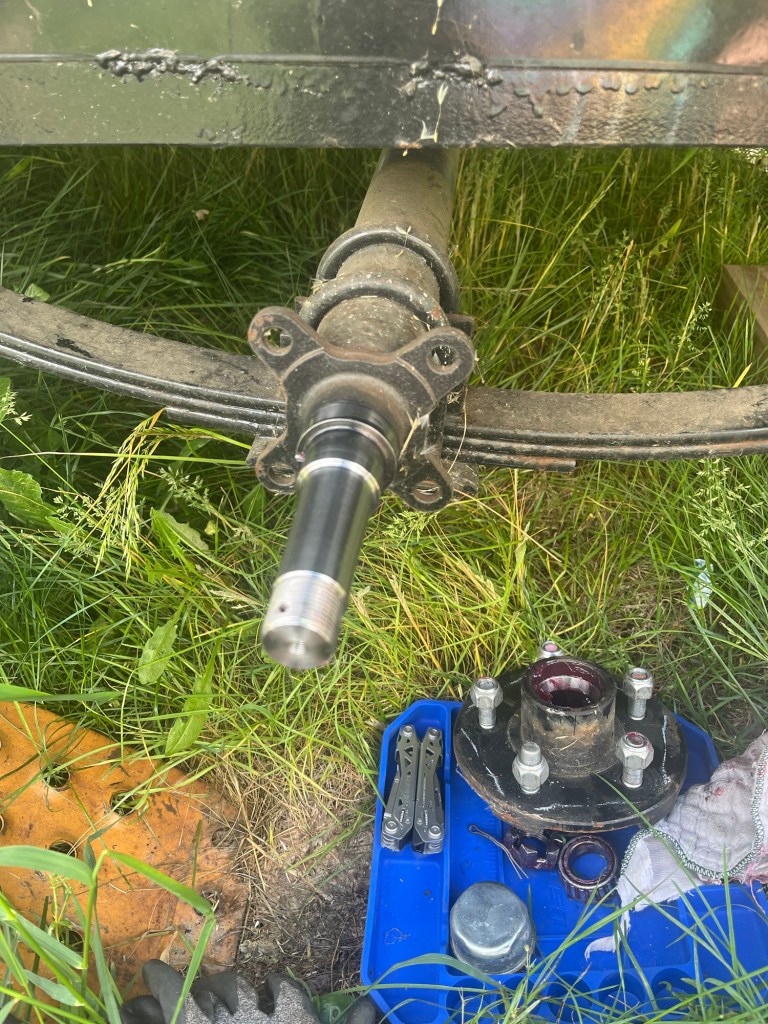
Once we get behind this dust cap, things are gonna start getting messy.
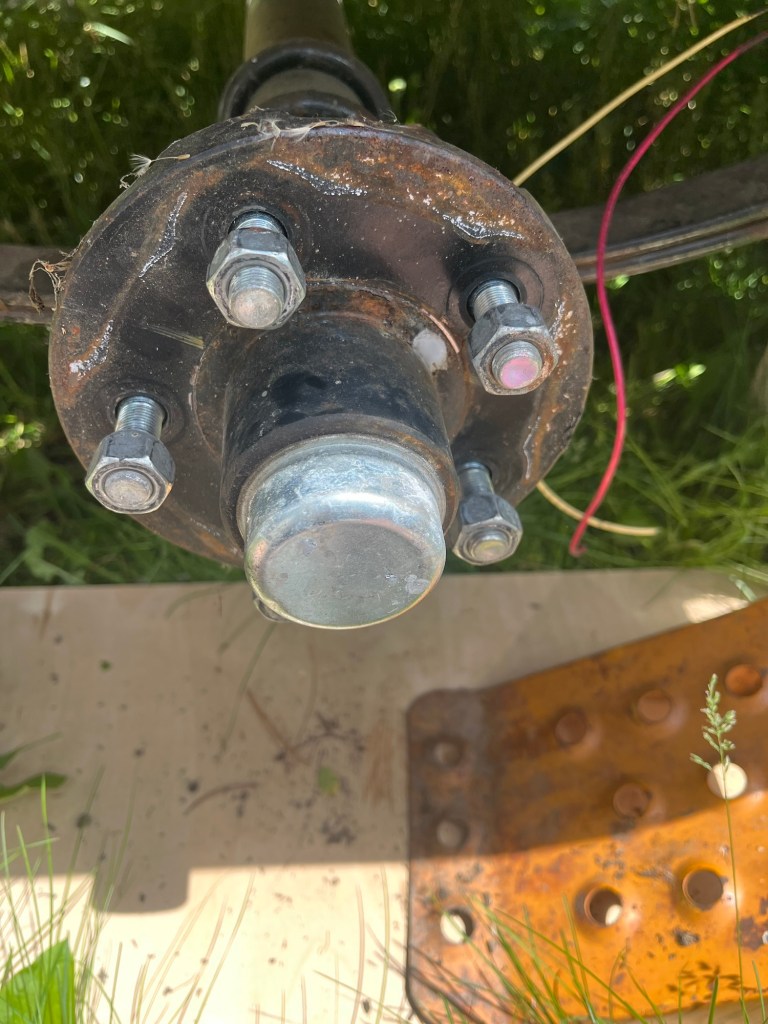
Pull out the cotter pin & remove the axle nut & washer.
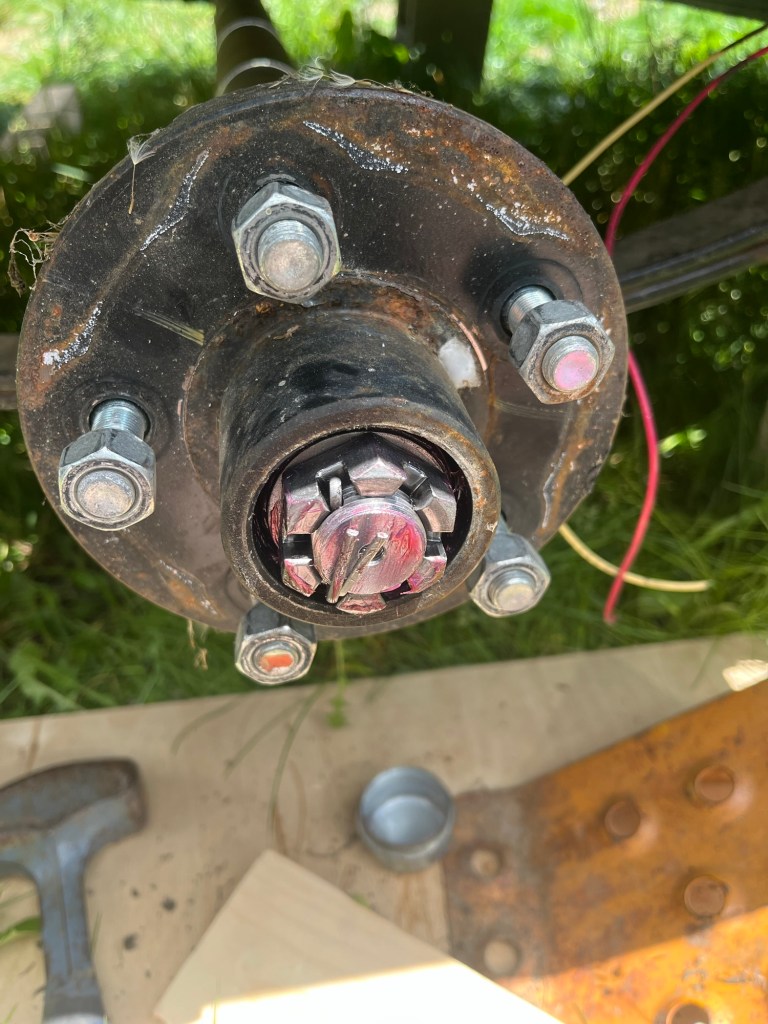
Pull the hub off & clean the old grease off the spindle.
Now we finally get to start putting parts on.
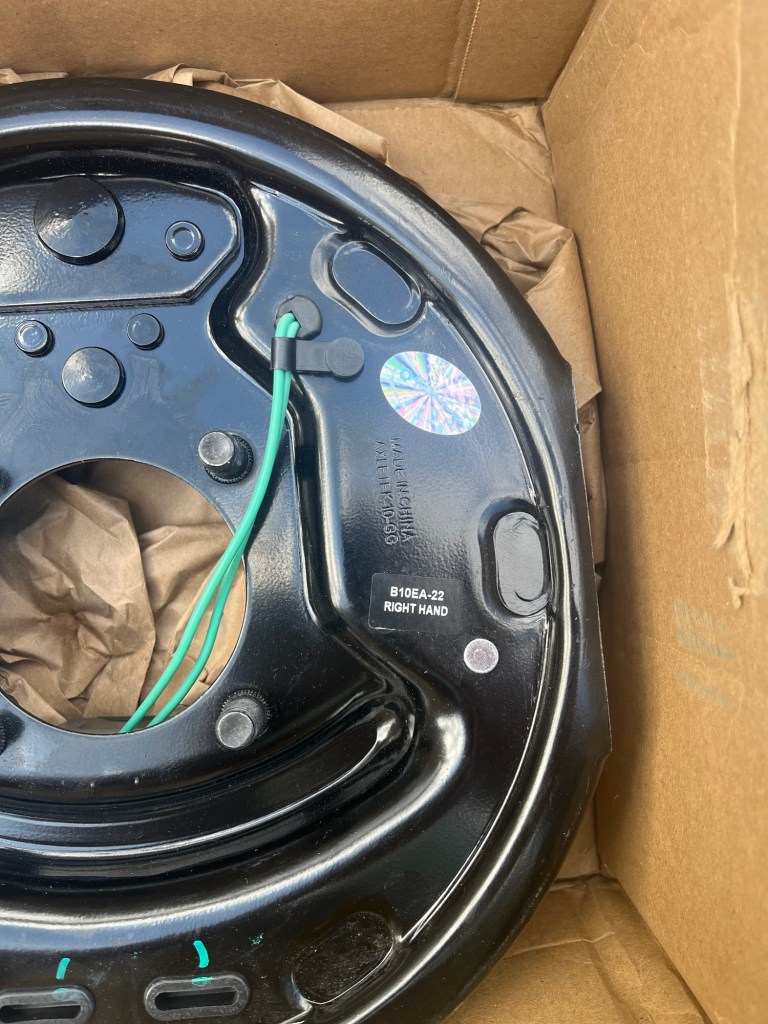
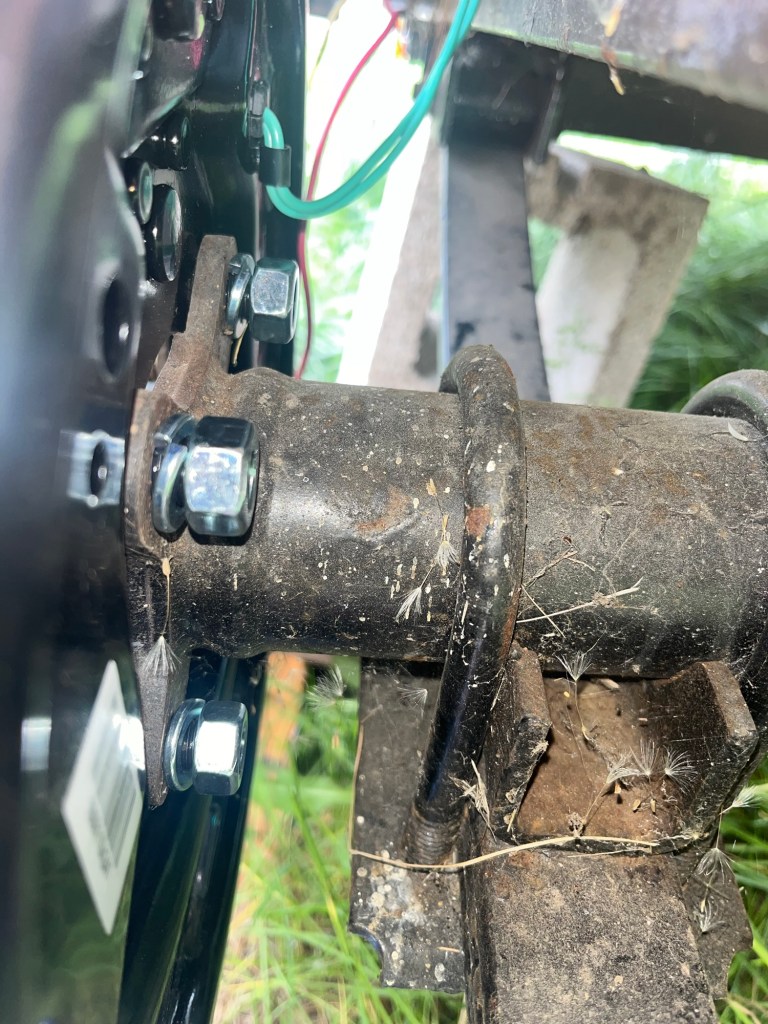
Brake assembly first – the brakes are sided – the magnet goes on the bottom. Lock washer and a nut on each of the studs. While you’ve got lots of room, make sure you’re going to have access to those wires.
And, back to electric work.
Each brake assembly has two green wires. For our purposes they are interchangeable. One gets grounded, the other gets connected to the brake terminal in the junction box.
I ran two wires from each brake assembly to the junction box, but I’m extra. Most people will sand a spot under the fender to bare metal and ground the brakes to the trailer frame.
Commonly the two brakes are wired together and one wire run up to the junction box. So yes, I ran 3 more wires than I needed to. But I also won’t be chasing faulty grounds down a few years from now.
