I’ve installed these custom steering wheel covers on three vehicles so far. I’m pretty sure I’ll install them on all my future vehicles.
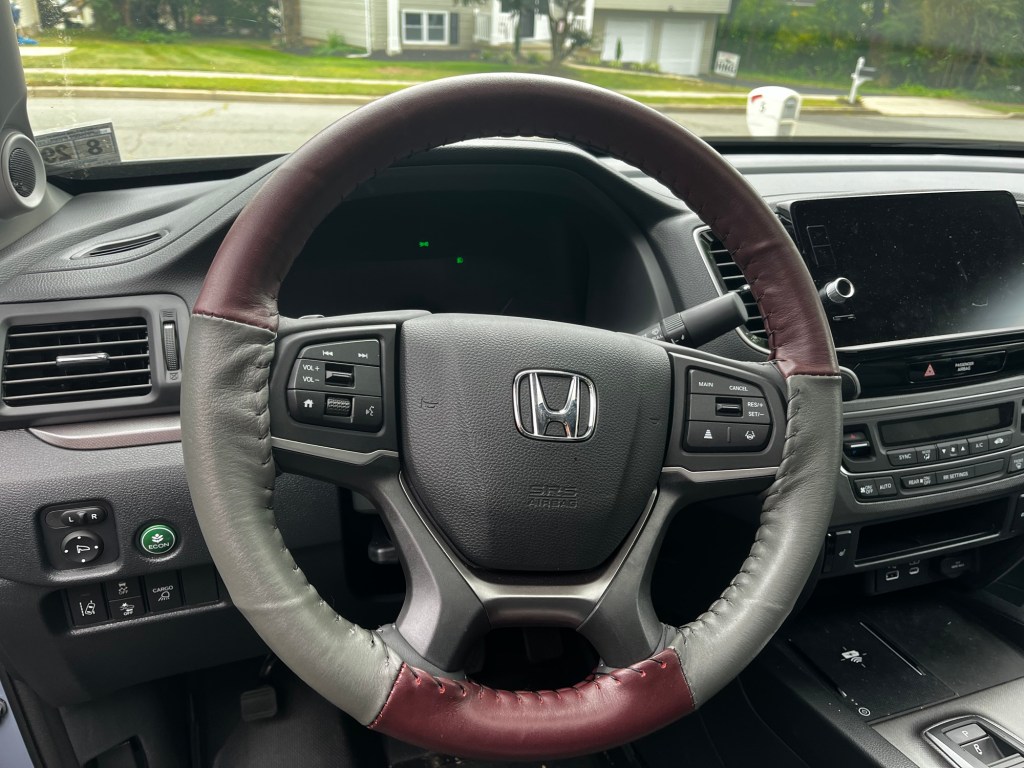
And color (Burgundy & Charcoal)

I’ve installed these custom steering wheel covers on three vehicles so far. I’m pretty sure I’ll install them on all my future vehicles.
Can you hear Bob Barker in your head, or is that just me?

Well, the new truck has been added to the family. As much as I love Fessick, the needed repairs were getting to the point where they didn’t make sense. After several months of shopping I purchased a 2024 Honda Ridgeline RTL in Sonic Gray.
Continue reading “A New Car!”
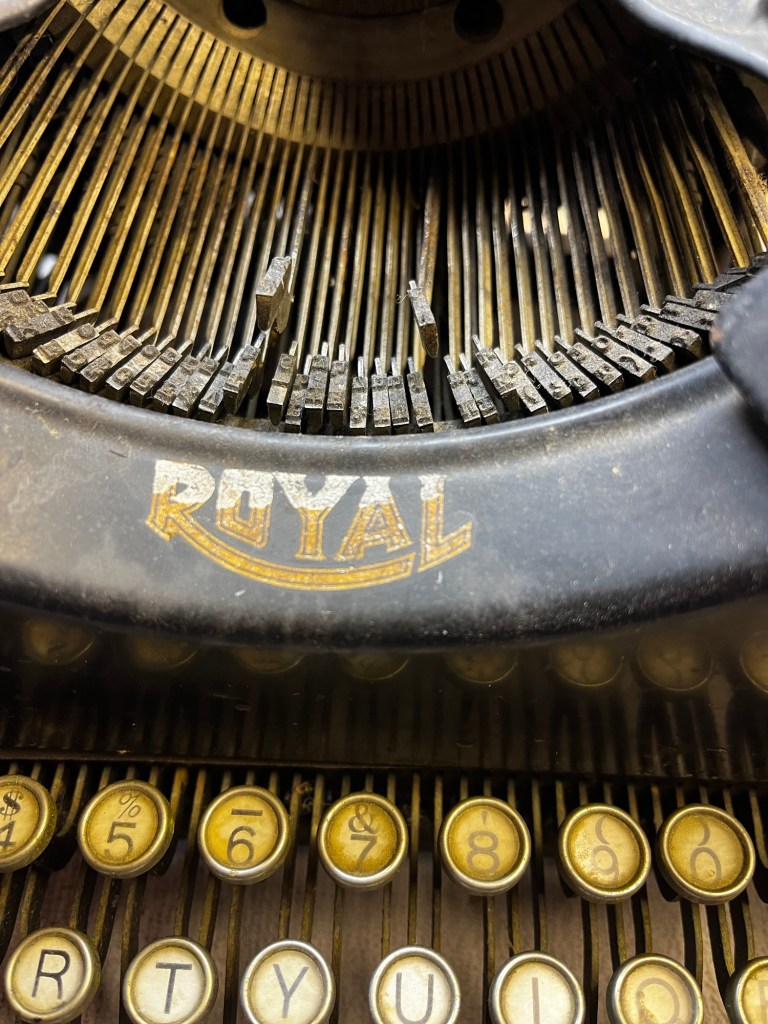
Didn’t do much that was really noteworthy today, just took some mineral spirits and a brass bristle brush to the type bars.
Continue reading “Scrub a dub dub…”I know that I’m not the first one to come up with the idea, but much like graph paper is cheaper than lumber, cardboard is cheaper than any other building materials; especially when you keep your empty cereal boxes.
I’ve got this metal parts organizer in the garage. The biggest problem with it is that stuff gets lost in the back. I decided to make bins so I could easily get everything out. The perfect material would be sheet metal, but I’ve never worked with sheet metal before. Enter CAD.
I’ve made three prototypes, and finally got my design where I want it. My out of pocket expense is, some blue tape, three empty cereal boxes and a utility knife blade, so zero dollars. Now it’s time to get some metal and start making bins.
In the past, I’ve used cereal boxes & tape to dummy up lots of projects. The original camp kitchen idea was done in cardboard. This exercise proved that the vision I came up with while high was not something I could achieve and led to the simpler version that I originally built from wood.
I always keep a few empty boxes in the shop, you never know when you’re going to mock something up.
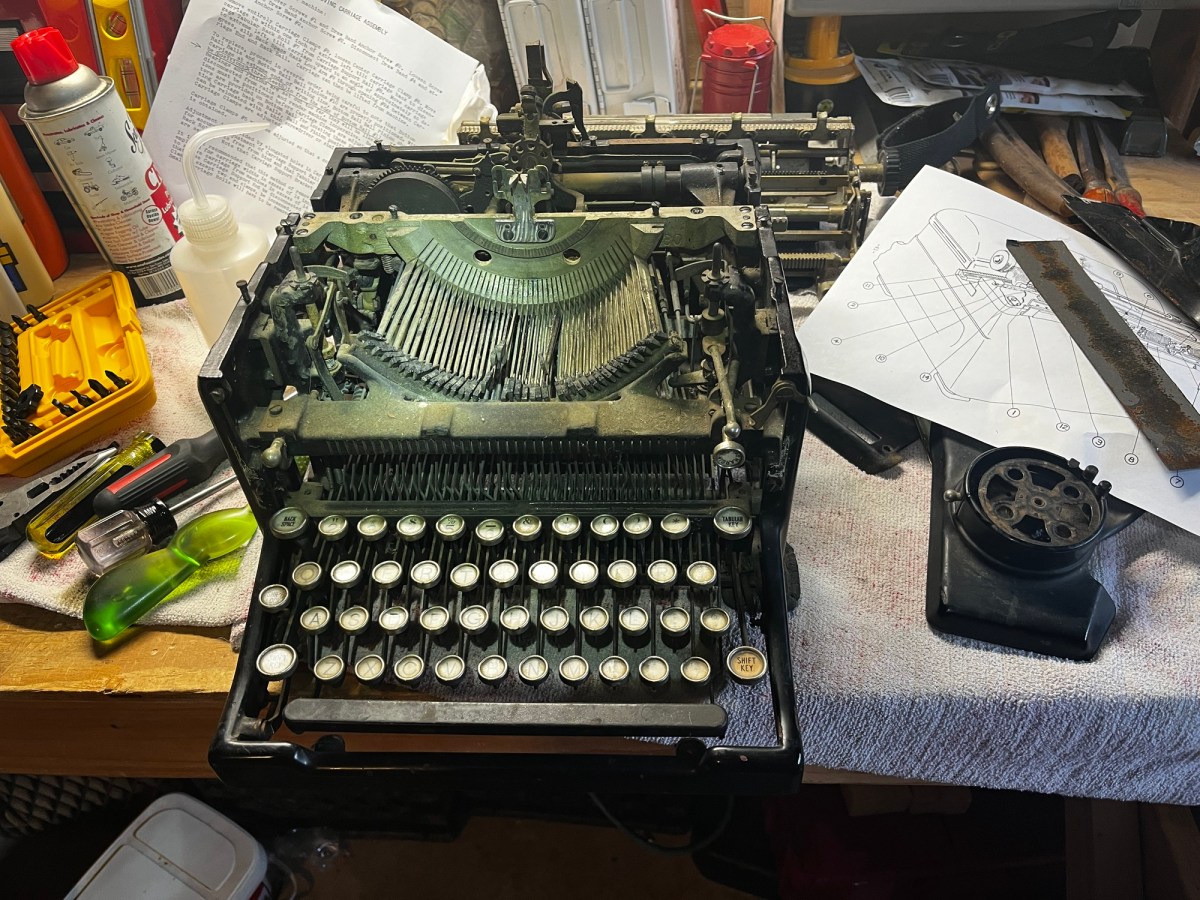
Made some more progress on the Model 10.
Got the front panel and rear top panels off. Got the carriage out. It appears that the sides & rear are one piece of iron, so I don’t think there are any more covers to remove.
I got the type bars to travel the full stroke!

Once I removed the carriage, I confirmed that the far end of the draw band is missing, so I’m adding that to the list of parts I need to source.
Continue reading “The Royal has no clothes.”Well today I made a wee bit of progress before my neck said it was time to stop.
I got the front top covers off
Continue reading “There’s your problem”So now I need a vehicle to replace the Excursion.
I need something smaller to navigate city streets.
I need something big enough to fit the family. My kids are about to be teenagers, so I need a reasonable back seat. My brother’s boys are older than my kids, and they don’t really fit in the back of his Nissan Titan.
I need something that will tow my utility trailer. It has a weight rating of 3,500 pounds, so I don’t really need a tow monster.
The Ford Maverick actually does most of what I need, but the back seat isn’t big enough for the kids. I actually recommended that my brother buy a Maverick for his boys to share, the oldest just got his license.
I cycled through the midsized trucks and really none of them had a backseat that was useable.
I started looking at the full sized trucks, and the prices for new trucks are just stupid.
But then I stumbled across a dark horse – the Honda Ridgeline.
It’s mocked as NART (Not A Real Truck), but the capabilities of the Ridgeline meet my needs.
Test drive is scheduled.
Originally I was worried that I was going to have to do this without any guidance at all. I mean, can twenty-first century solutions be applied to nineteenth century hardware.
But the internet has, once again, provided exactly the niche media I need. But this time, I can share that without fear of being judged.
Scratch that. I’m sure you think differently about me now that you know I’m into touching hundred year olds.
Found the operator’s manual.
And a master list of Royal Repair Parts. Dated from March 1960, it still lists parts for the Model 10.
And the Repair manual for Royal machines. It appears to cover more than just the Model 10, but should be a huge help to me.
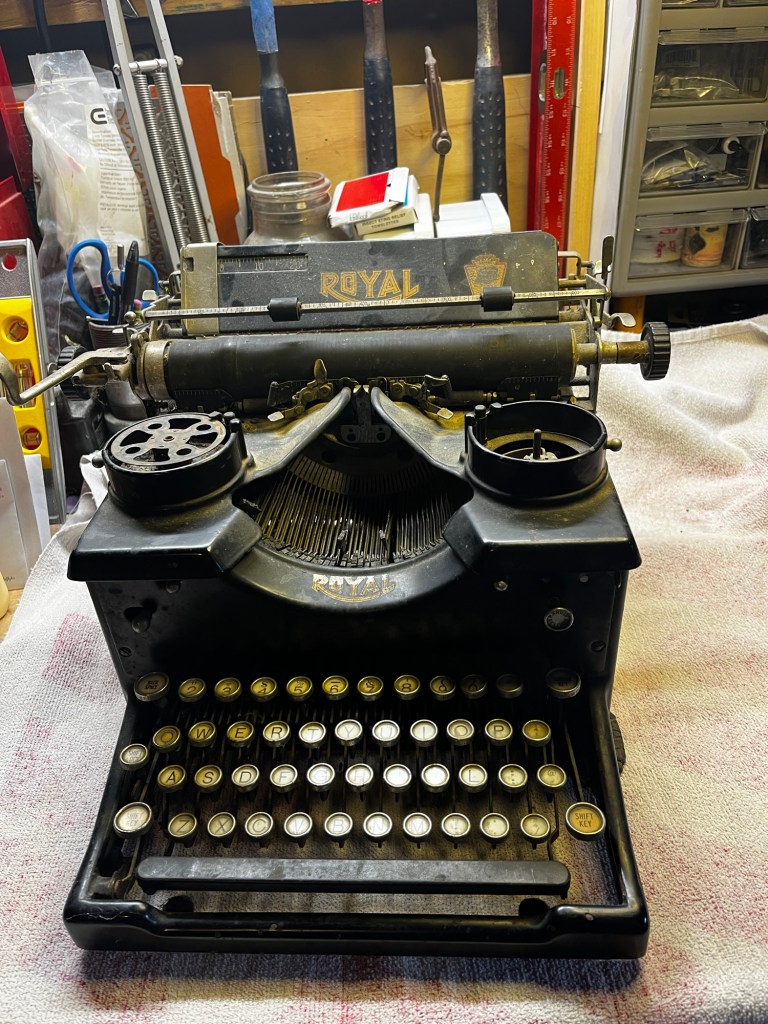
Got my bench cleared off and put the Royal up. Actually took my first real good look at the entire unit today.
Remember, I originally bought it for the key caps only.
I vacuumed the entire unit and closely examined it and things (as usual) got more complicated than expected.
I just had surgery on my neck and as you can imagine, I’m somewhat limited on my physical activities while I mend.
Since I can’t do a lot, I need to do something. I’ve decided to clean & repair this typewriter.