
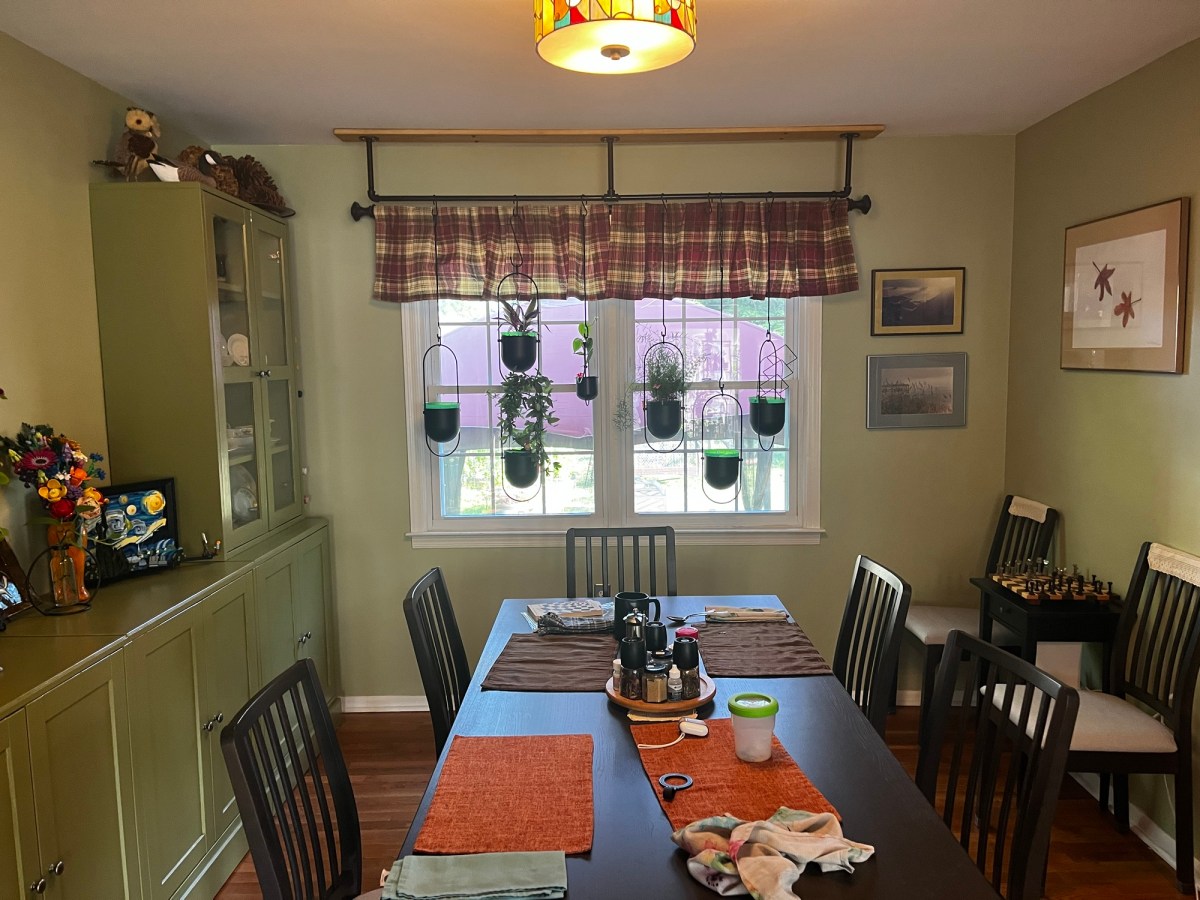
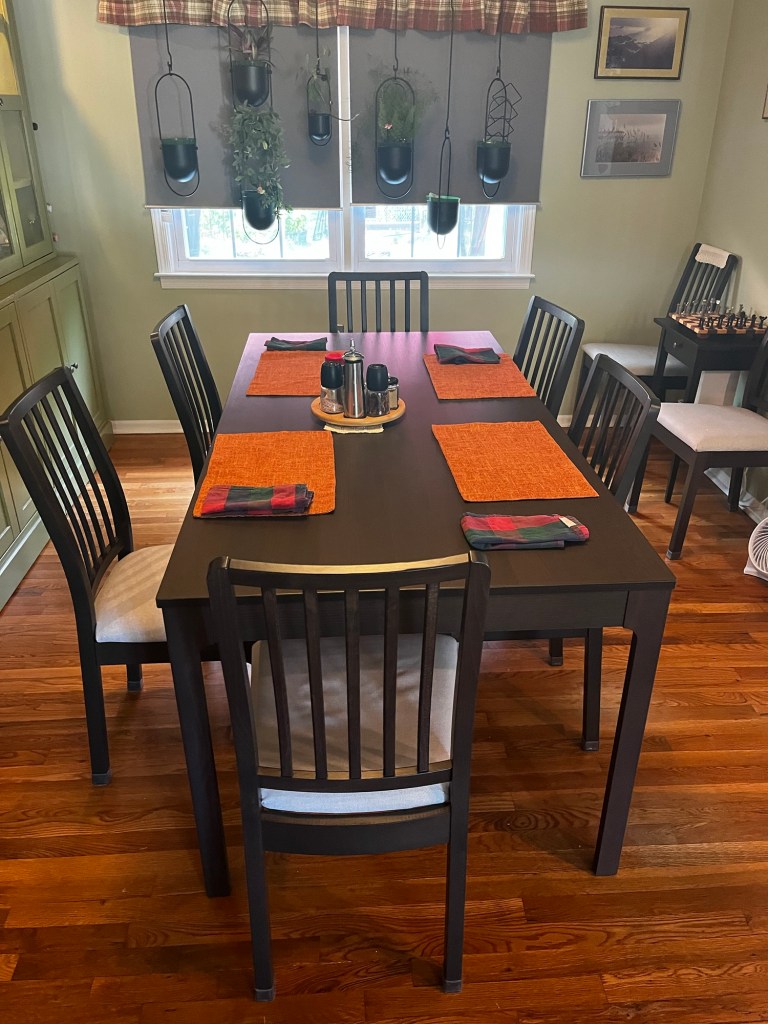
Darling wife and I have been living together for 16 years. The dining table & chairs were bought was from a discount store 15 years ago. The remainder of the furniture was found on the roadside over the years.
Between the beat up, mismatched furniture and the awful paint colors it’s time to redo the dining room.

Day one
A clean slate.
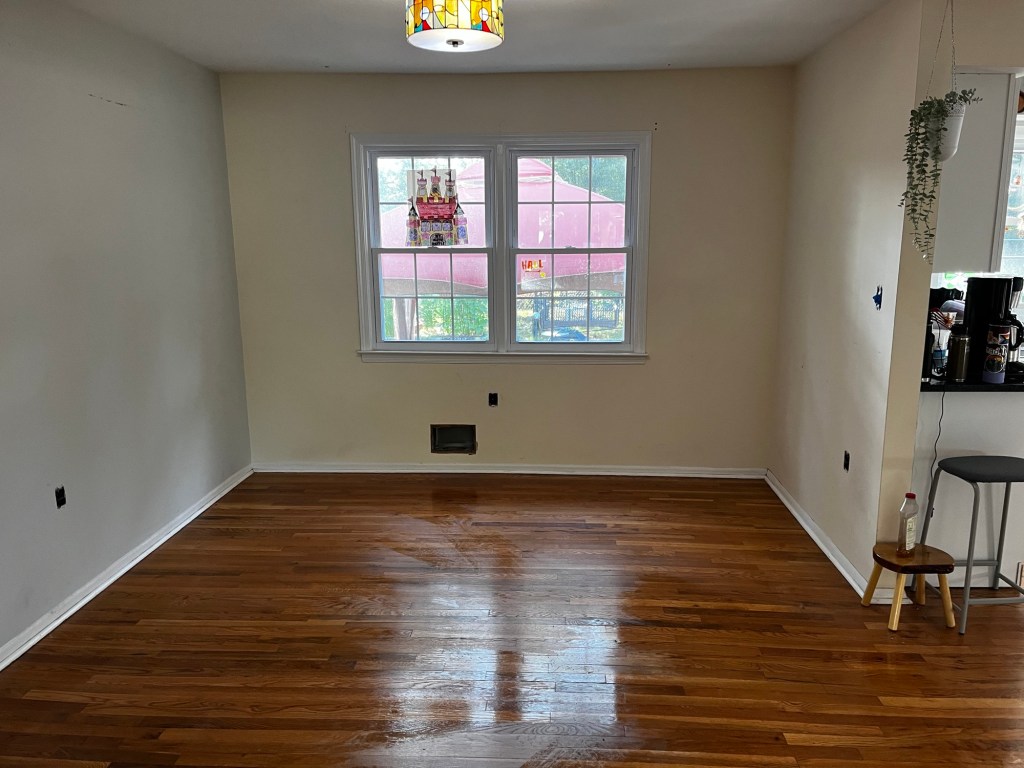
Removed all the furniture & wall decor. Mopped the floor.
My sister in law took the 15 year old hutch. We put the table, six chairs and the road side found side board out on the curb. Less than an hour after I posted them to Craigslist free, the sideboard & 5 chairs were gone. The township took the table & chair #6 the next morning.
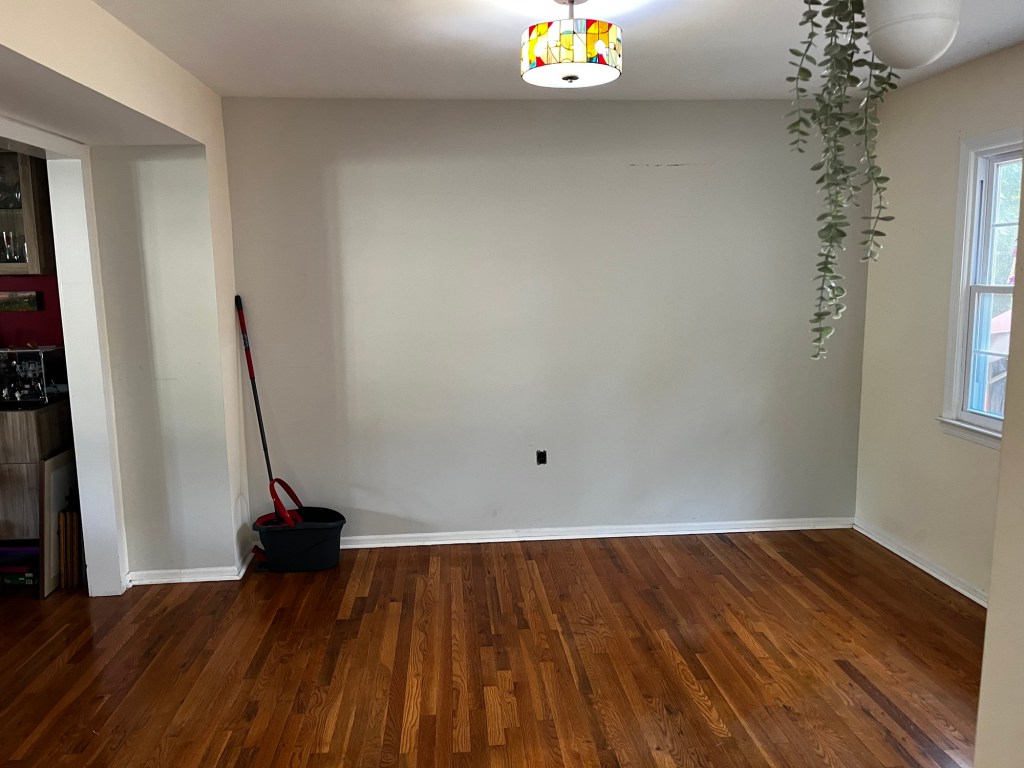
Day 2
I abhor a vacuum
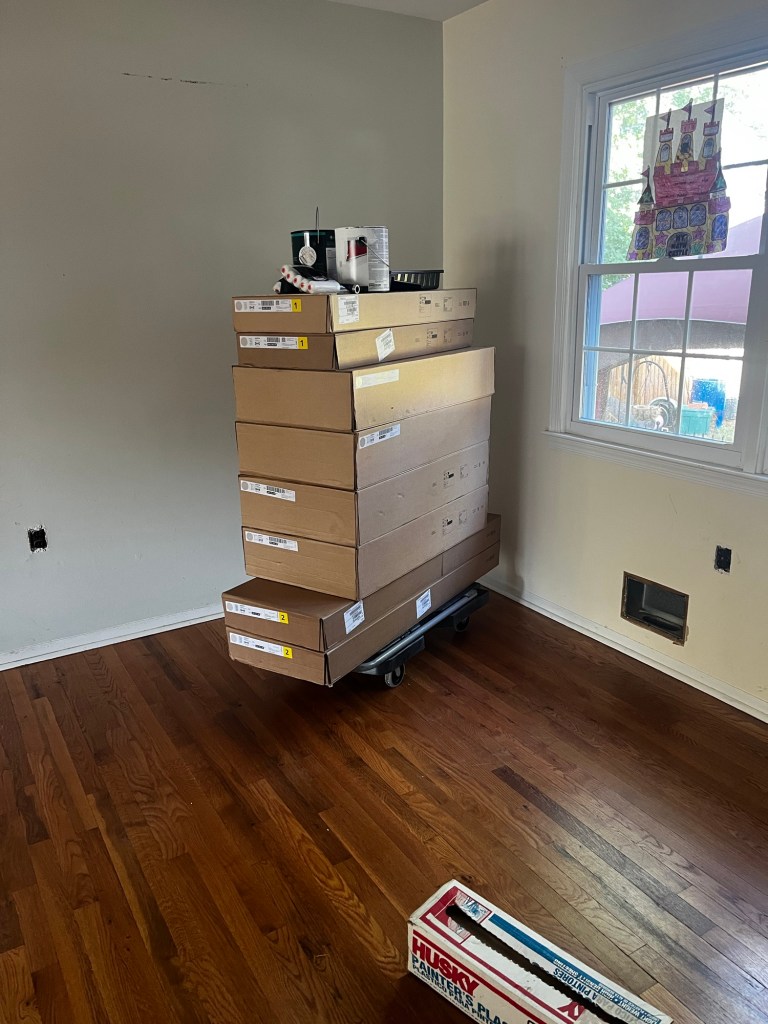
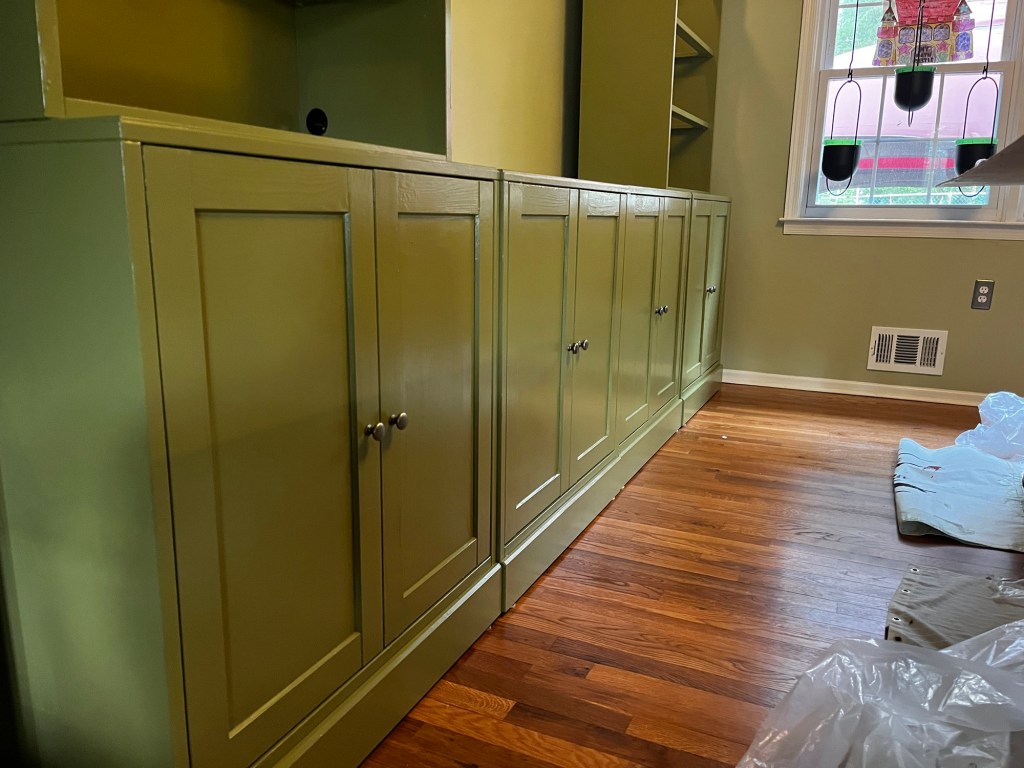
I decided on the Havsta cabinets because they are made of solid wood and I like the staggered look between uppers and lowers. Storage is going to be four lower cabinets with solid doors and two upper cabinets with glass doors.
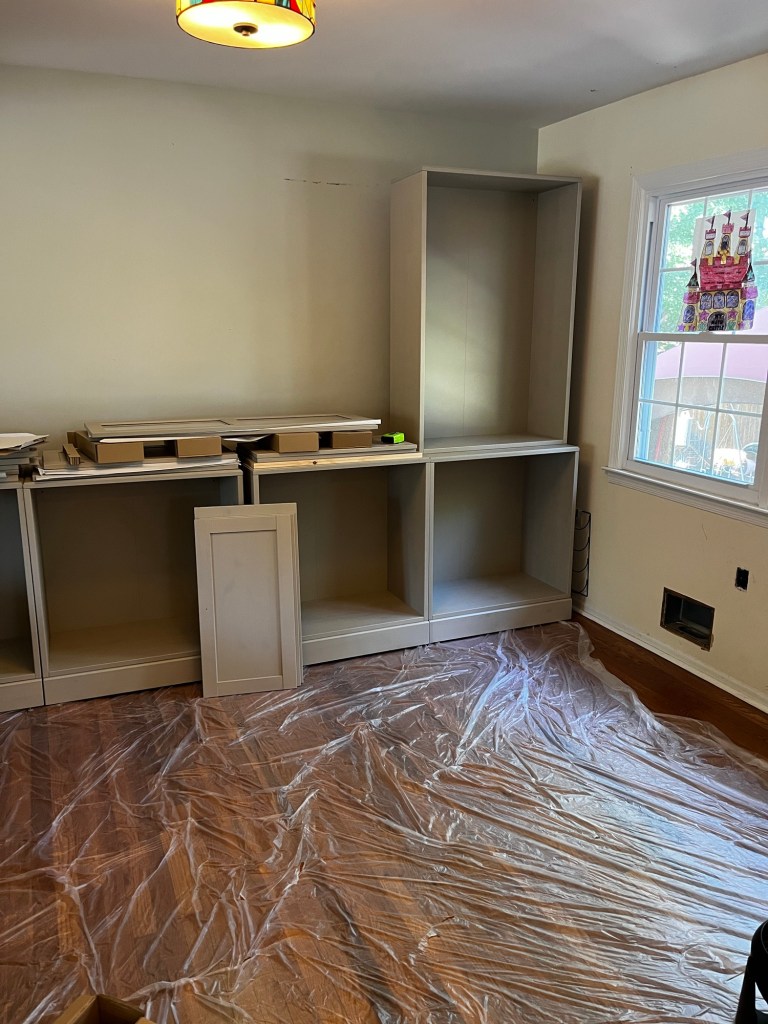
Between the uppers, we’ll have a 62” wide flat space for decor or serving. Of course the cabinets will be lit and controlled by HomeKit. And I’ll be adding another speaker to the system. Now every room on the first floor except the powder room is wired (wirelessly) for sound.
I toyed with the idea of making these cabinets appear to be built ins, but decided against it.
The bump out on the left side is shallower than the lower cabinets and deeper than the uppers. Between trying to make that transition work and figuring out what to do with the foot gap at the ceiling I couldn’t come up with any graceful solutions.
So the gaps to left and right will become secret wine stash.
Day 3
Preparing to get started.
I’m not happy with any of the colors that the Havsta series is offered in. But that’s okay because they’re made of wood. And I can paint wood.
This gray beige color is especially horrid. It’s like ultra-neutral, bland to the point that it’s offensive.
And it’s a stain, not a paint. Applied to paint grade lumber because IKEA needs to hit a certain price point.
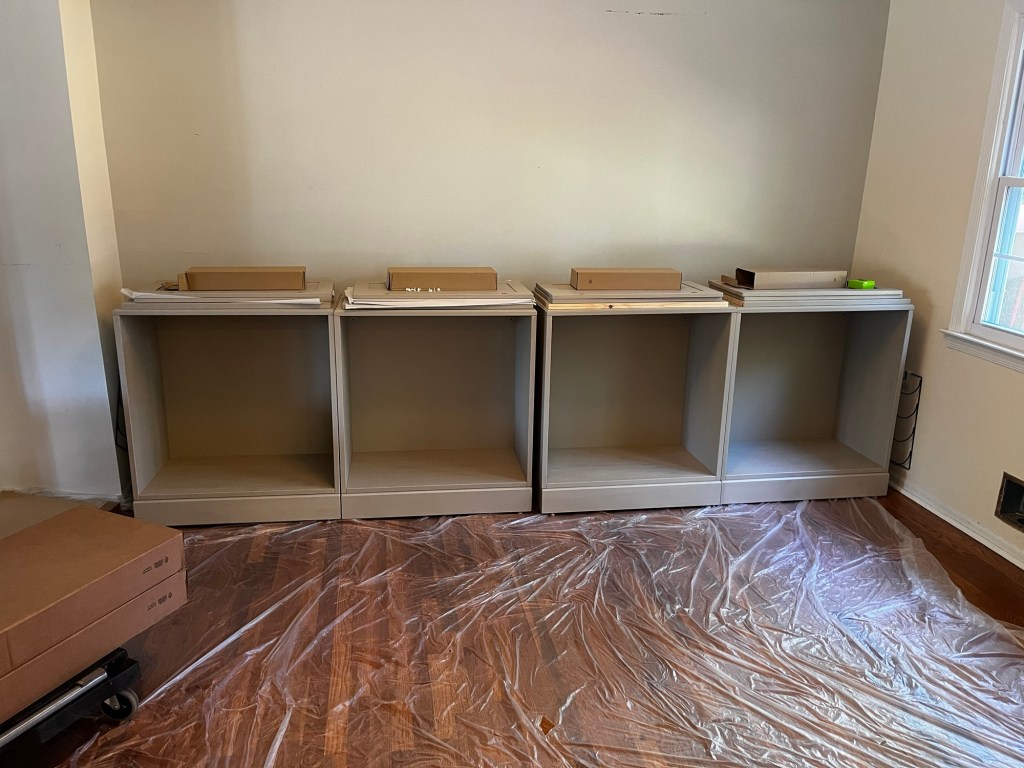
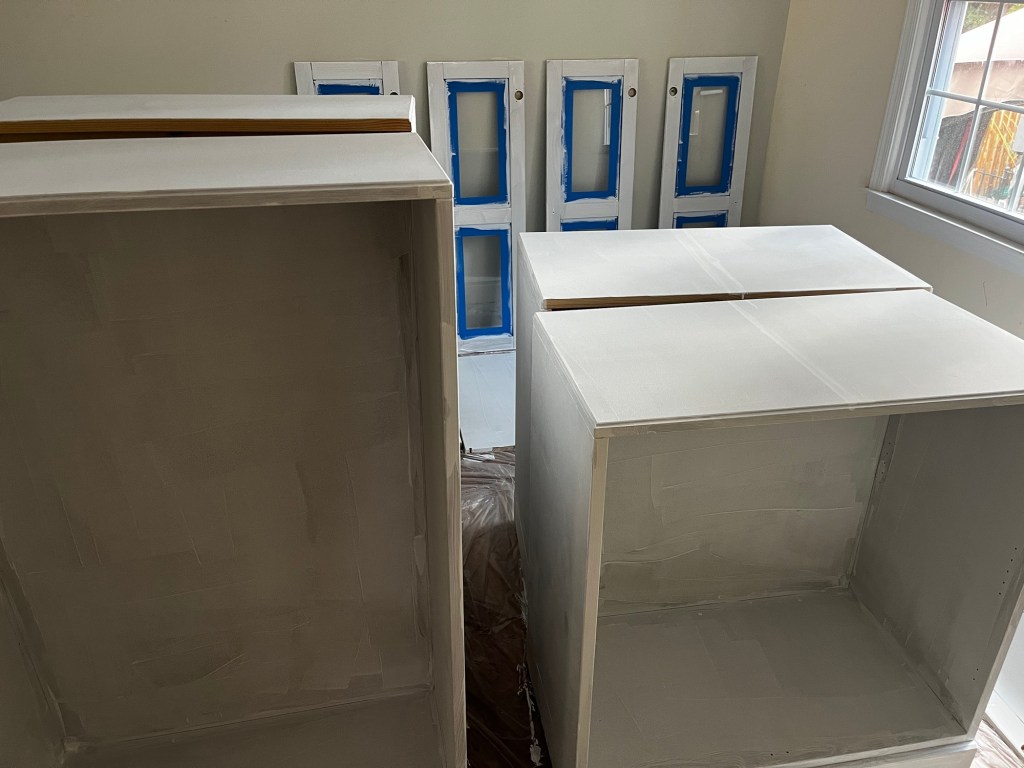
So today I sanded every surface of the cabinets. Just a light sanding at 150 grit to knock down the finish a bit and give my primer a surface it could bond to.
Then I moved the cabinets onto a formation that would allow me to prime and paint all the pieces (I hope).
Day 4 – Prime Time.
Not a lot of pictures today, my hands weren’t suitable to handle the phone.
Primed all the cabinets (6) & doors (12) & shelves (10).

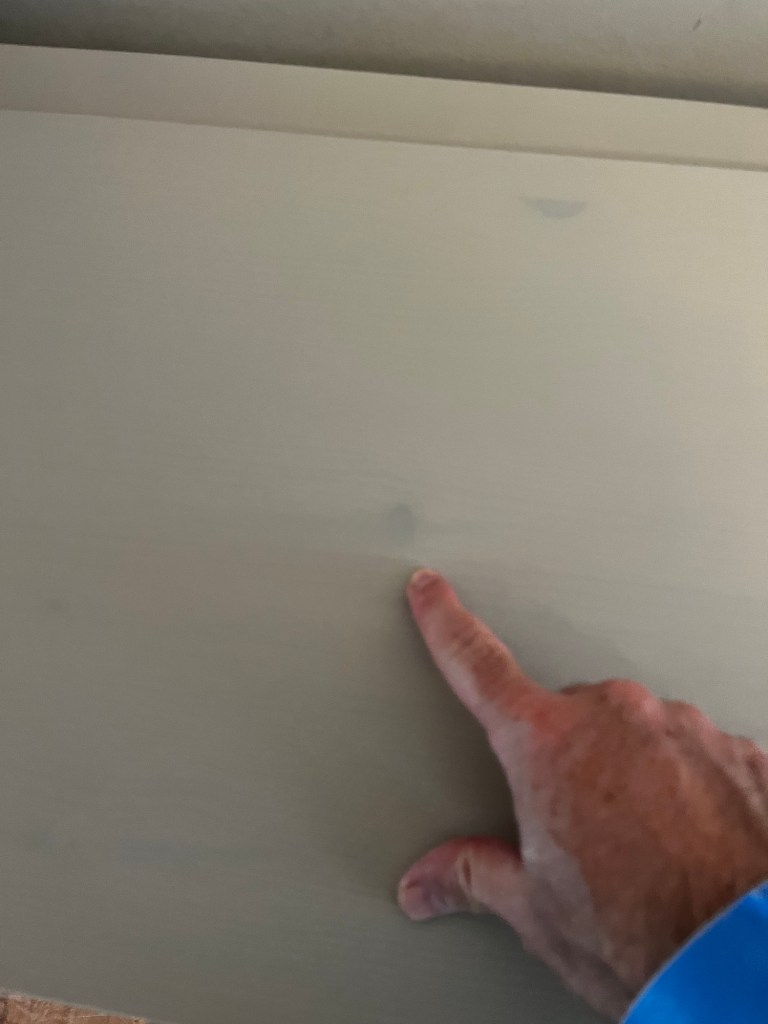
Apparently the back panels needed a bit more than a light sanding. On two of the six, the primer beaded up and didn’t want to form an even layer. I went back and reprimed those panels and everything looks good now.
Also, this room is too small to paint everything. I had to paint and let things dry and move them so I could paint other things.
If I had installed the cabinets and just painted the visible bits, I think I would have been okay. But like my Bestå wall, these are going to be installed, pulled for modifications, and reinstalled, so I wanted to paint everything.
Day 5 – Let there be color
So there wasn’t really enough room to paint all the cabinet parts at one time. I decided to paint the cabinet boxes today.

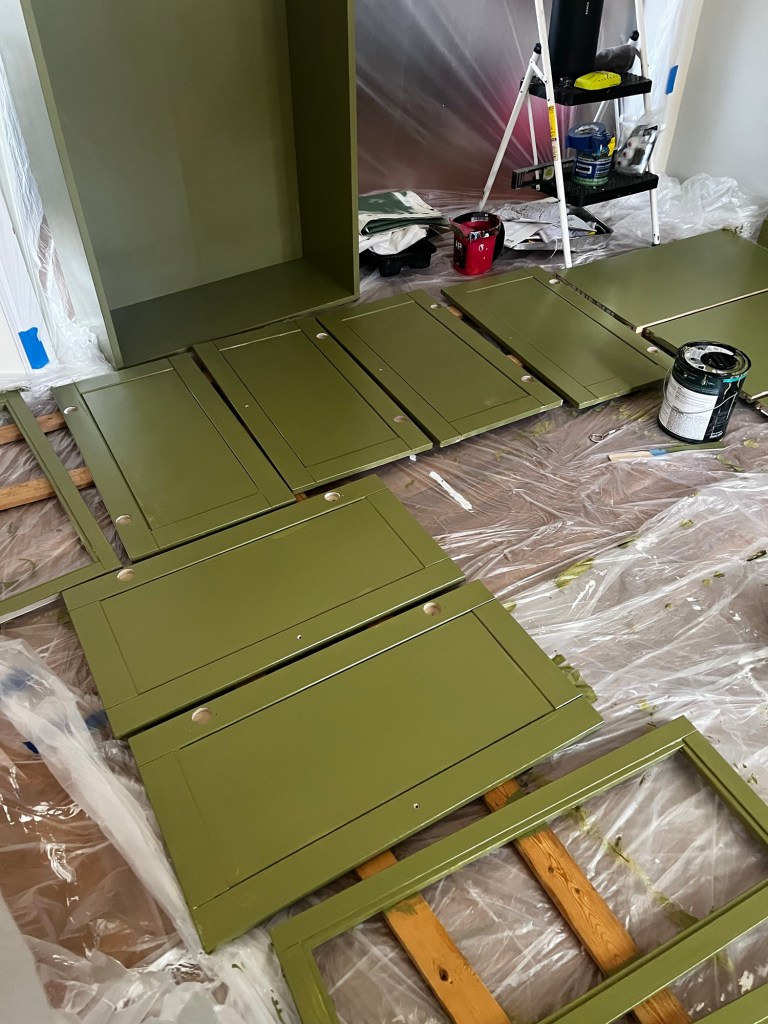
Day 6 – Paintin’ on Havsta Doors.
Today I pushed the boxes to the wall & painted the doors and shelves.
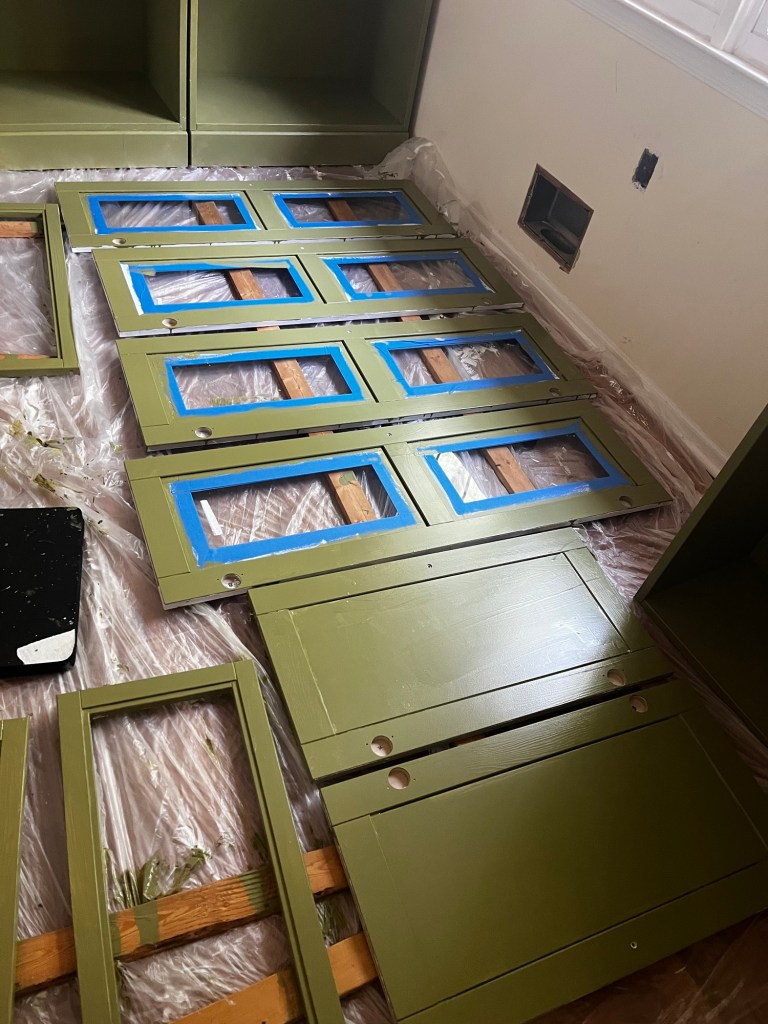
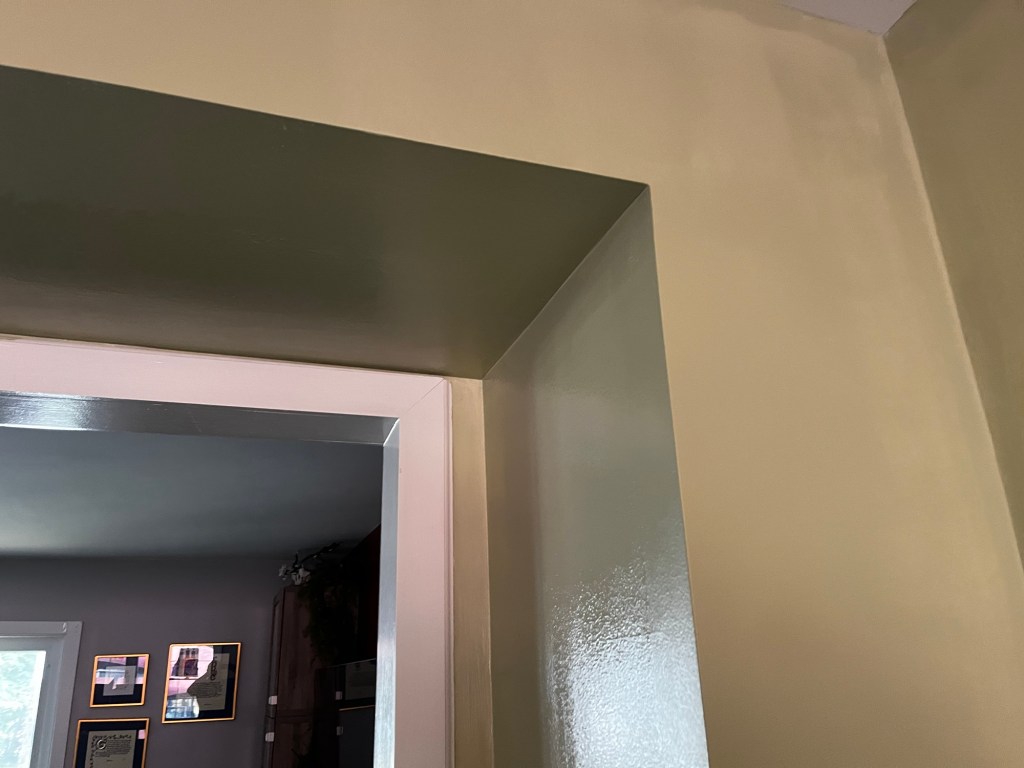
Day 7 – it’s not easy being green
The walls got color today.

I’ve always painted the underside of soffits like the ceiling. But I ran across an article recently that showed soffits painted to match the wall. I decided to experiment


Day 8 – lots of fiddly bits
I removed the baseboards behind the Havsta to gain an inch of depth

The cabinets got modified and placed in their final positions. I installed MITLED lights in the upper cabinets. These lights are dimmable through HomeKit I cut a hole through the back of cabinet 3 and hung a power strip inside the cabinet.
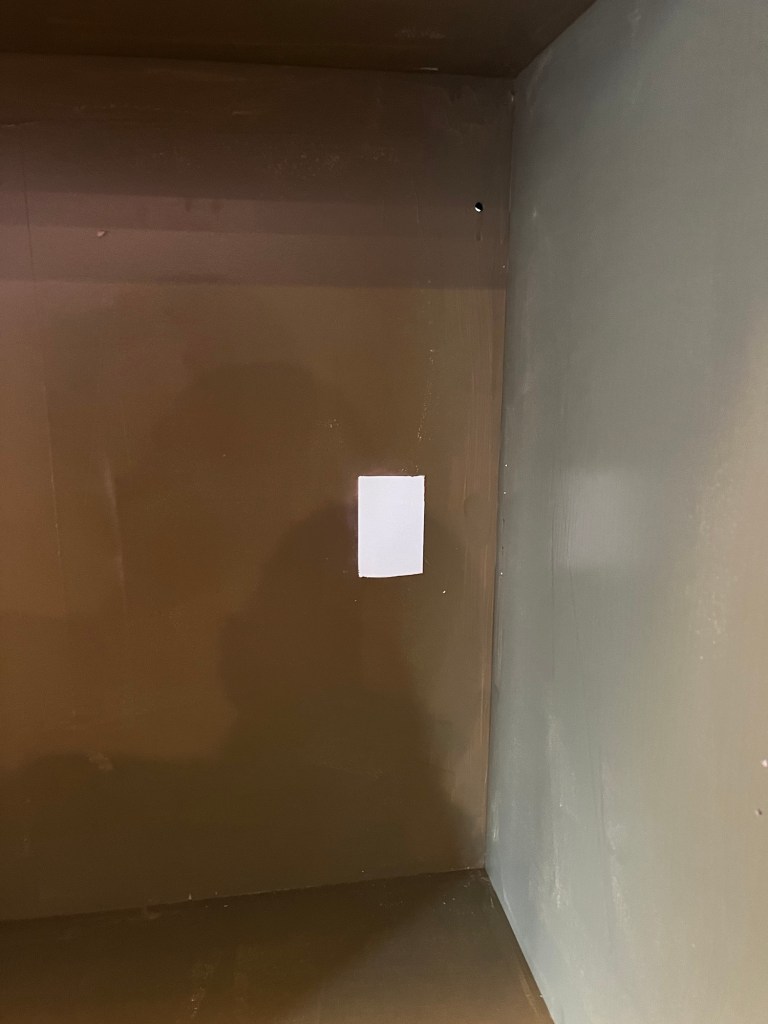
I still have to drill the pass throughs so I can plug in the crockpot when we host holiday meals. The power strip also supplies the driver for the cabinet lights and the repeater for the blinds.

Speaking of blinds-
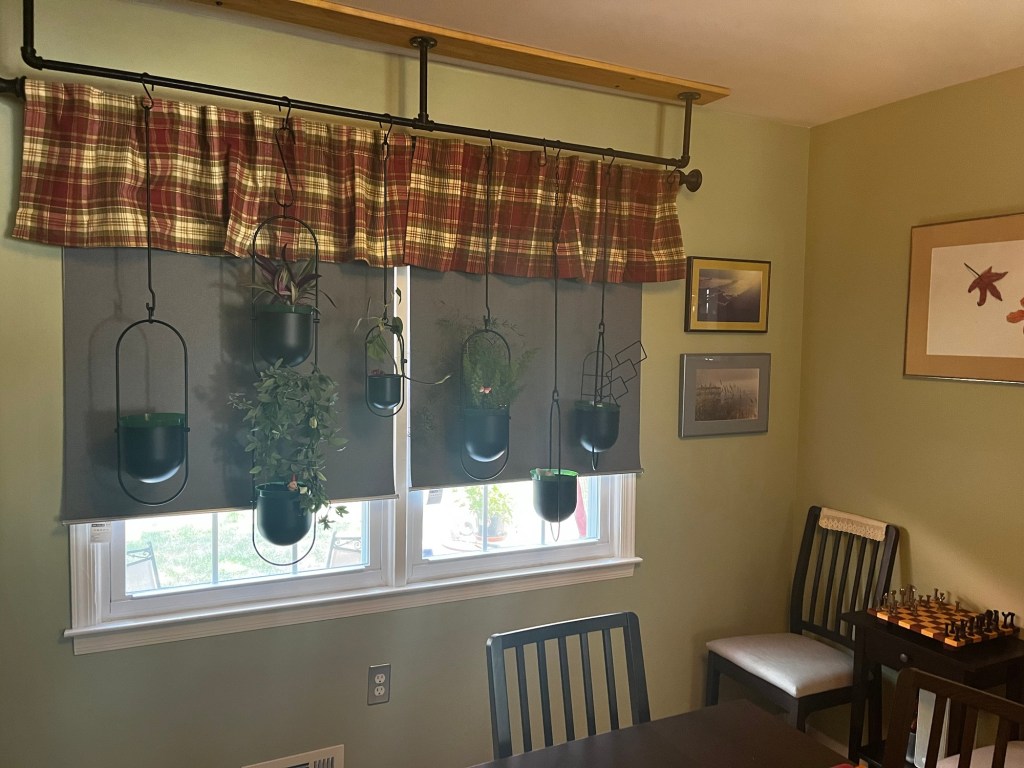
Window treatment
The joys of a west facing window. If we eat at the wrong time of night, the setting sun blinds my wife. Hopefully I’ve managed to sort that out for her.
First, a set of blinds. HomeKit enabled of course. I’ll set them to automatically lower before sunset & raise up after sunset so my honey can see.
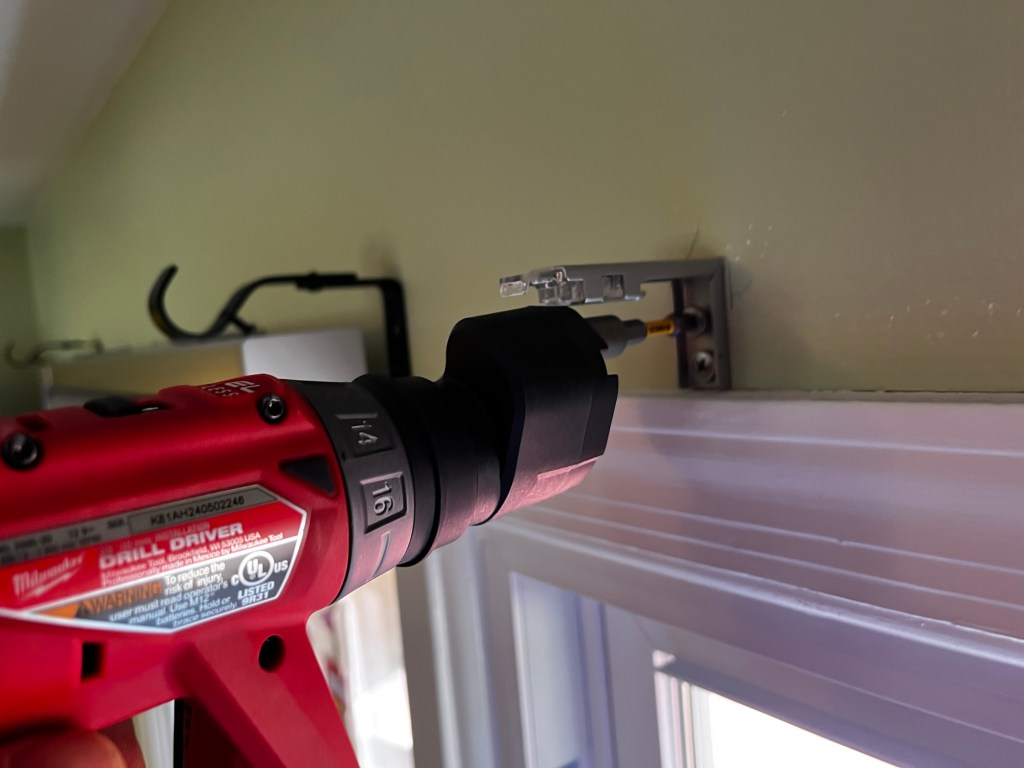
But the blinds aren’t that great looking, so they’re hidden behind a valence.

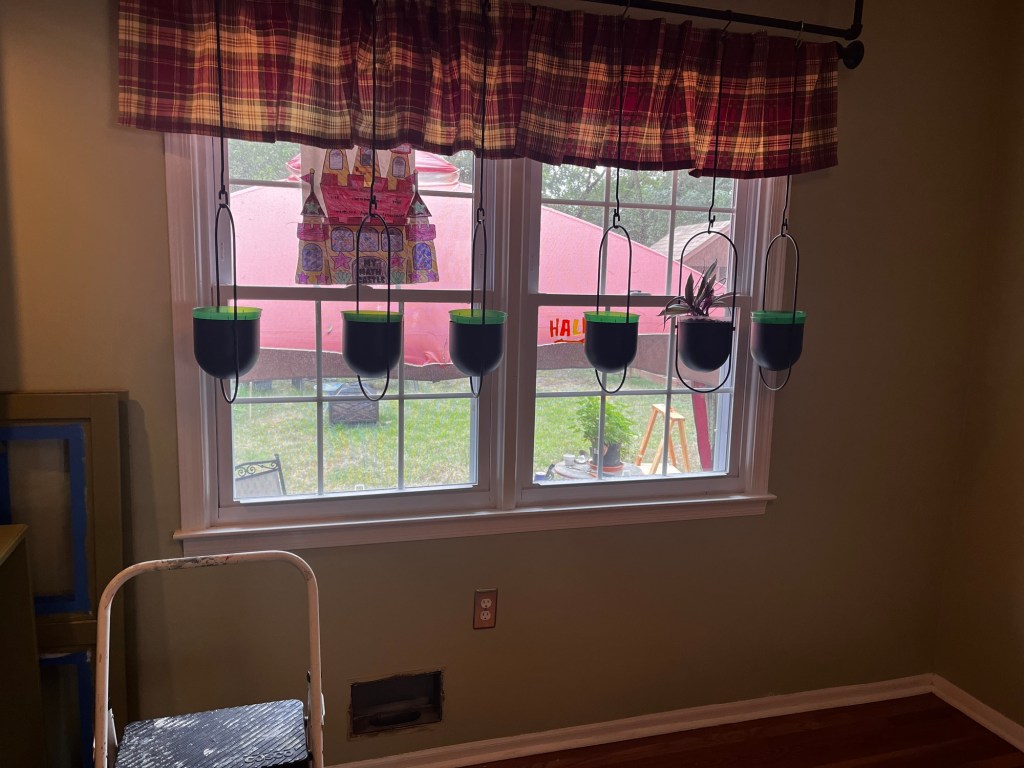
And finally, eventually, some greenery. The pipe rack idea was copied from one of my wife’s local plant friends. Getting these pots green and growing is my wife’s responsibility.
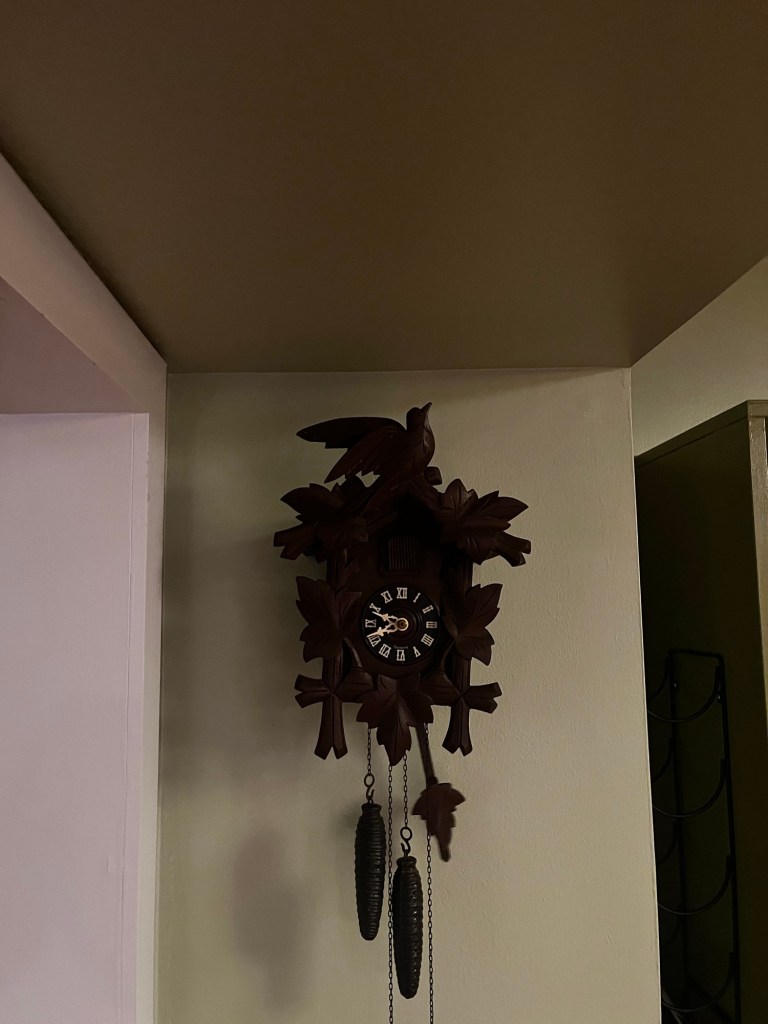
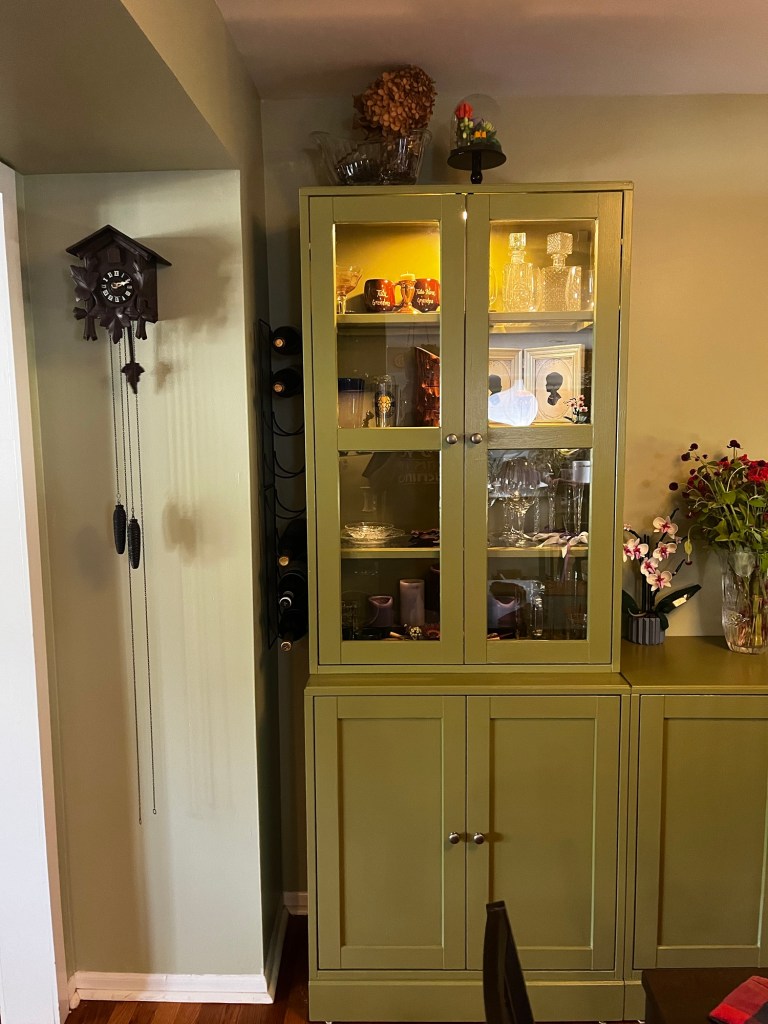
Cuckoo clock
This was purchased in occupied West Germany by my wife’s great uncle as a gift for his mother (my wife’s great grand mom). My wife remembers it hanging in her Mom-mom’s house when she was a child, but her younger cousins don’t . At some point it came off the wall and was stored badly in a closet. My wife inherited it when her grandmother passed. It was stored, just as badly, in a closet in our house for 12 years. I had it repaired for her birthday. It fits perfectly in this spot and is visible from three rooms.
The return of the world’s most manly chess set.
These pieces used to belong to my dad. The board was a gift from my wife. Now I have a space to leave them out, always ready for a game.
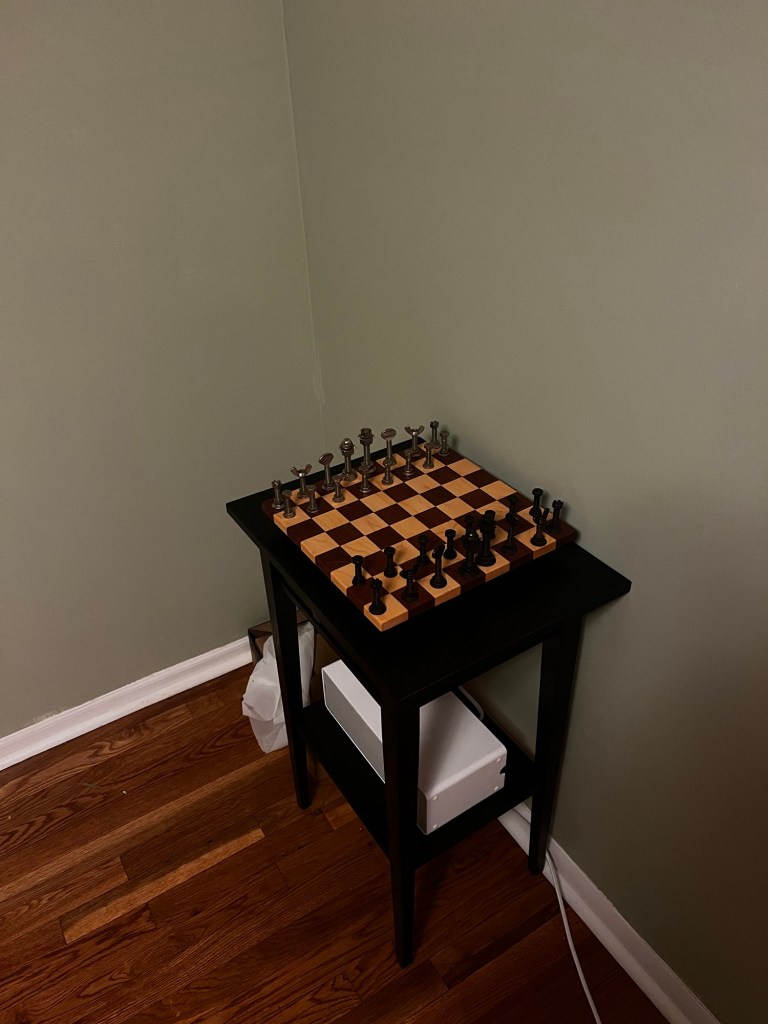
Also – secret wine racks – when you’ve got a 6” gap to fill on each side


Day 9.
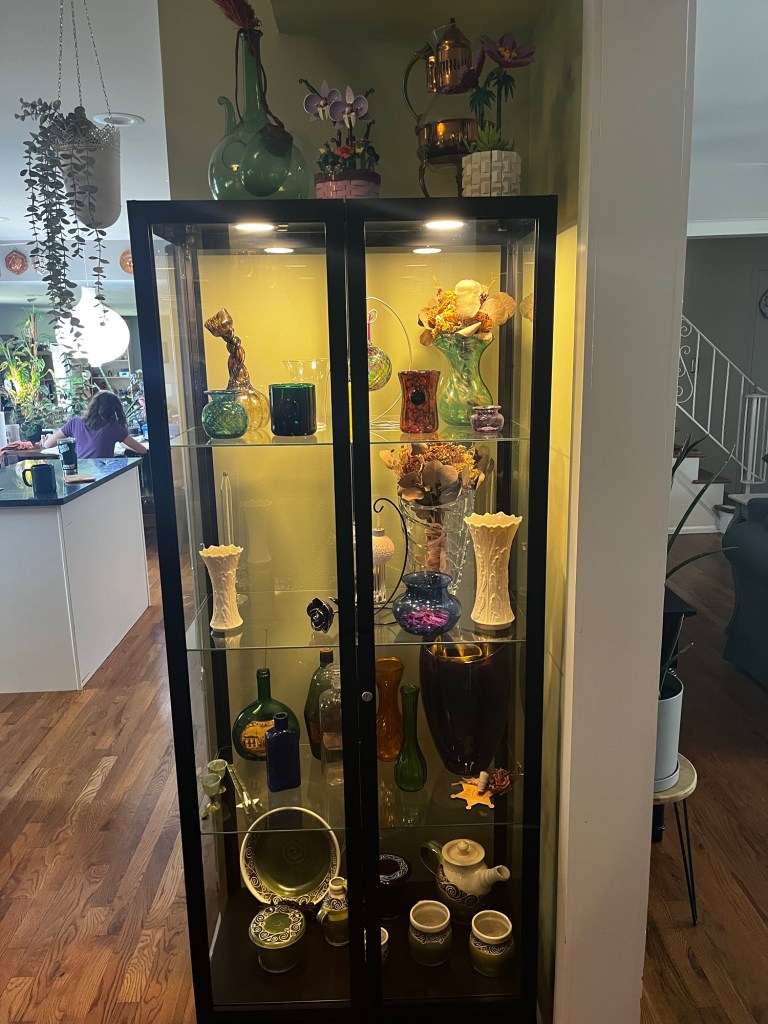
Display cabinet
A short day, had to pick the eldest up from camp & then went to watch a minor league game with the scouts.
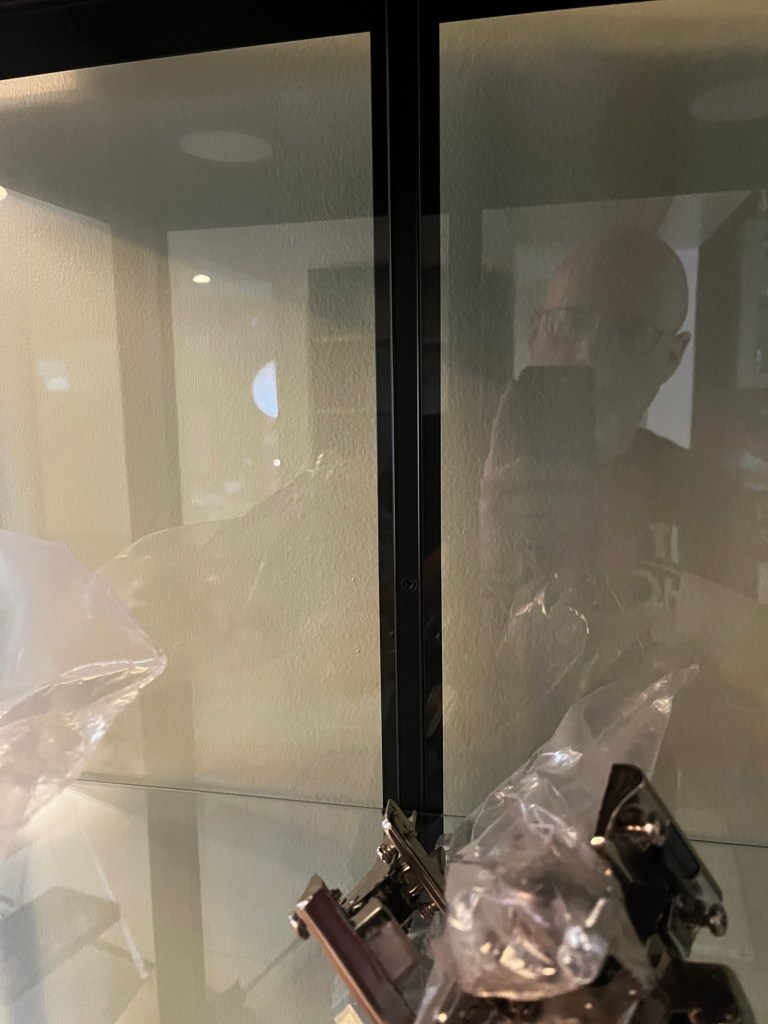
The top panel of the Milsbo cabinet is pre-punched for low voltage lighting. This cabinet is just perfect for displaying some of our most cherished items.
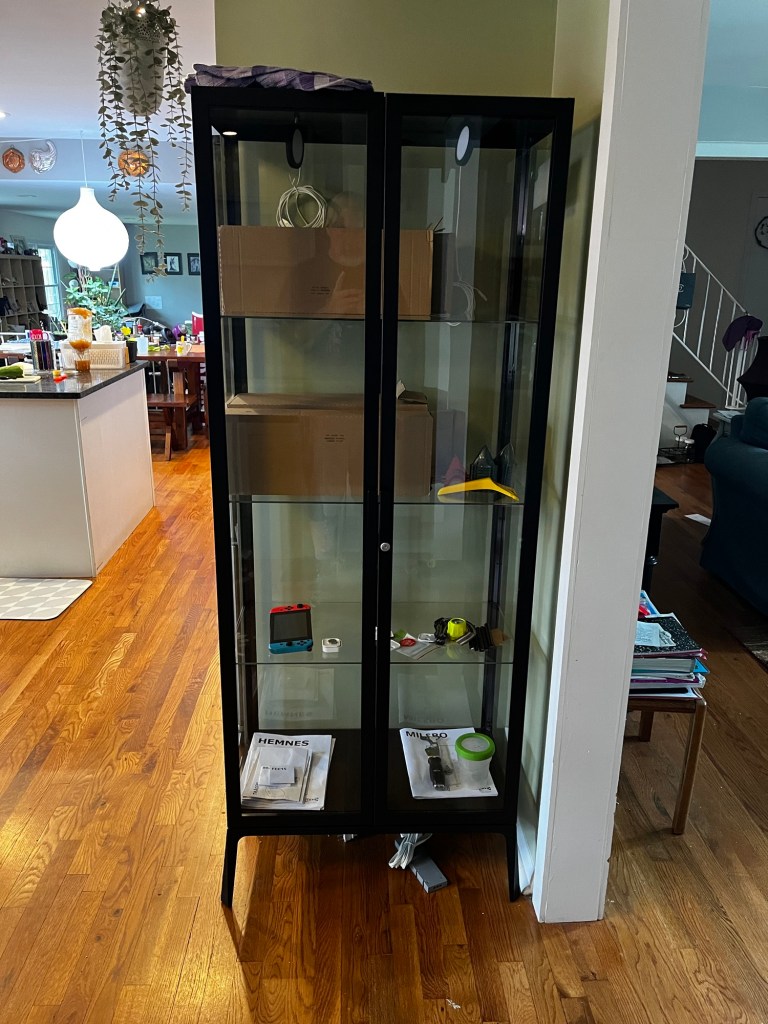
Also, I just happened to have some bits of chain in the garage.

Day 10 – Why is there never time to do it right, but always time to do it again?
So it turns out that allowing paint to dry while touching things isn’t ideal.
So I’m repainting the cabinet doors after sanding & cutting the worst of the runs off.
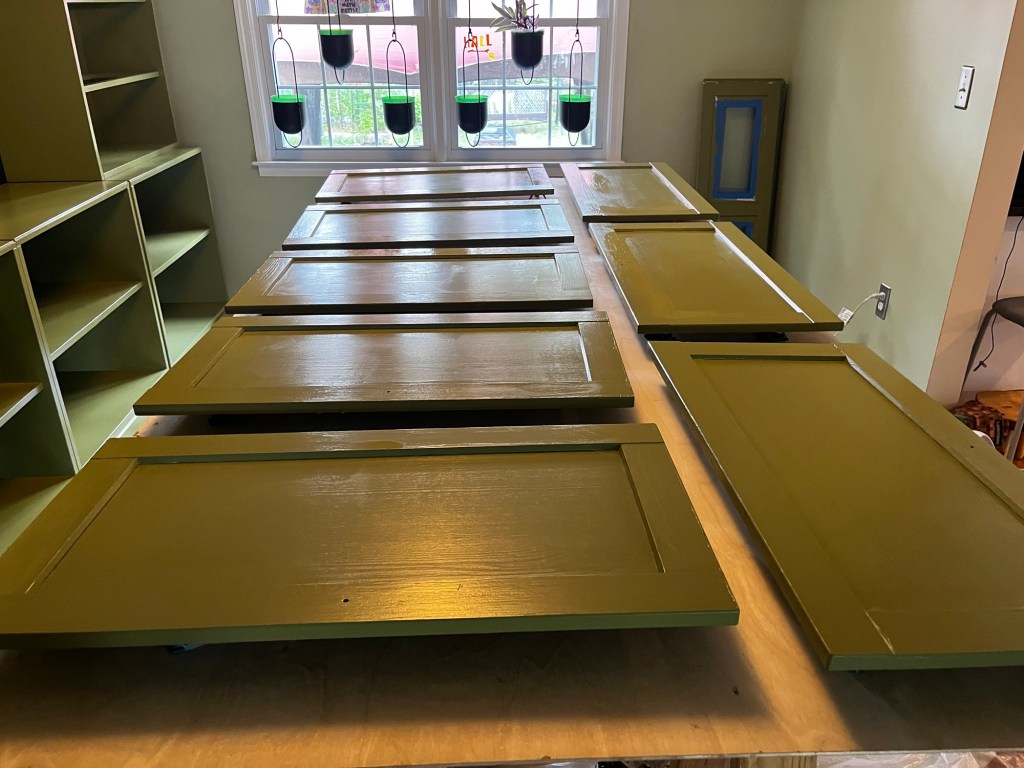
Of course, I don’t have the room I need to do all the doors at once. I’ll do the upper doors tomorrow.
Day 11
Hang the lower doors & paint the uppers.
Also, how do you conceal wires in a cabinet with four glass sides.
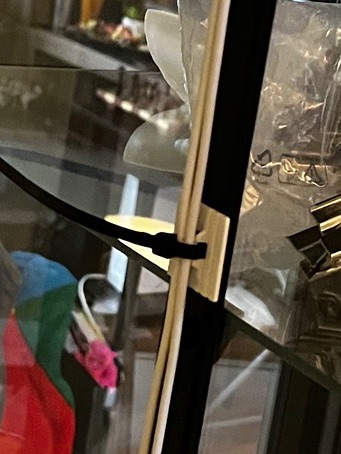
To be fair, the wires are visible from the side of the cabinet because the splayed legs push it forward from the wall.
Day 12
It is finished.

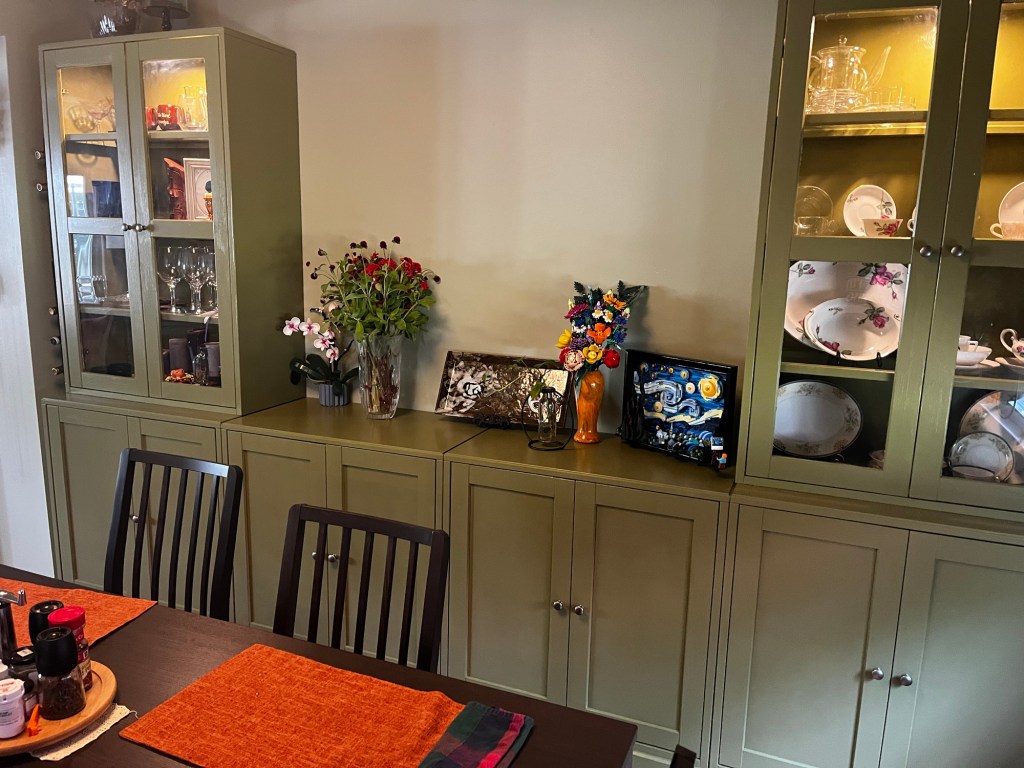
I want to put something over the top of these two lowers, maybe a stone slab or sheet of glass.
After all is said and done, I’m pretty happy with this project. The new table actually fits in the room. There’s enough storage for all the things I want to keep in the dining room.
If I ever paint cabinets again, I’ll wait for the weather to allow me to work outside where I have enough space to do it effectively.

