When we go camping, I like to make sure that everyone has a charged phone or watch so that I can find my family. Unfortunately, Honda doesn’t think you should have access to electrons when the engine isn’t running. Time to add some charging ports, without looking like I added some charging ports. (See Rule 2)
For the past two vehicles. I’ve added the trusty Blue Sea 1045 to the dashboard where Ford had installed a (useless to me) cigarette lighter. But USB-A is rapidly falling out of use, so I wanted to go with USB-C instead. I reached out to Blue Sea Systems customer support to see if they had a USB-C version in the pipeline, but they don’t. (Or at least won’t give pipeline information to random folks who send emails.)
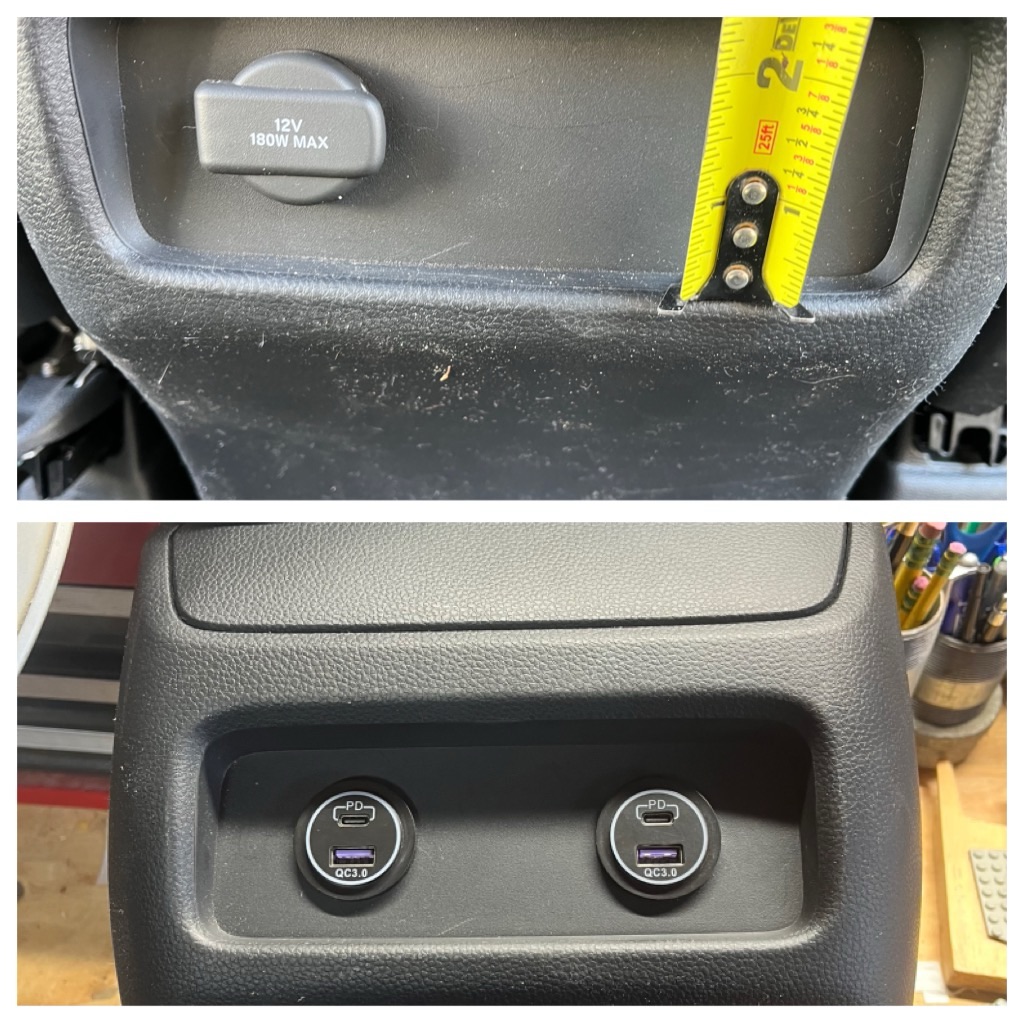
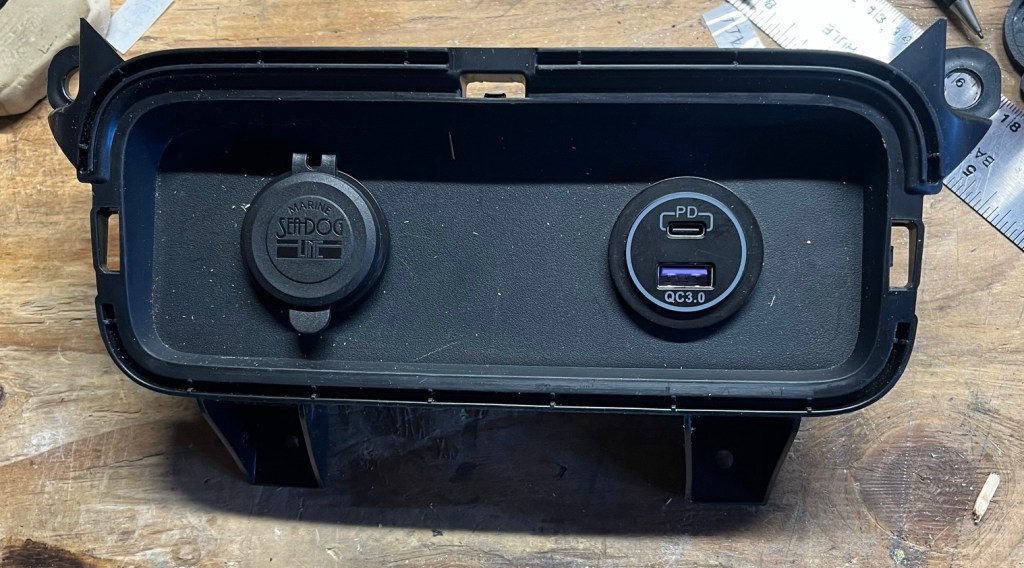
Sea-Dog has the perfect answer – two ports in a 1 1/4” device. One USB-A and the other USB-C. With no lights, voltmeters or crazy graphics.
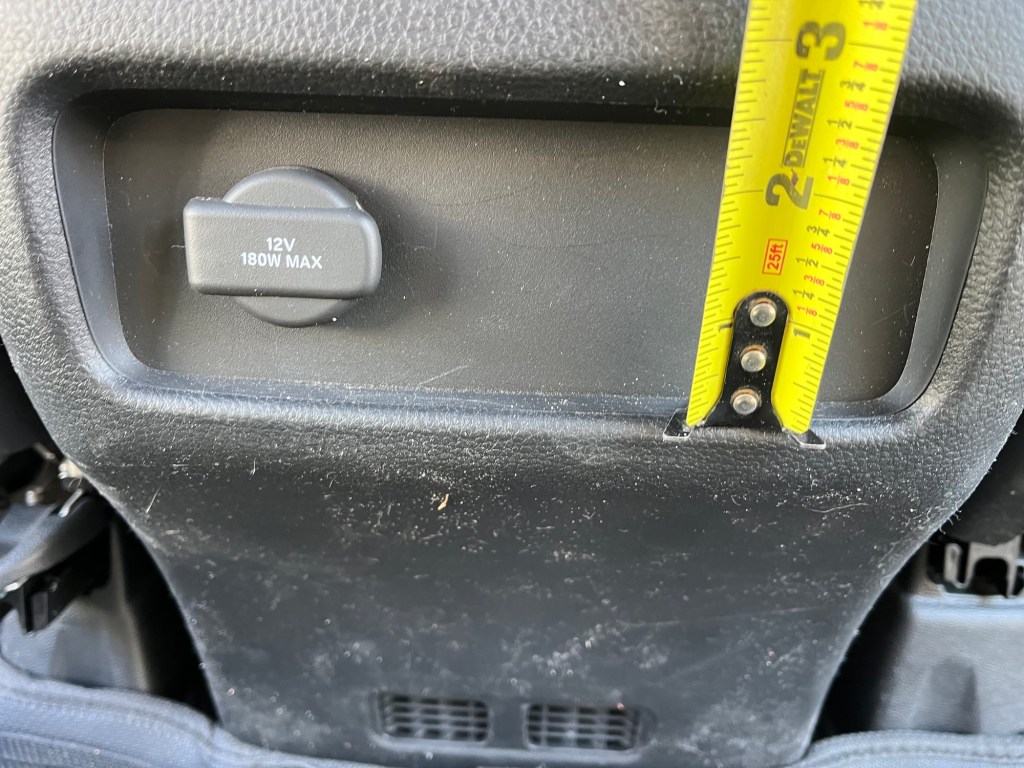
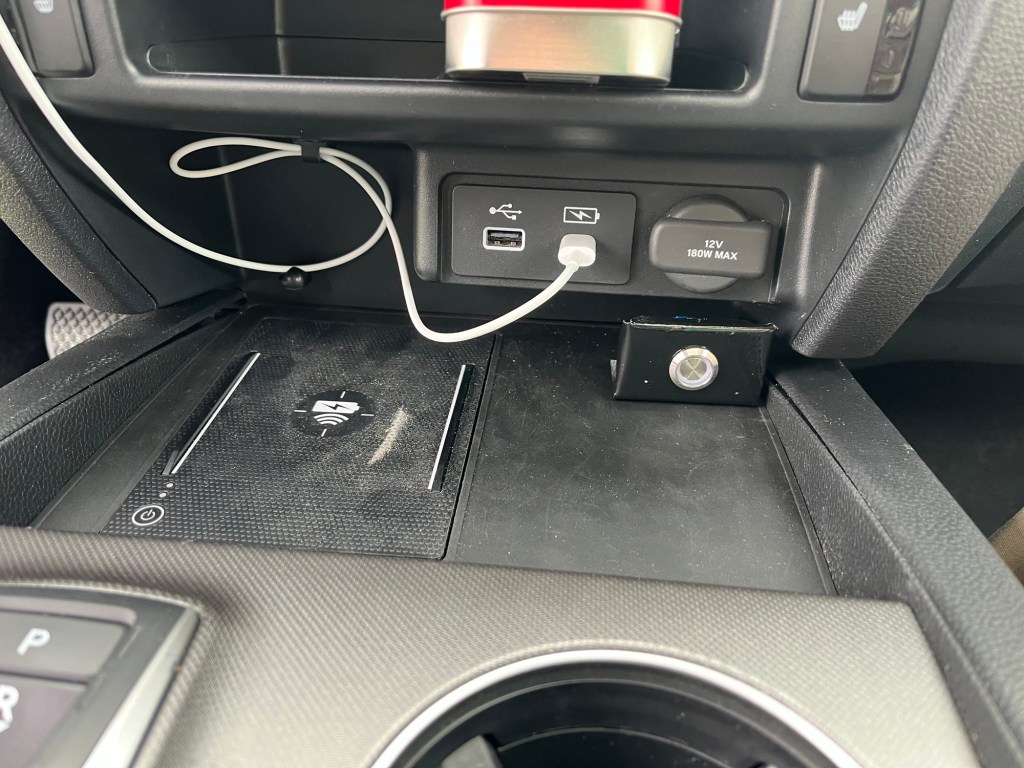
The Black Edition has two USB-C ports on the back side of the center console. My RTL is equipped with a single 12v power port (what us old folks call a cigarette lighter socket), that is only powered when the engine is running.
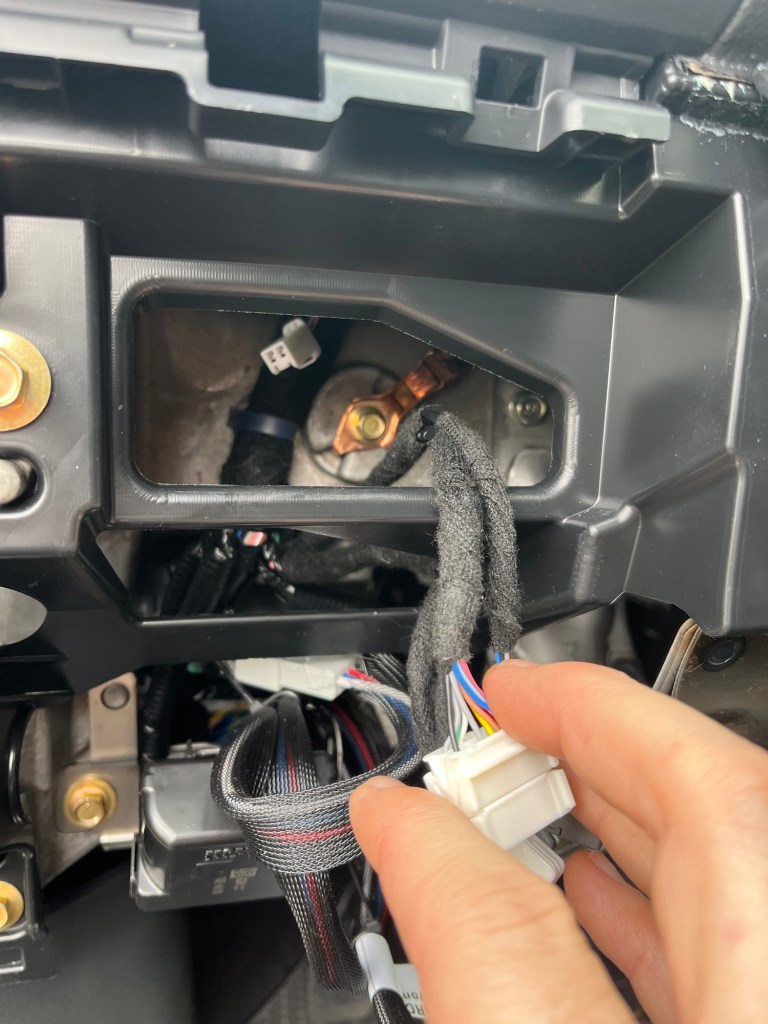
It’s easier to remove the power port before you take the console apart. This isn’t what I did. Get a pair of hooks and press the plastic squares out of the power port and pull the port out with the hooks.
This video will show you the right way to pull the power port out.
The back panel comes off easily enough, it’s held on by eight clips. It’s a lot easier to remove the panel if you get the floor mat out of the way. Also, with the rear seats folded up against the bulkhead, there’s acres of room to work back there.
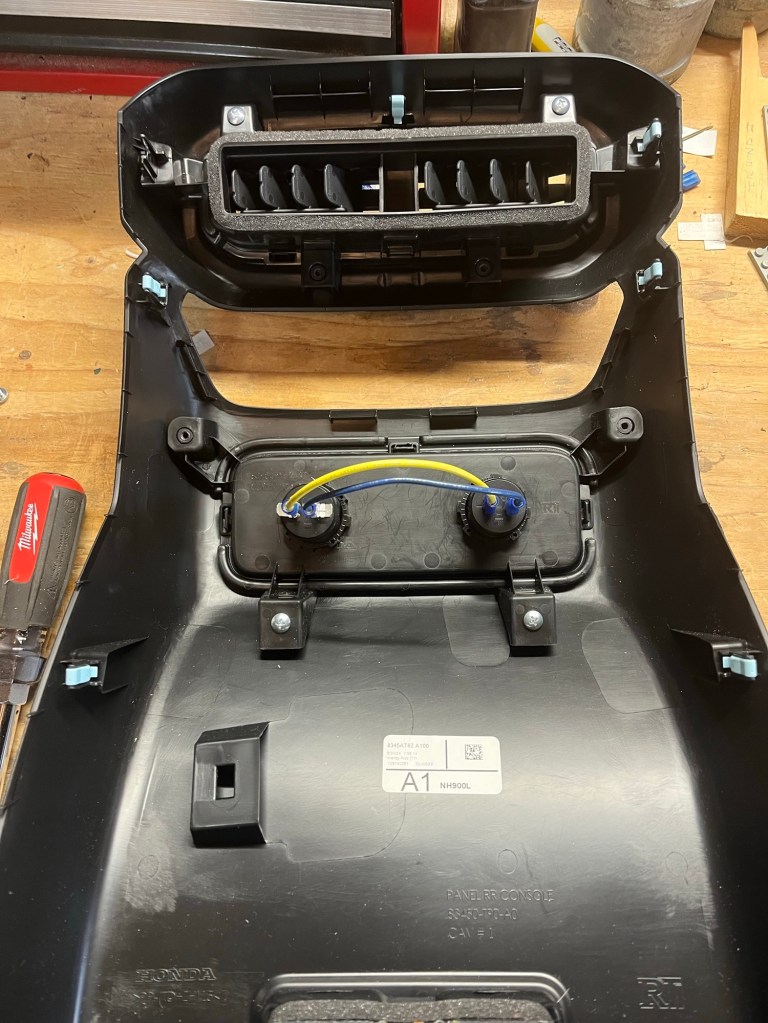
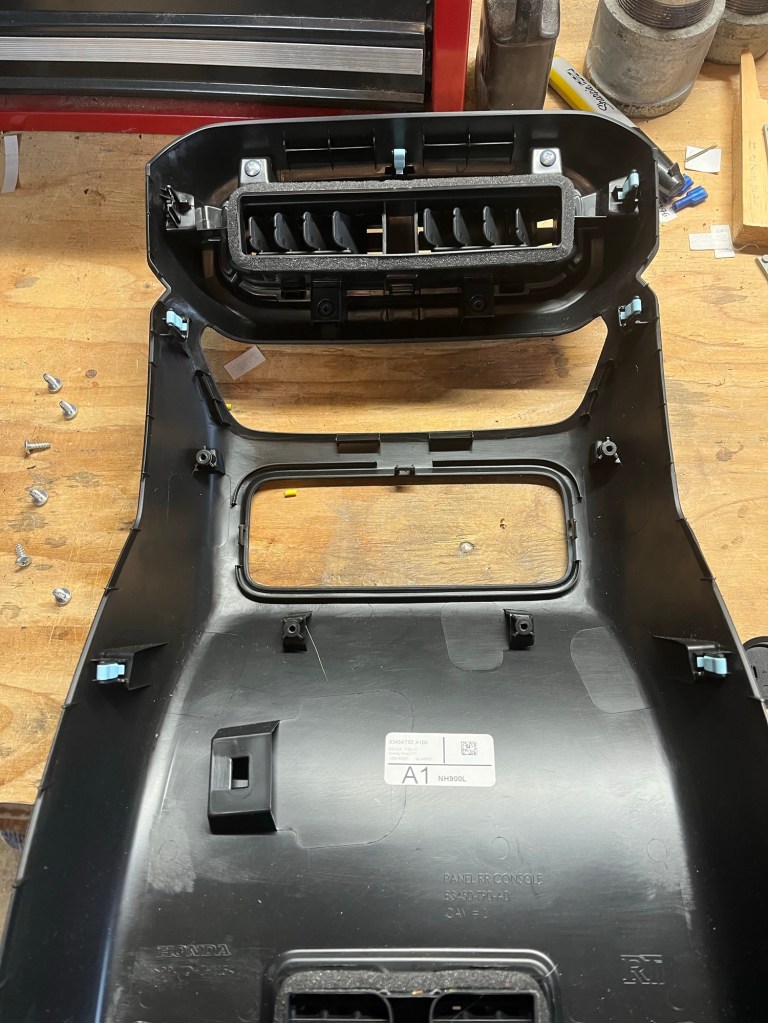
Once you get the back panel off, you need to remove the center panel (BE rear seat HVAC controls, other trims a filler panel) with a Phillips screwdriver then the lower panel, which is where our power port is going.
Do you remember your geometry from high school? It’s time to bisect a line.
Maybe you were the one who asked your math teacher “When am I going to use this in real life?” Maybe you weren’t, but this is the second time I’ve used this technique to find the midline of a panel.
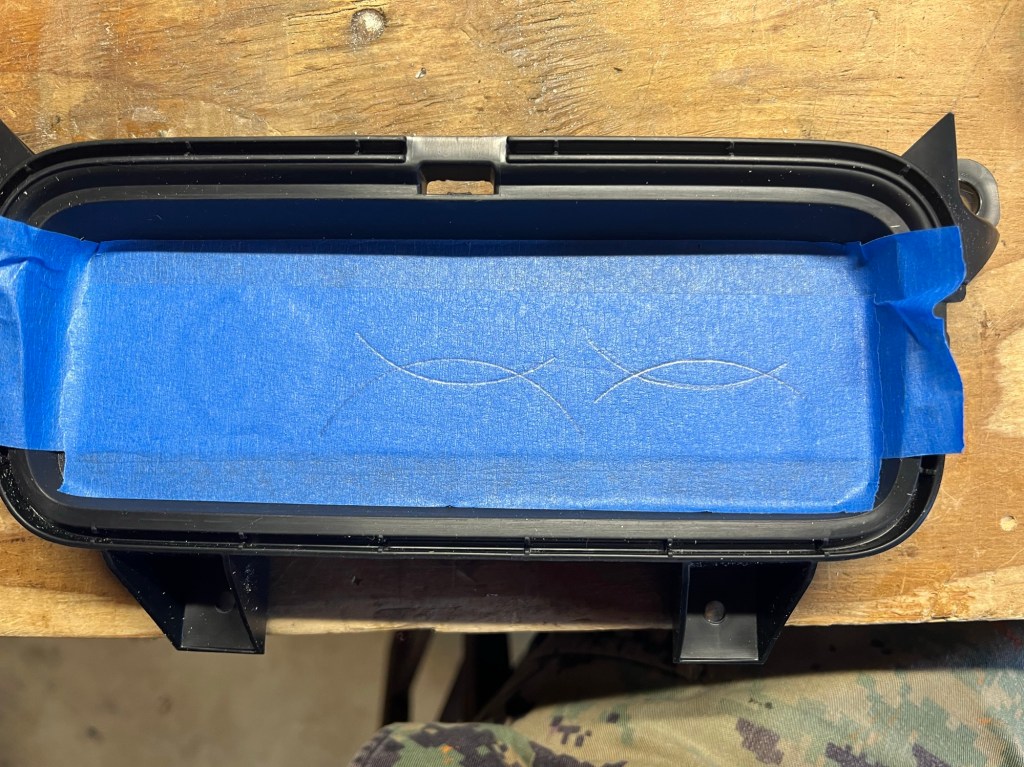

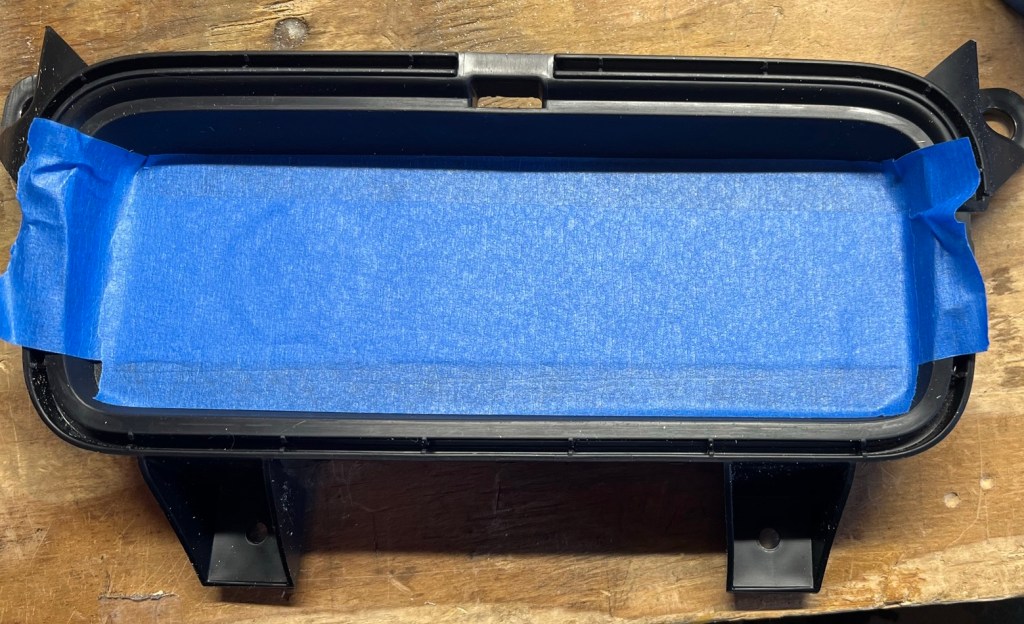
The chargers need 1 1/4” hole, the only bit I have in that size is a forstner bit. This isn’t exactly the right application for that bit, but it will do.
I put a block of wood under the panel so it would sit square to the drill bit and to prevent the plastic from flexing under the bit.

In an attempt to protect my battery, I want these power points to be switched, I just don’t want them switched by the ignition switch. So I’m installing a physical switch between the points and the battery.
I tore the center console apart hoping to find a place to install the switch, but every place I thought looked good had too much stuff behind the panel to make a reasonable install.
On to plan B.
Actually Plan C.
Plan B was to put the switch in the dashboard, but Honda didn’t really make allowances for people to add switches to the Ridgeline. I couldn’t find a place that looked right.
So, on to Plan C. Let’s break out my favorite CAD tool. And get to work.


I know I’m going to have to adjust this, but I’m going to make this panel out of sheet metal and attach it to the rubber pad below the three power points on the center console.

I used a scratch awl to mark my cuts & folds. It made nice clean marks, but they don’t photograph well.


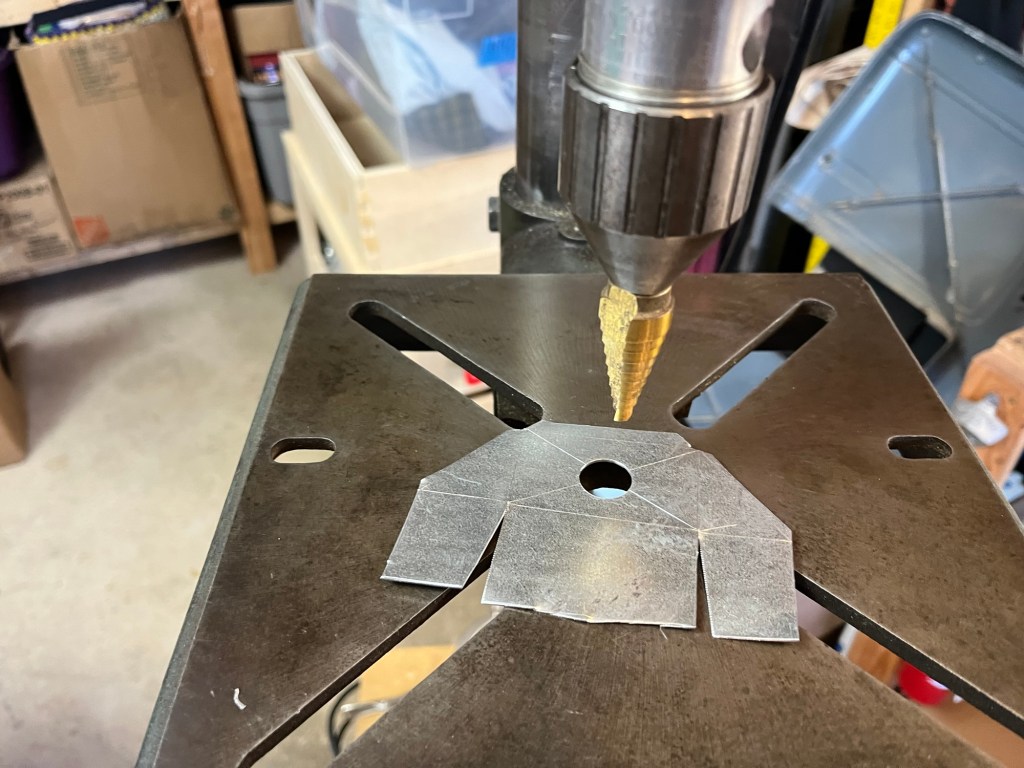
An unexpected benefit of this is that if I decide to add more switches down the road, I can easily make up a larger panel.

Between the bench vise, hand held brake (aka Duck Bills), linesman’s pliers, and a brass hammer, I was able to fold the 20 gauge plate into a switch panel.
I removed the switch, then primed and painted my panel.
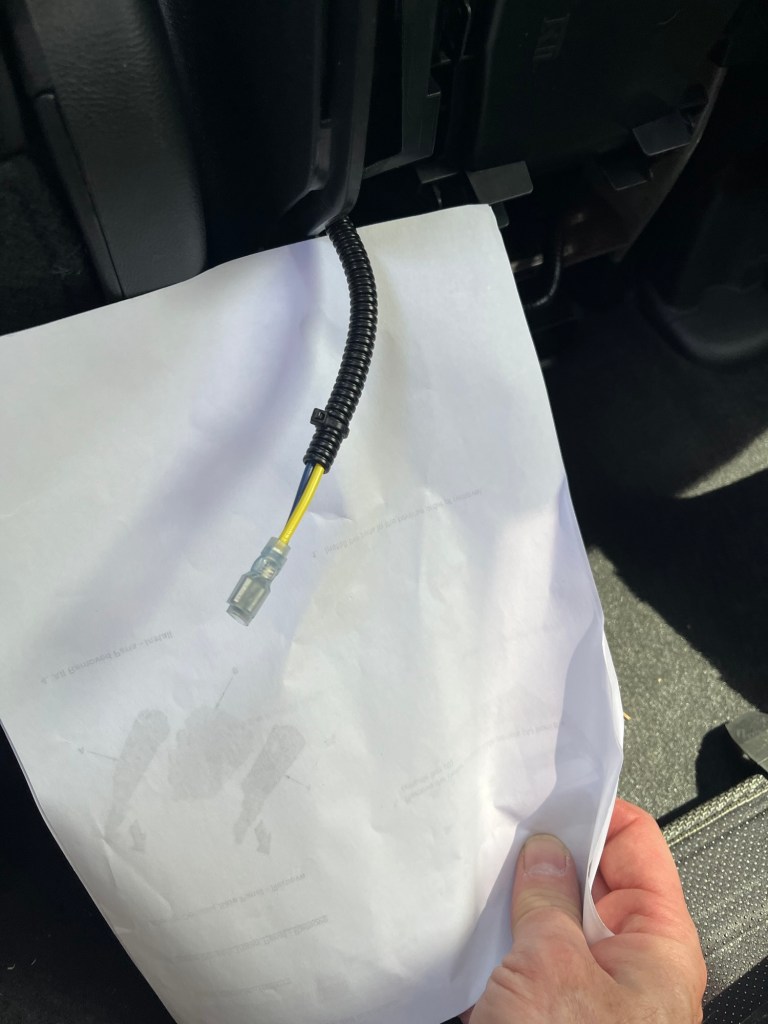
I added a fused circuit with a low profile add a circuit fuse tap.
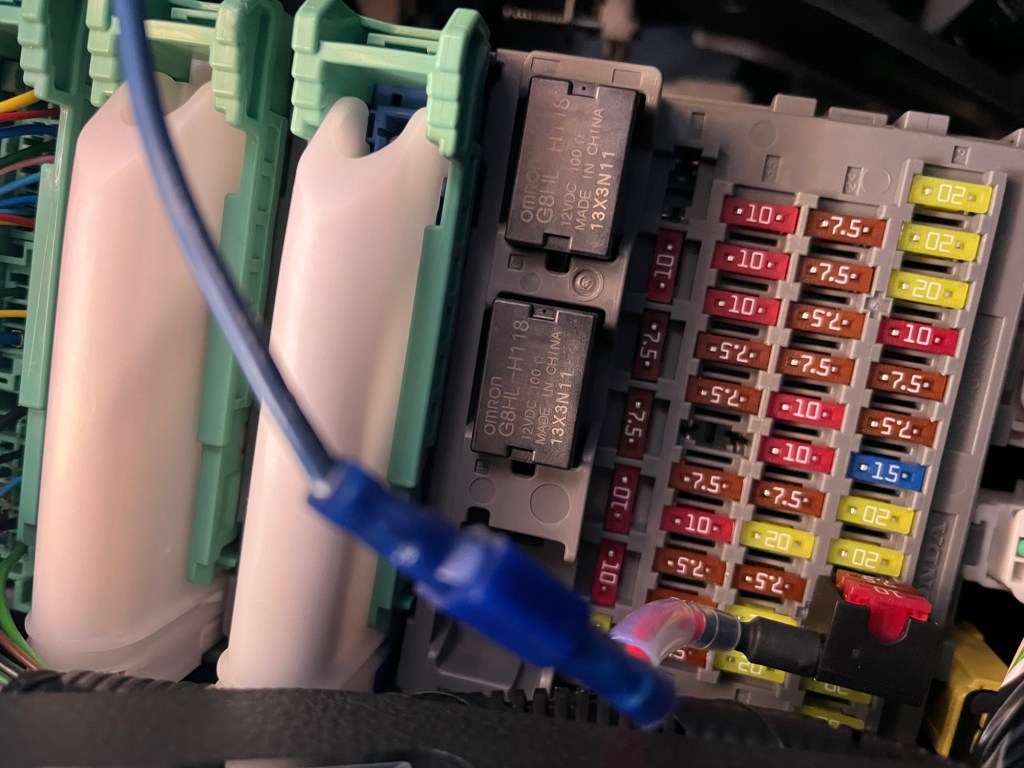

Electrons only flow when they have a complete path back to the starting point. In a car, that’s obviously the battery. But to cut the amount of wiring in about half, the steel body is normally used as the return path. Most manufacturers will have ground points behind the dash & inside the engine compartment.