
I’m going to try to document this build a bit more thoroughly than I did with the drill press cabinet.
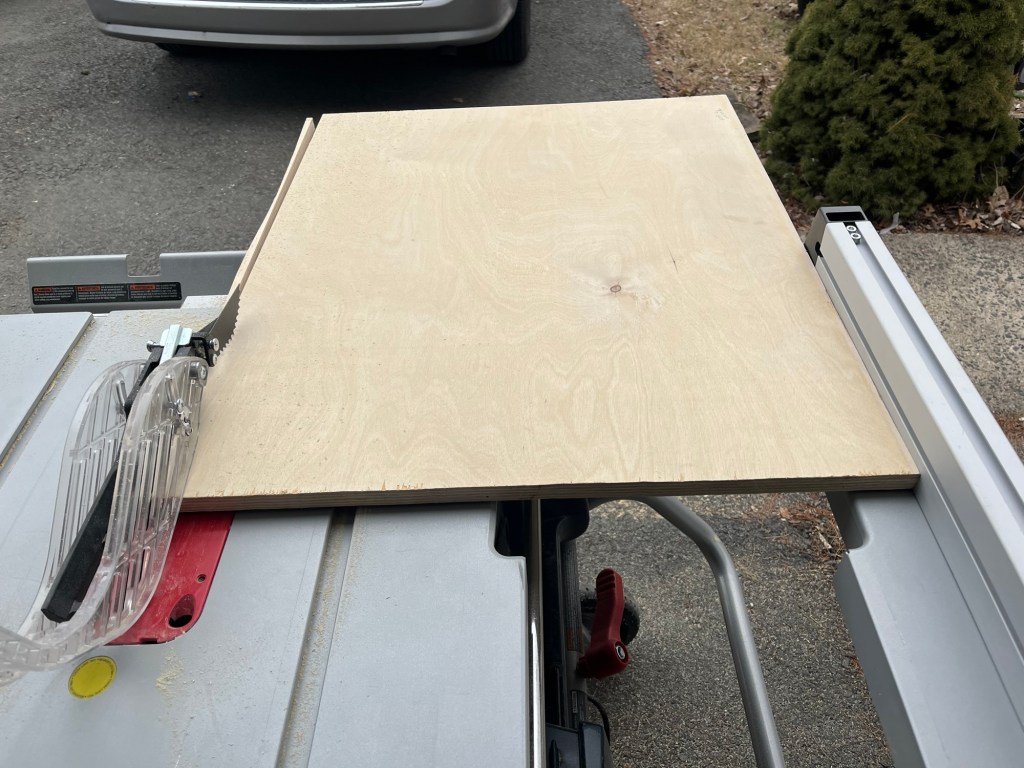
Step one is to cut the main pieces out. I may be crazy, but I’m not stupid enough to try to wrangle a sheet of 3/4” plywood onto my portable table saw.
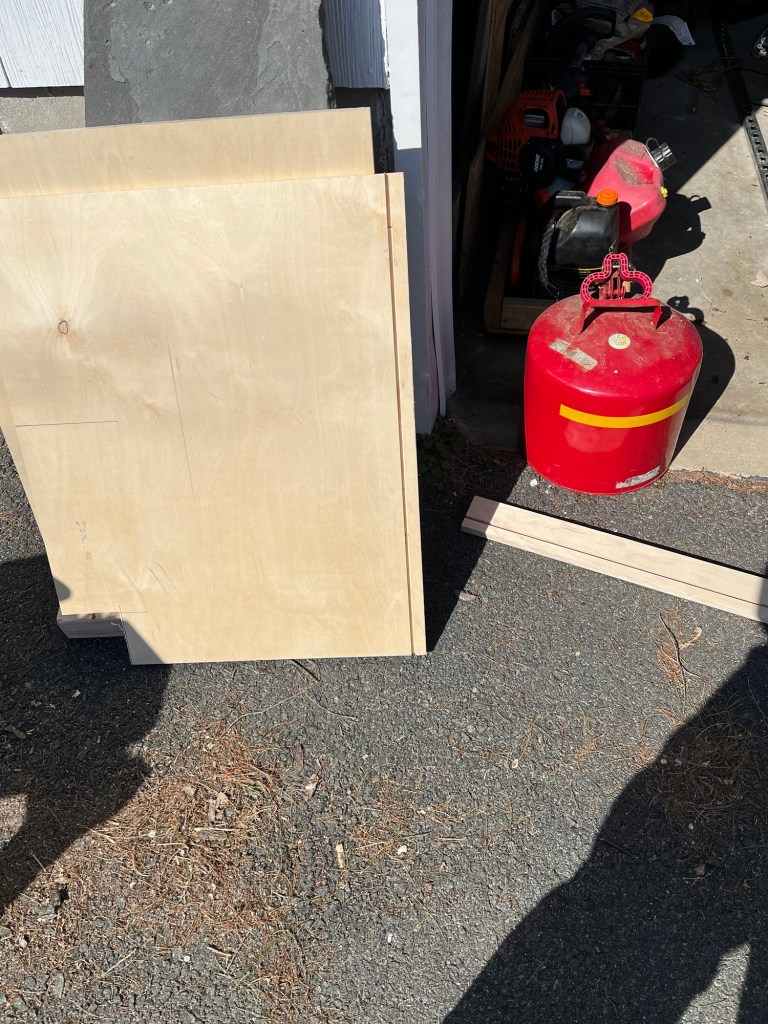
I use a circular saw to cut the pieces slightly oversized out of the 4×8 sheet. Then over to the table saw to cut them to the exact size.
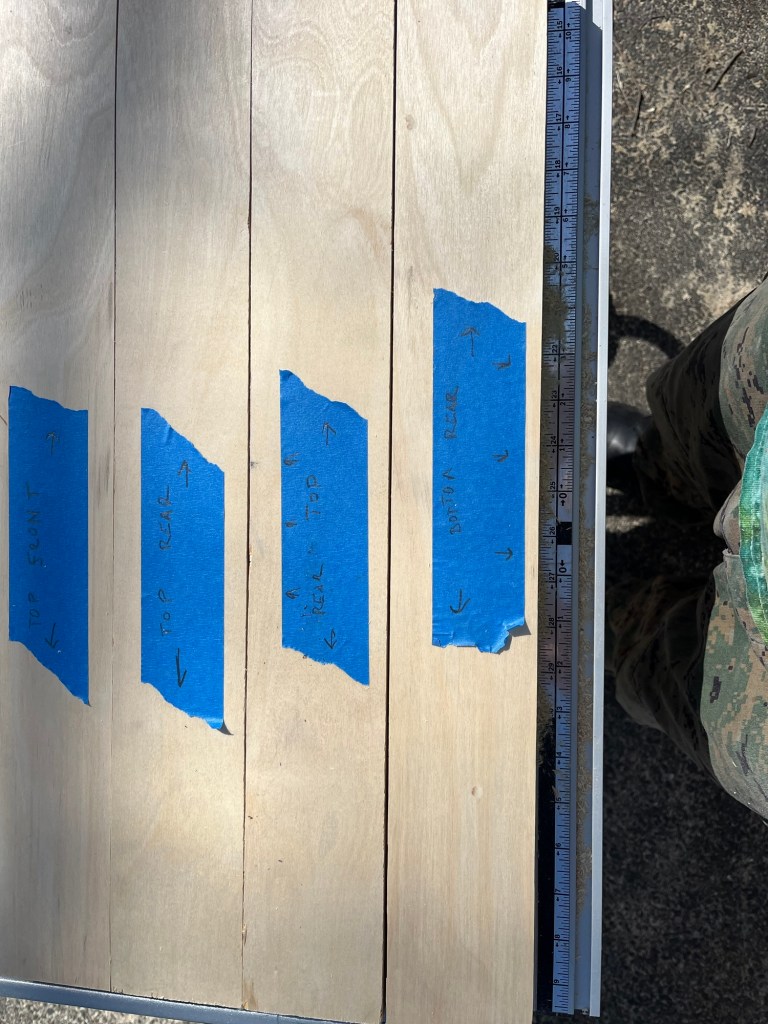
Make sure you keep track of which parts are which.
The two sides need a 3/4” dado for the bottom.
The bottom, sides, and one of the stretchers need a 1/4” dado for the back panel.
The stretchers need pocket holes drilled, two per edge.
A bit of glue in the 3/4” dados and clamp the sides together.
Slide the back panel in and then attach the four stretchers.
There’s your cabinet carcass.
Now for the fun part – drawers 😡😡😡😡😡😡😡😡😡😡😡😡
I didn’t like the one deep drawer on the drill press cabinet, so I decided on two shallow drawers for this one.
I also didn’t like the pocket hole screw construction on the drawers so I decided to up my game with box joints.
Always dry fit your drawers into your cabinet before glue up. This will prevent you from having to build your next cabinet around the drawer box that’s too big to fit into this cabinet (foreshadowing). Luckily I had only glued one up and was able to trim the other drawer down to the correct size.
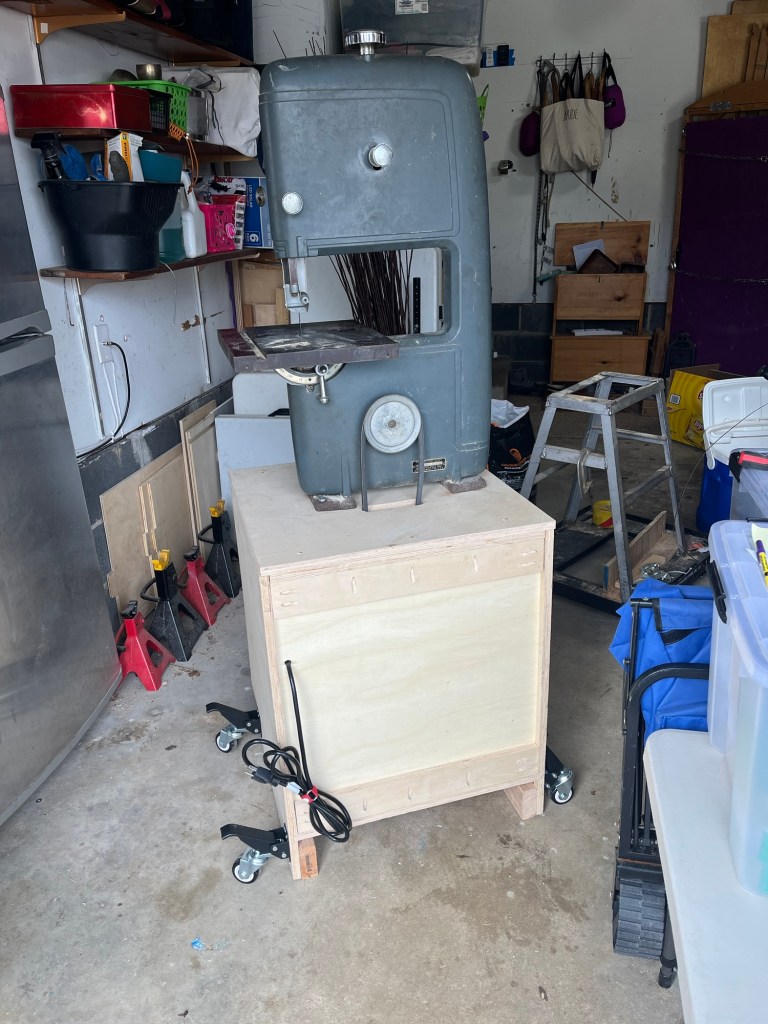
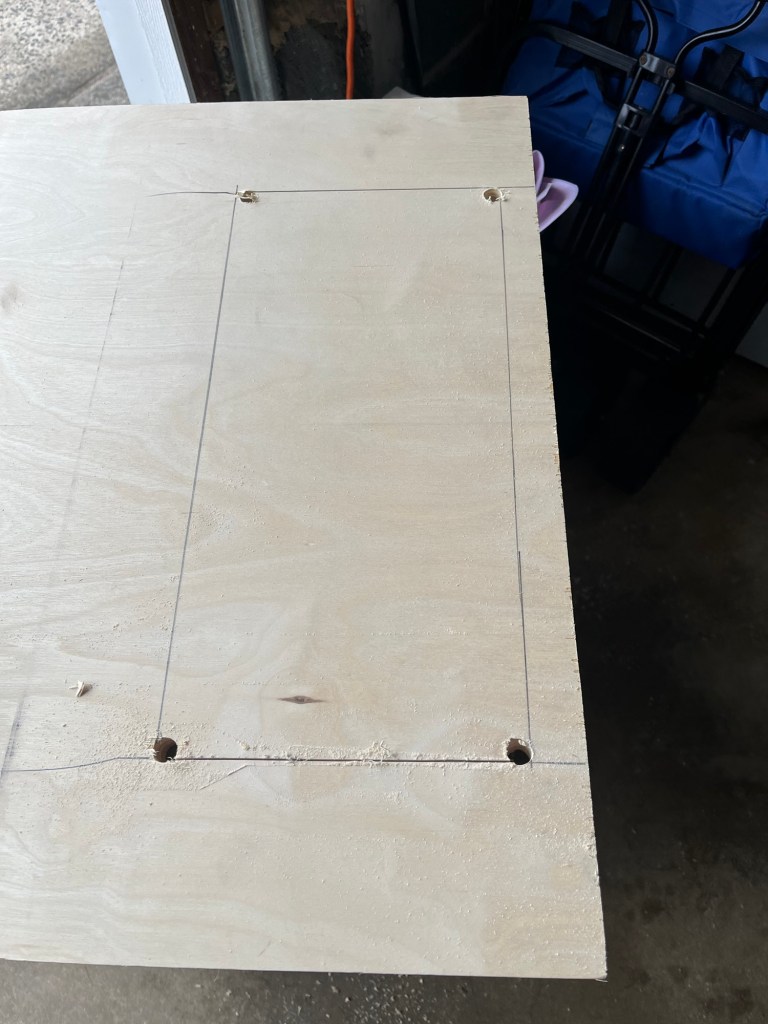
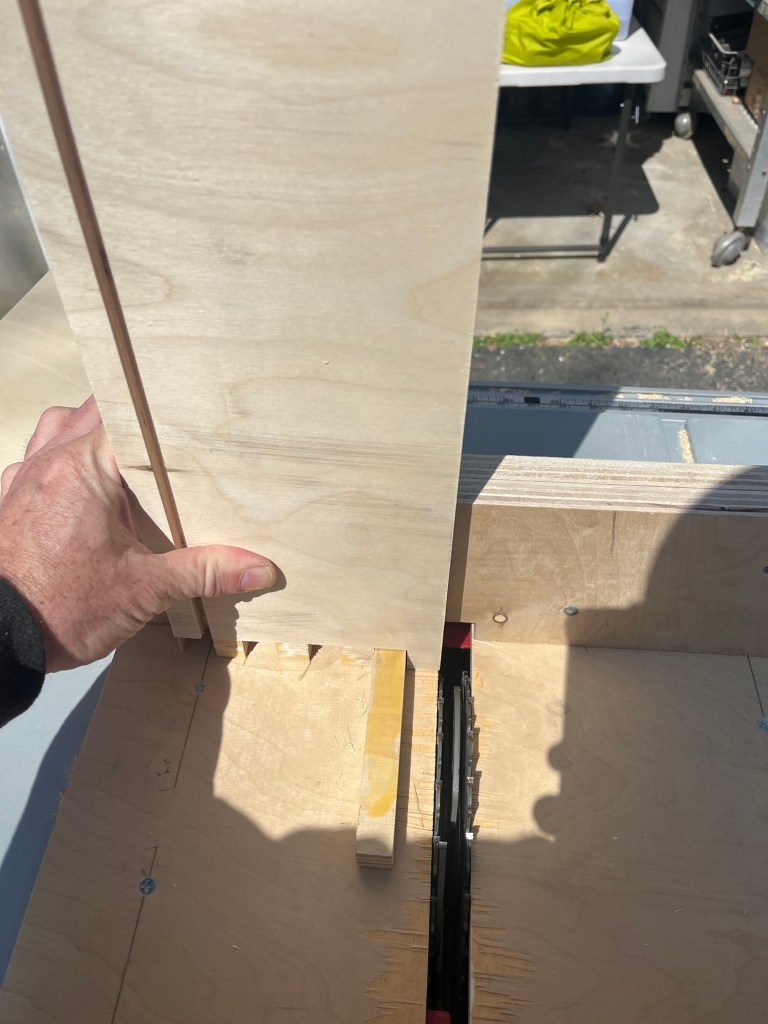
I used a combination square to center the saw on top of the cabinet & bolted it down. Then I used a plumb bob to size up the hole for the drive belt.
I drilled a hole for each side of the belt, then connected the two holes with the jig saw.
Once the radial arm saw is up and running, I’ll make an upper belt guard, which will also reduce the amount of sawdust that gets into the electrical compartment.
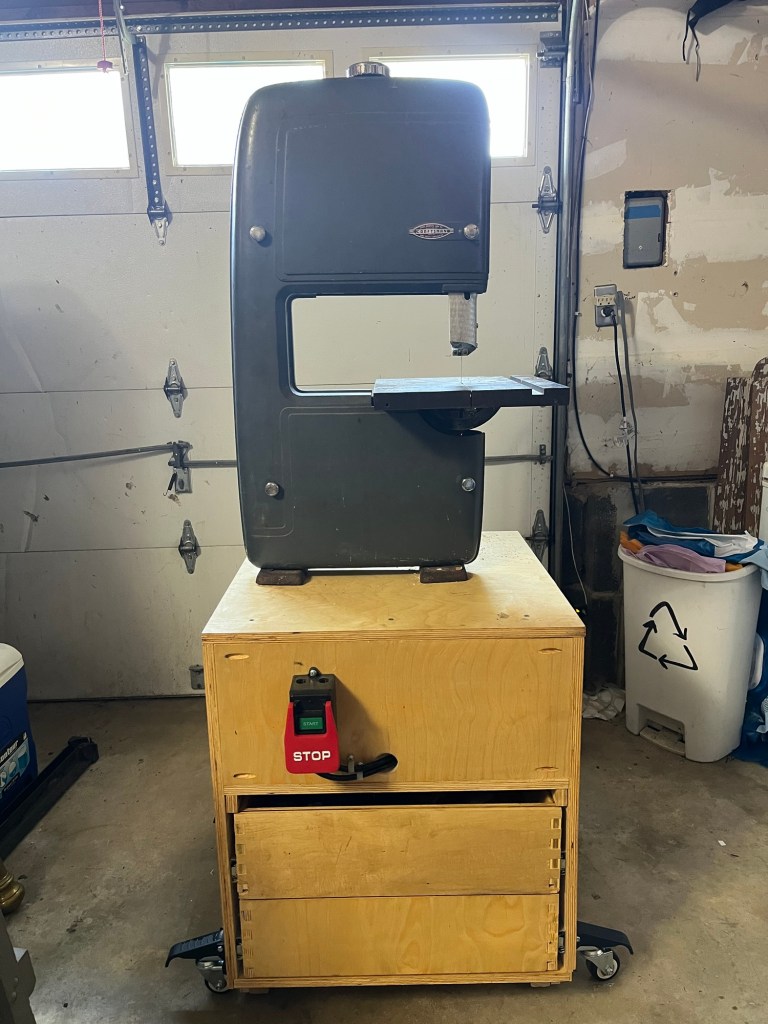
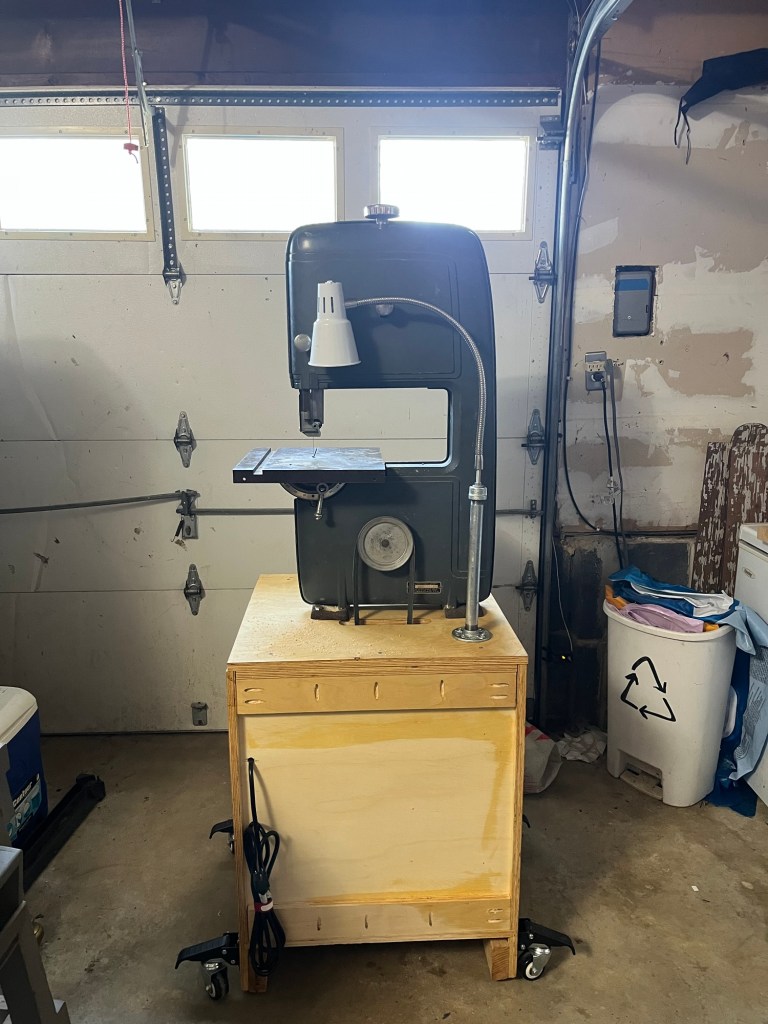
Because the front panel has to come off for blade changes, the work light got mounted in the back.
A coat of boiled linseed oil to protect the wood.
The top drawer holds my finger joint jig, dado set, throat plate, and circle cutting jig.
The bottom drawer is currently empty but I’m sure that’s a temporary condition.
