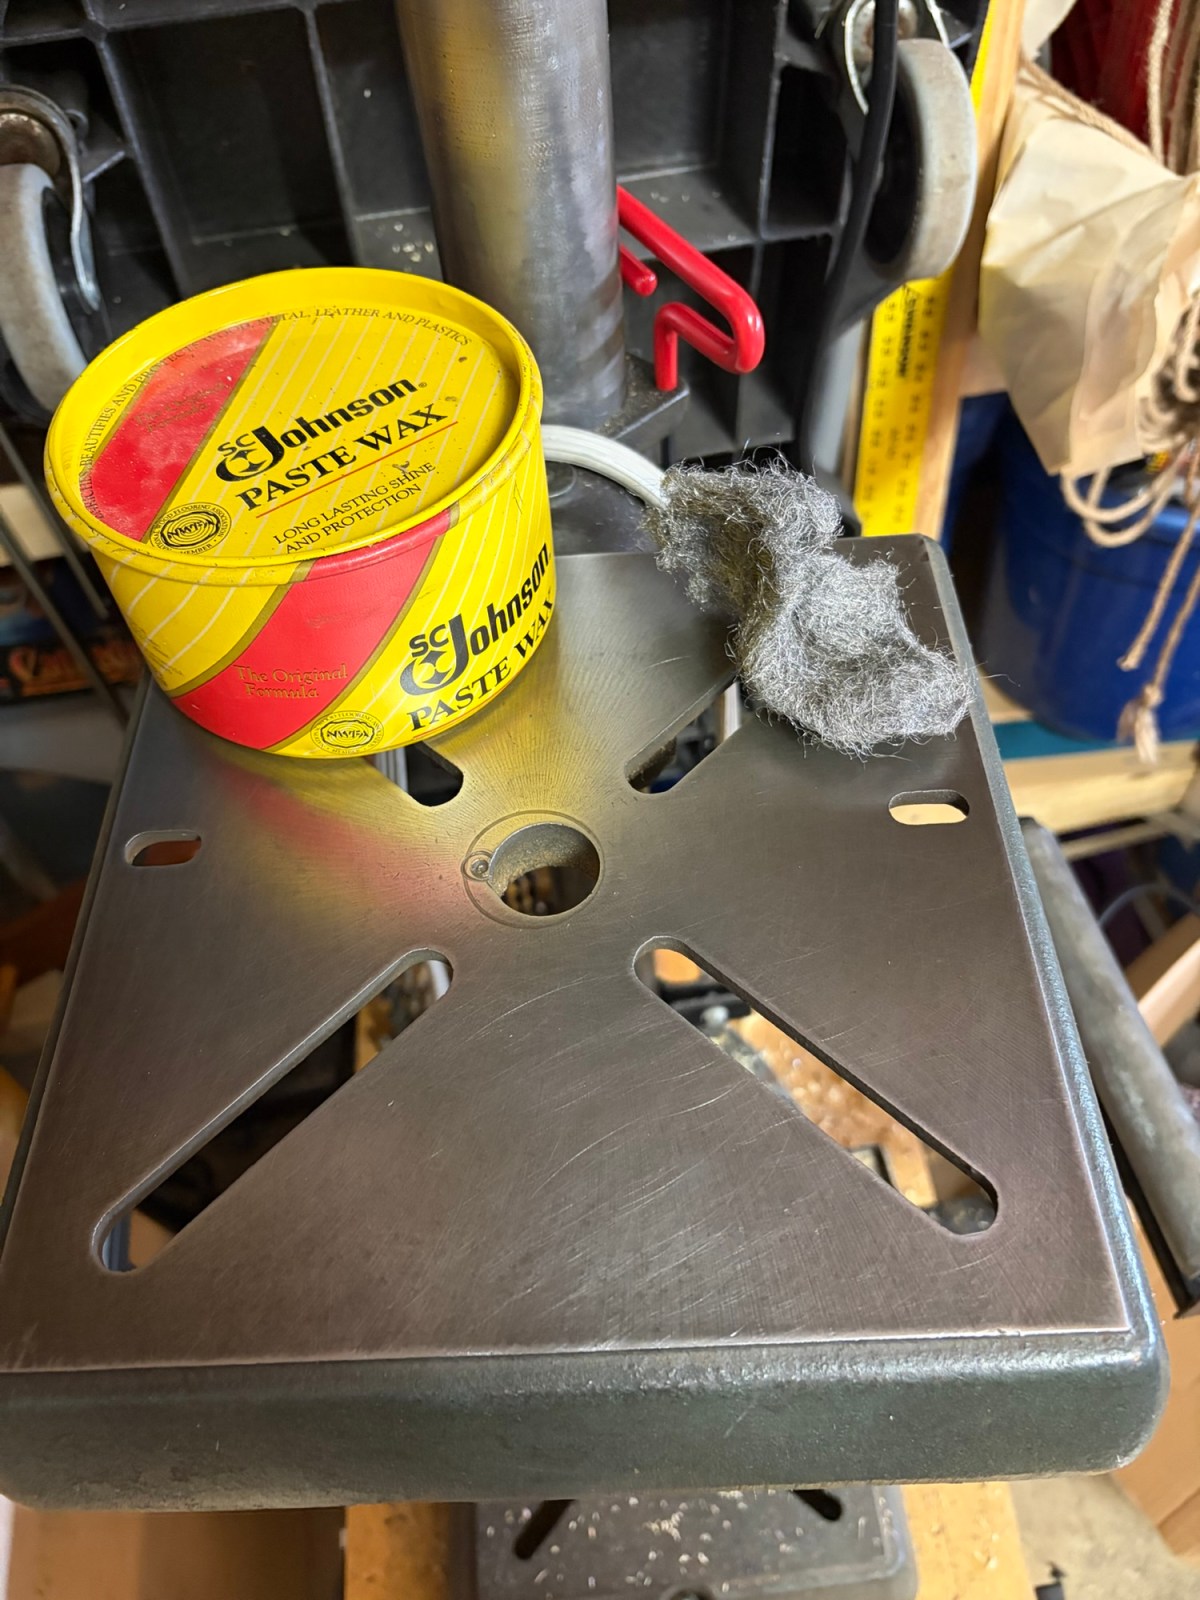
Spent a few minutes experimenting on the drill press today.
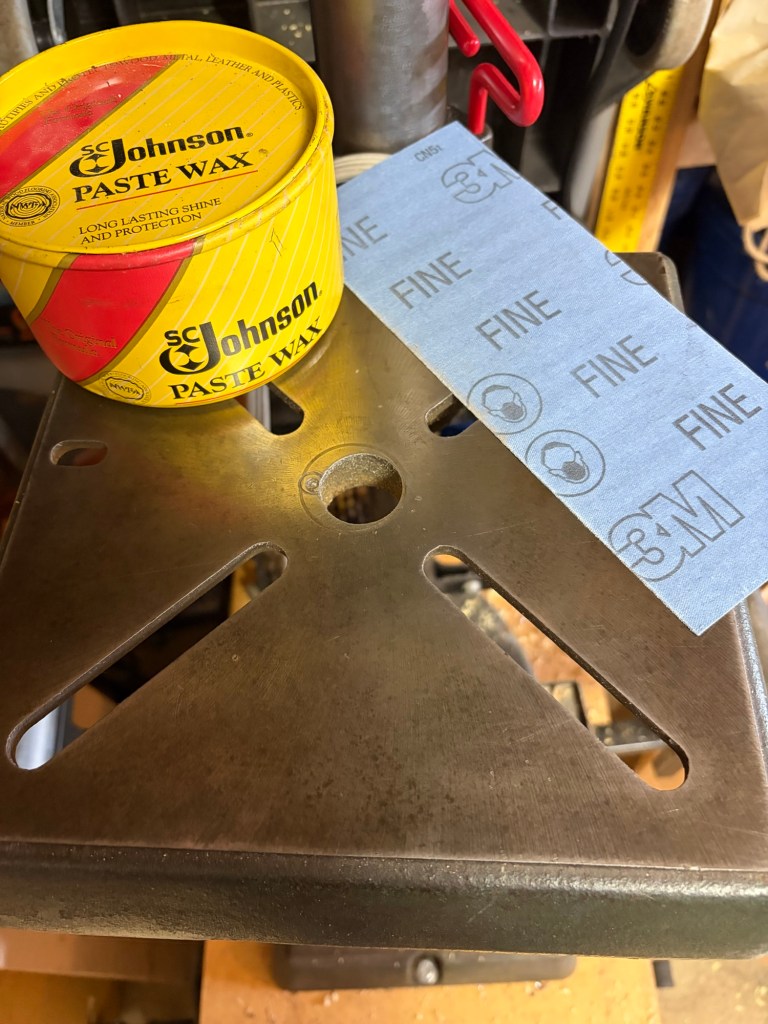
The drill press table isn’t crusty & rusty exactly, but it’s definitely seen better days.
Continue reading “Shiny!”
Spent less than 10 minutes cleaning up the drill press table – shiny!
Spent a few minutes experimenting on the drill press today.
The drill press table isn’t crusty & rusty exactly, but it’s definitely seen better days.
Continue reading “Shiny!”I’m going to try to document this build a bit more thoroughly than I did with the drill press cabinet.
Step one is to cut the main pieces out. I may be crazy, but I’m not stupid enough to try to wrangle a sheet of 3/4” plywood onto my portable table saw.
I use a circular saw to cut the pieces slightly oversized out of the 4×8 sheet. Then over to the table saw to cut them to the exact size.
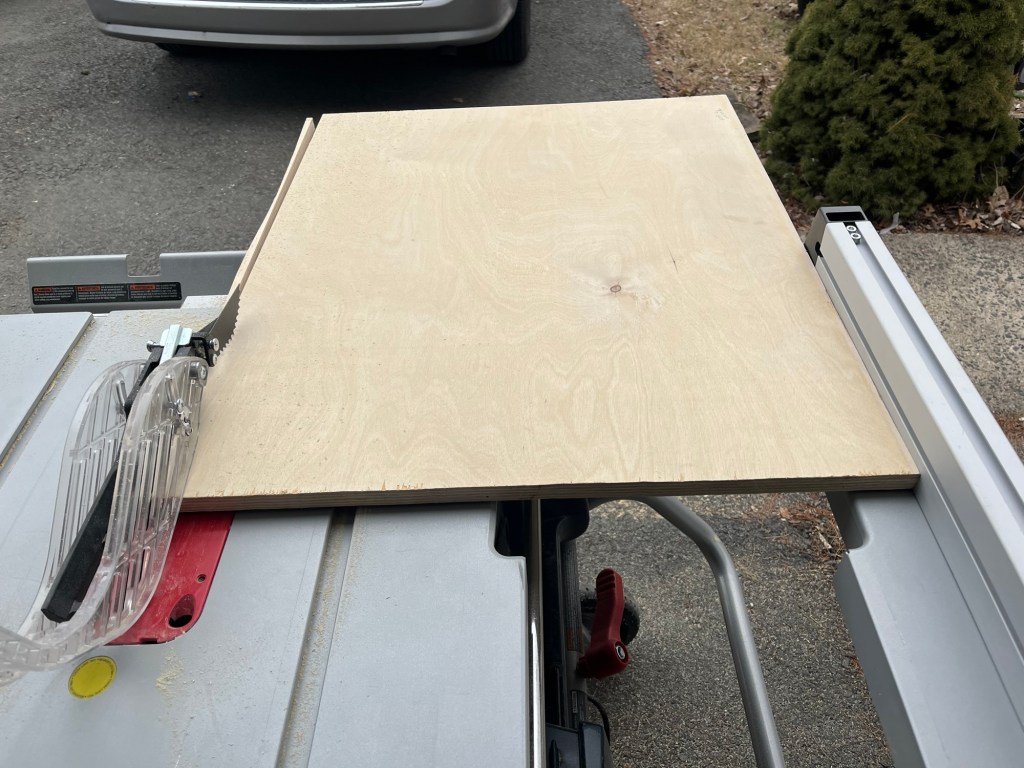
Make sure you keep track of which parts are which.
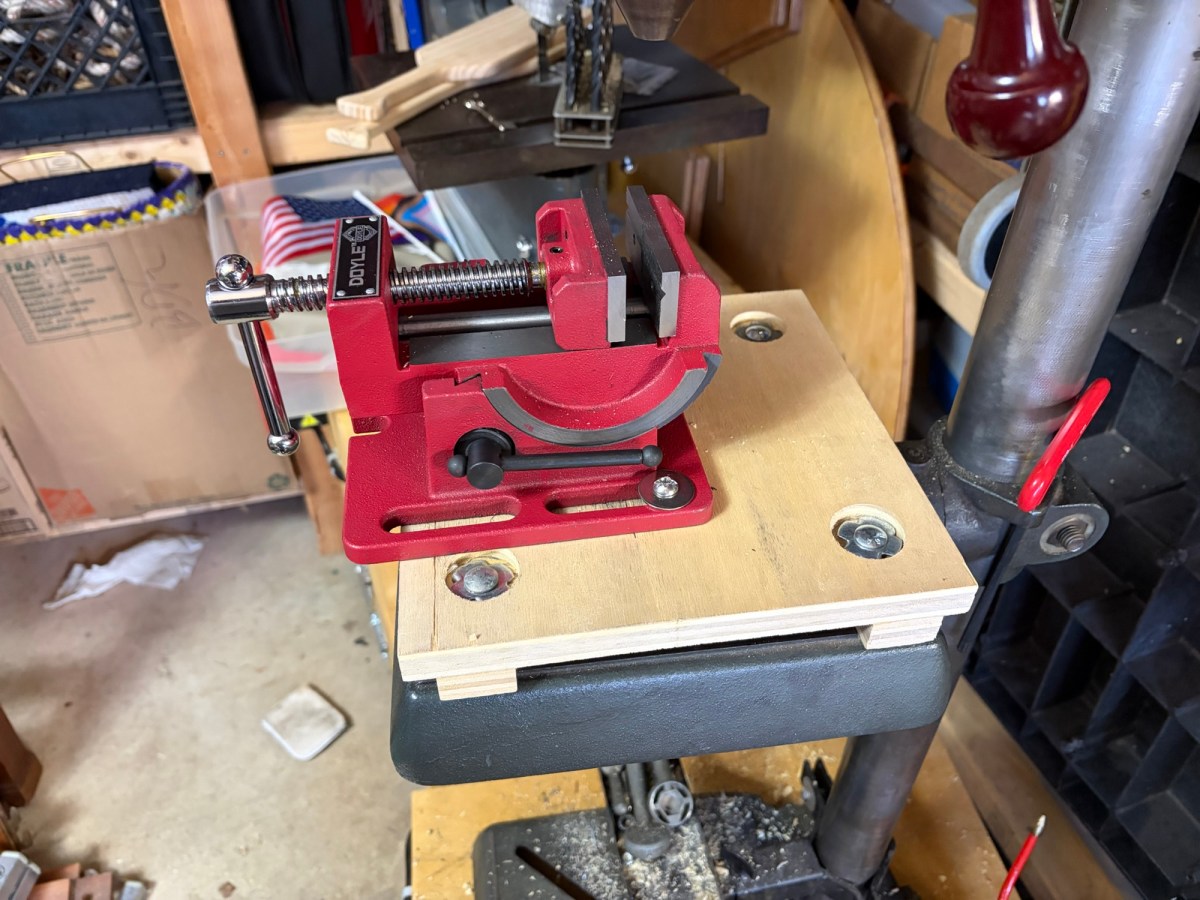
Continue reading “Band saw cabinet build”So I wanted to be able to safely drill into the end of a piece of round stock, but couldn’t figure out a decent way to hold my work that kept my fingers away from sharp steel bits spinning at high speeds.
Then I went to Harbor Freight and found this cradle vice.
But now I need to be able to secure the vice to the drill press table and the hole on the vice don’t line up with the holes on the table at all.
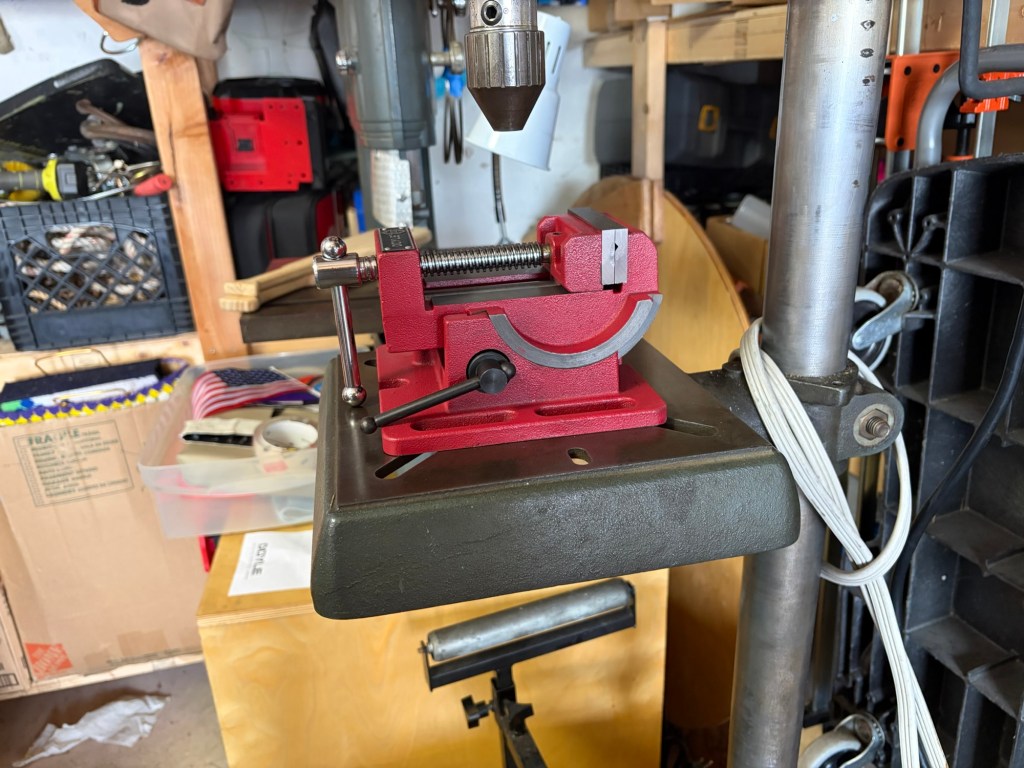
A piece of 3/4 plywood will allow me to put holes anywhere I want to, so I grab a a scrap and cut it to match the table.
Continue reading “Adding cradle vise to the drill press”The band saw project was almost as much electrical work as wood work. I replaced the power cord & switch for the saw and added lighting .
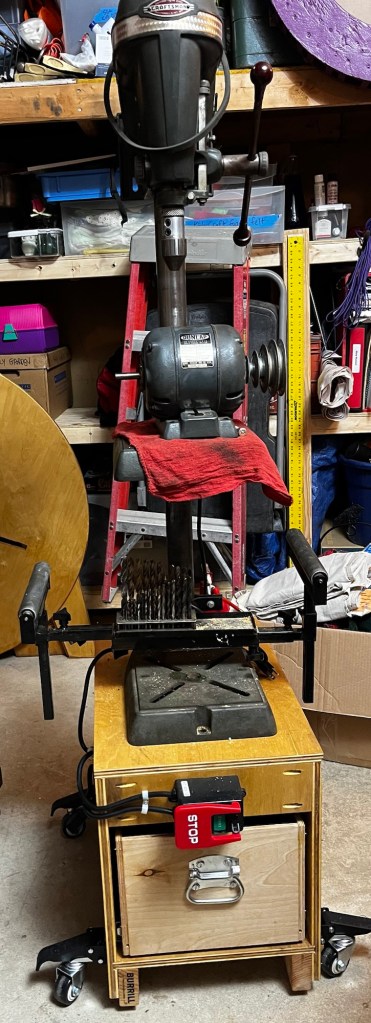
Continue reading “Band saw cabinet electrical”I realized that there aren’t any good photos of the complete tools on the site, so here we go.
Continue reading “Glamour shots of the drill press & band saw.”I’ve gotten to the point where new projects don’t always* require purchasing** new tools. But as I work on more ambitious projects, I am building more tools & jigs.
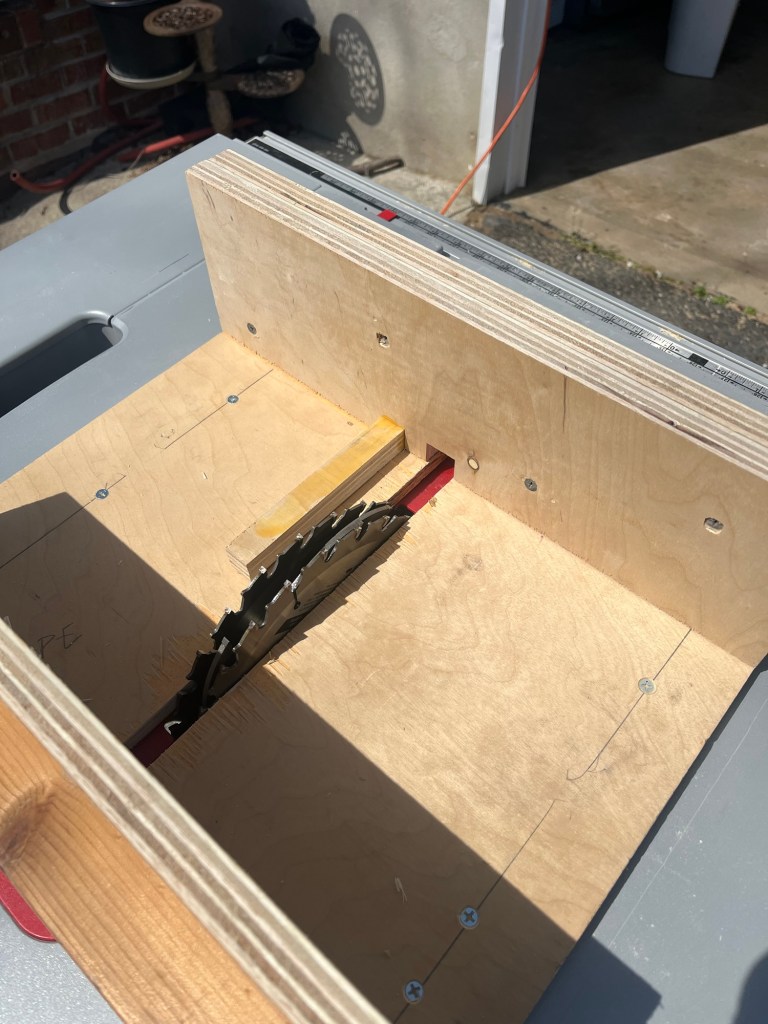
When I built the drawer for the drill press cabinet, I was very dissatisfied with my results, so I started looking for something better.
Enter the box joint or finger joint jig.
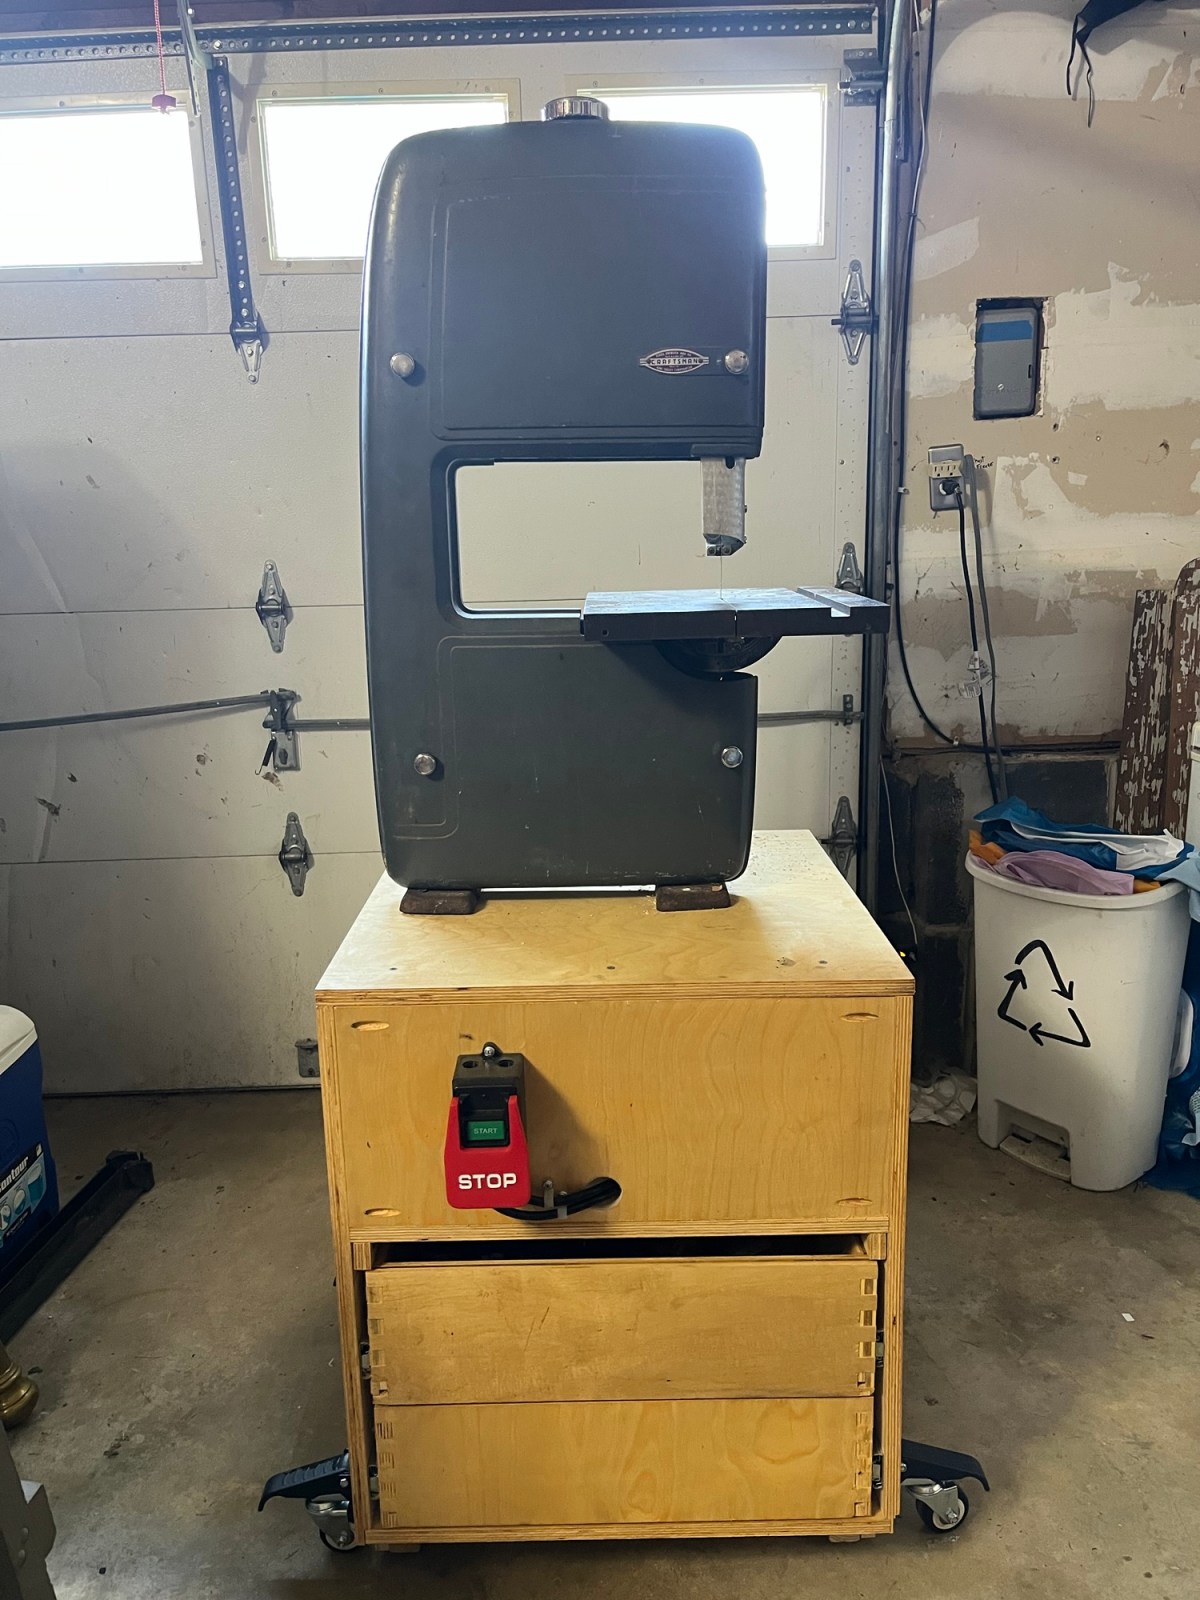
When I bought the bandsaw a few years ago, it was on this angle iron base. Perfectly functional, and purely functional. It works, but it looks like a bunch of angle iron off cuts (which is what it is).
Once I built the base for the drill press, I decided that the band saw needed a matching base.
Let’s take a little tour of my mental processes when designing a project like this.
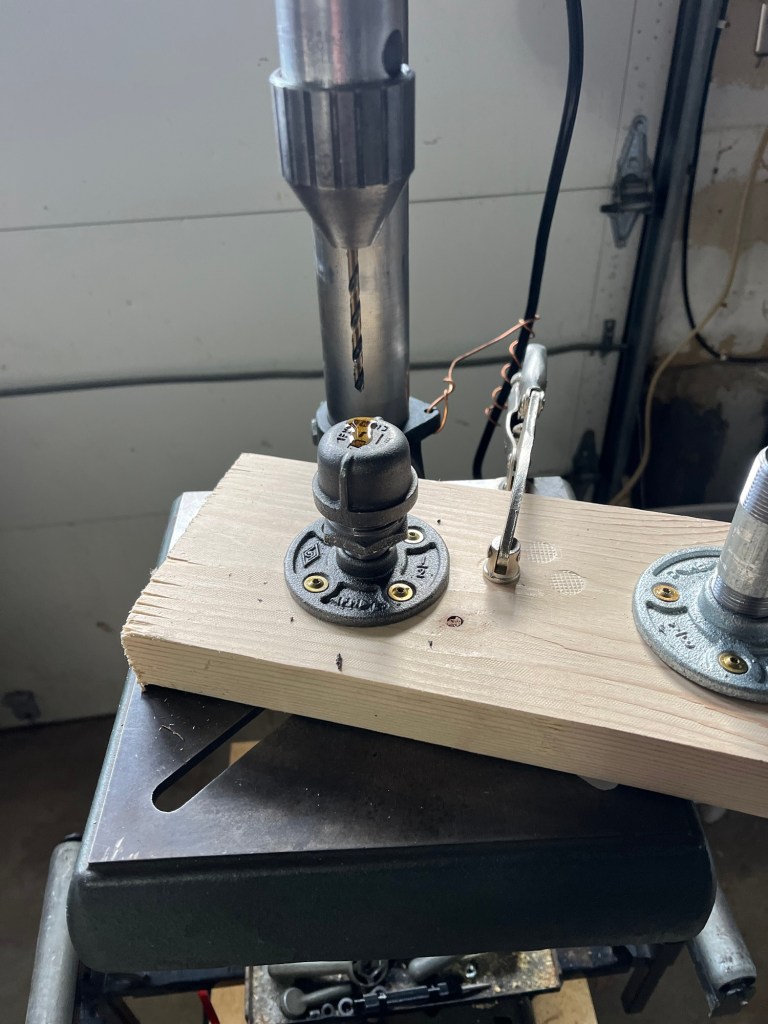
Continue reading “Band saw cabinet design”For the bandsaw cabinet I plan to add a work light. I found a light fixture I think will be great, but it’s a bit too short.
I’m going to make it taller by building a base from 3/4” pipe, but I’ve got to attach the fixture to the pipe & get the cord into the cabinet.
I need to drill a hole through the pipe cap, without injuring myself. One hand operating the quill of the drill press, and the other operating the oil can.
I’ve often considered making nicer projects in the wood shop, but up till now, I’ve pretty much limited myself to camping equipment.
Mostly it’s been fear that I can’t make something perfect. Add in the fact that I’m good at sourcing things that are pretty close to what I really want and then modifying them.
And it really kills me when people ask me if I built the cabinets in the dining room.
But it’s been itching at me. I keep kicking around ideas for custom cases for some older tools that don’t have them. And I keep coming up with excuses why I can’t do it.
Continue reading “Sometimes it’s just your fear holding you back.”Where’s my soapbox?….
I’ve come to the decision recently that applying finish is the difference between a project and something I just slapped together.
Continue reading “It’s called finish for a reason.”